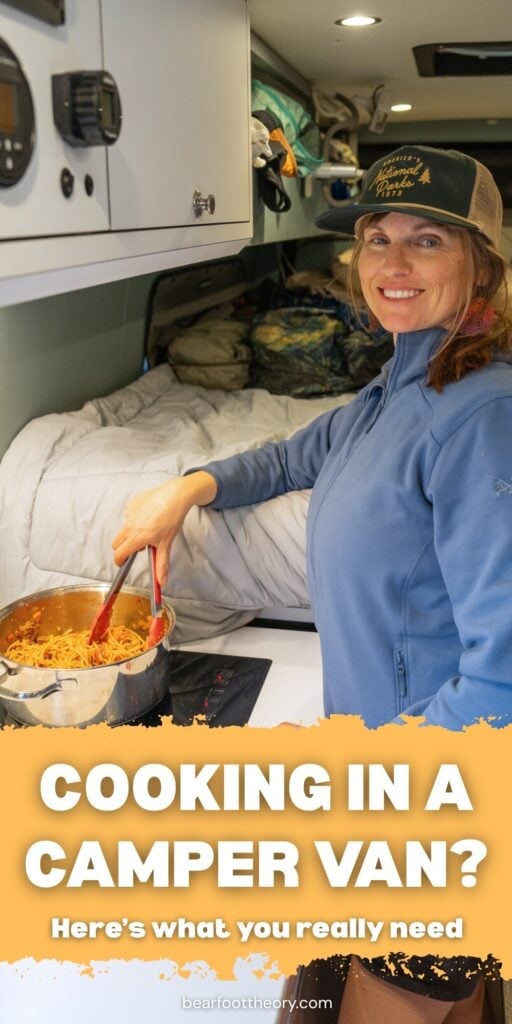
I’ve been doing van life since 2016, and cooking awesome meals in my camper van (or now my adventure truck) is one of my favorite parts of van life. But now that I’m traveling full-time with my son, I’ve had to prioritize meals that are quick, convenient, and easy to clean up. With limited storage space in our rig, I can’t pack everything I’d like, so I’ve pared down our campervan cooking equipment to the essentials we use the most.
In this post, I’m sharing my favorite tried-and-true van life kitchen equipment essentials — the cookware, utensils, and gear that make cooking on the road simple and stress-free. Whether you’re outfitting a new build or upgrading your current setup, these van life cooking essentials will help you eat well without cluttering up your space.
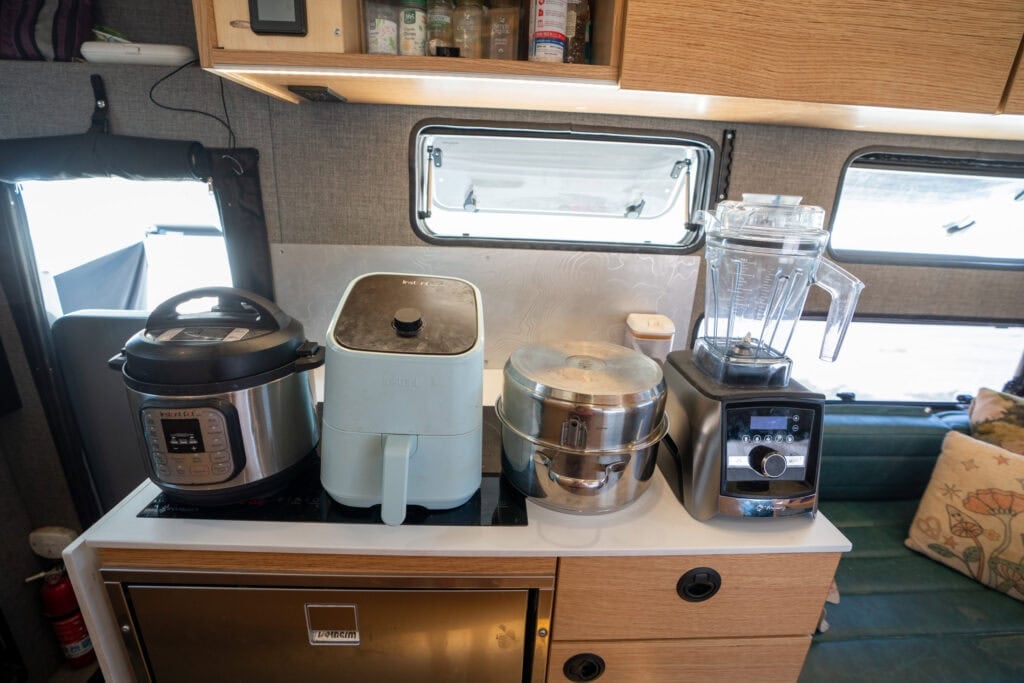
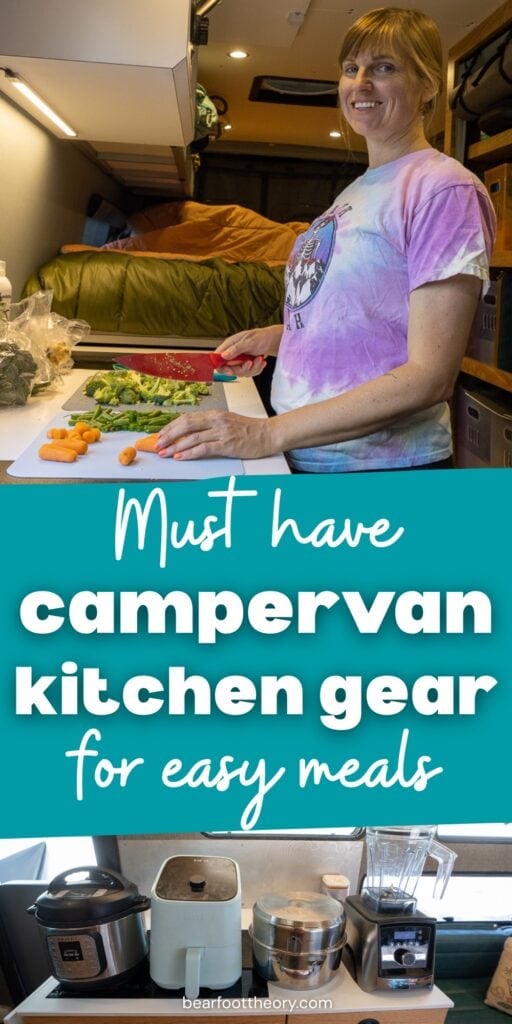
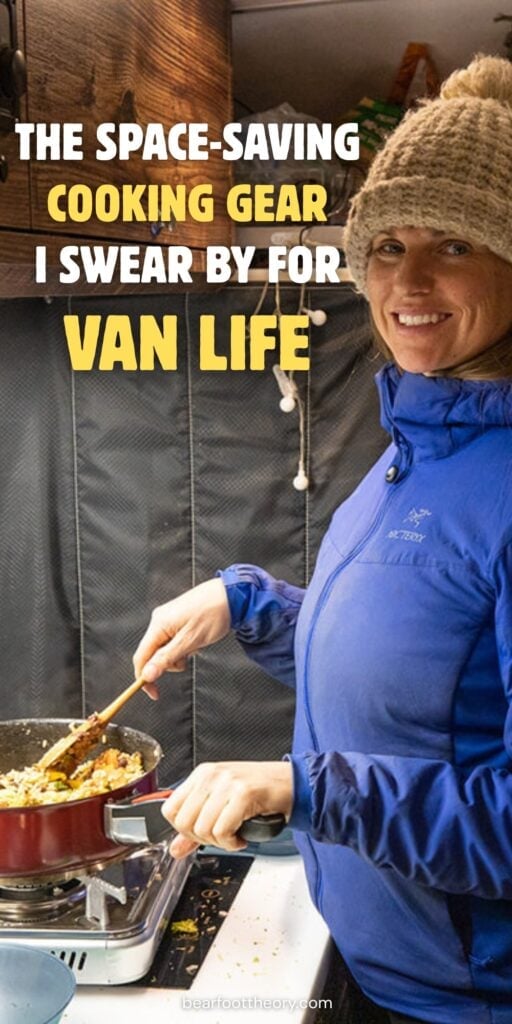
Over the years, I’ve figured out what camper van cooking equipment is actually worth the space — and what we can live without. These are the major appliances I use the most in our van. Some people love having things like a toaster oven or an Omnia stovetop oven (if they cook with gas), but for our setup, this list covers everything we use to make cooking on the road easier.
Induction stove: While gas stoves are great for outdoor cooking, an induction stove makes cooking inside your camper van so much easier. There’s no setup required, no hauling ingredients outside, and cleanup is a breeze. Just note that you’ll need a powerful battery system and inverter to run it. I highly recommend avoiding a built-in propane stove — I had one in my first van, and it took up a lot of space, wasn’t the safest option, and was a huge hassle to clean.
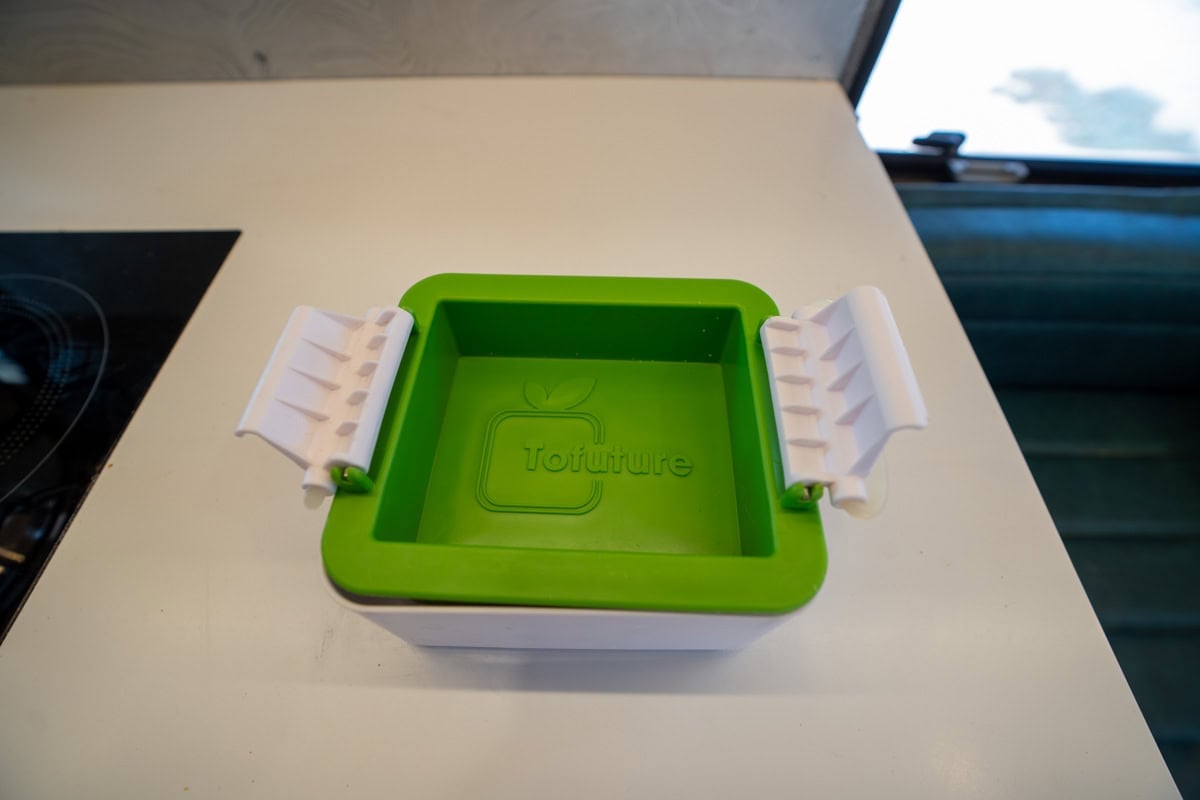
Small air fryer: Apart from our stove, our air fryer is the appliance we use most. We have the Instant Pot Vortex Mini (2-quart capacity), and it’s the perfect size for a pack of tofu, which we eat regularly. I also use it for making sweet potato fries, roasting veggies, heating up leftovers, and even toasting bread.
Small Instant Pot pressure cooker: I bring the smallest size Instant Pot in our camper, and it’s a game-changer for quick, hands-off meals. It’s perfect for cooking rice, quinoa, beans, soups, lentils, and one-pot pasta. I love that I can set it and forget it — freeing me up to clean up, play outside with my son, or get some work done while dinner cooks.
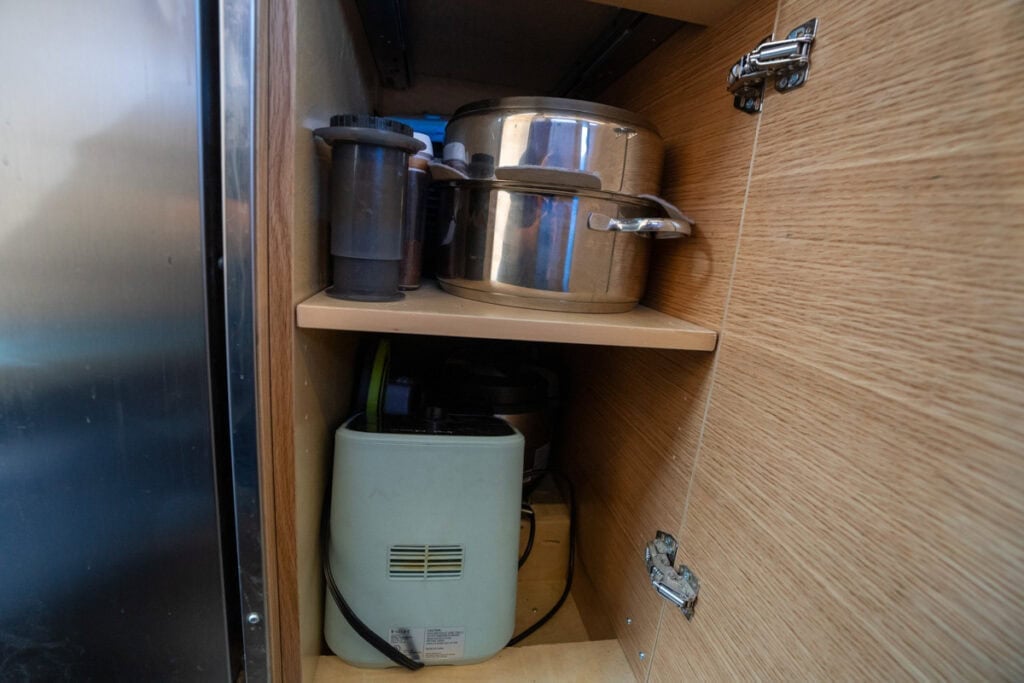
Cookware: I use the Magma Nesting Induction Stainless Steel Cookware Set, and it’s been amazing. While this set is heavy, the handles are removable and the pots nest together to save space, and they’re super high quality (unlike most camp cookware). In my experience, the stainless steel holds up better than nonstick. I used to have the nonstick version and the coating got scratched on some bumpy roads.
Microwave: A microwave is definitely a luxury item, but now that we have one in our Rossmonster Baja Trail truck camper, I use it daily. It makes heating up leftovers, milk for my morning matcha, or late-night popcorn quick and easy. I survived eight years of van life without one, but if you have the space and power capacity, it’s a nice convenience to have.
Blender: We brought our big Vitamix, but honestly, it’s too bulky, heavy, and annoying to clean for van life. While I love it for smoothies and homemade hummus, a personal Ninja blender is a more practical choice. It’s compact, easier to clean, and you can eat or drink right out of the blender cup.
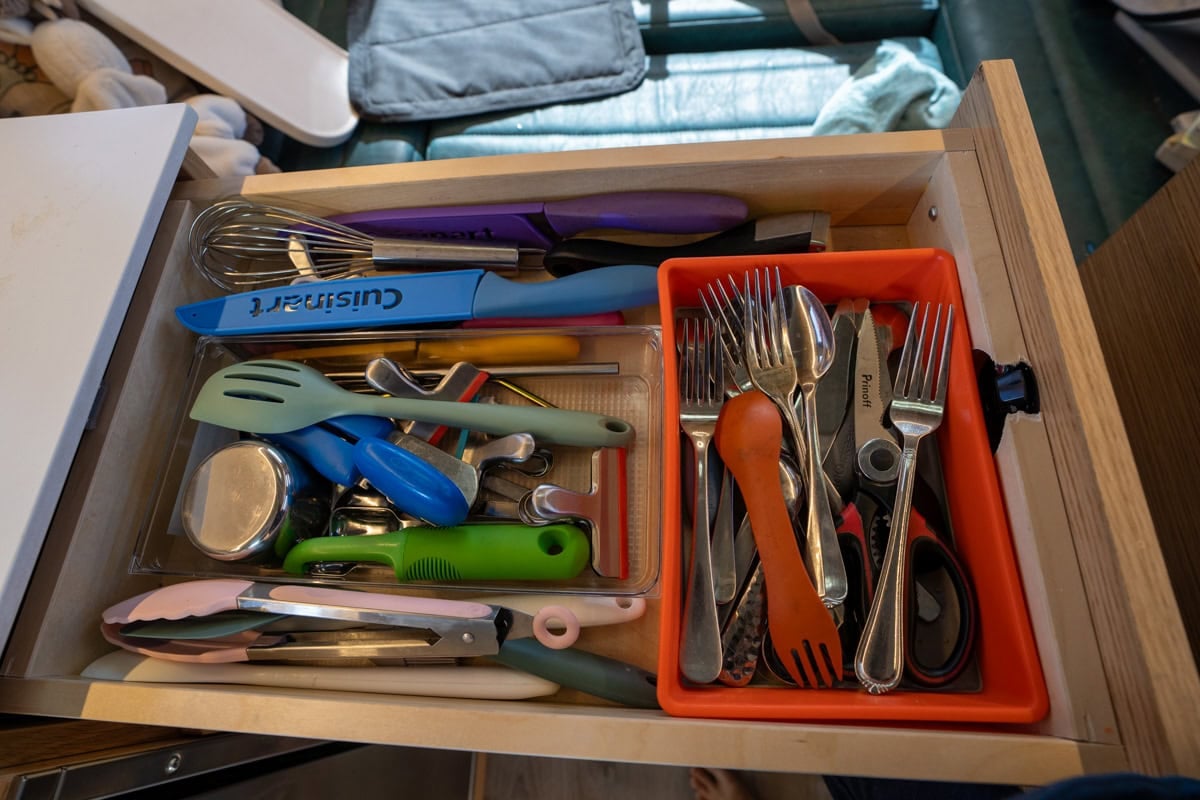
Below is a list of the cooking utensils I use most frequently in my camper. I recommend searching for a cooking utensil set that includes most of these items so you don’t have to buy everything separately. Look for food-grade silicone tools — they’re safe, heat-resistant, and easy to clean.
I keep things organized in my drawer with dividers so everything is always easy to find.
Want to make cooking on the road even easier? Download my free list of easy van life meals and must-have pantry staples. It’s packed with simple ideas and ingredients that make grocery shopping and meal planning a breeze — perfect for keeping your camper van kitchen stocked and stress-free.
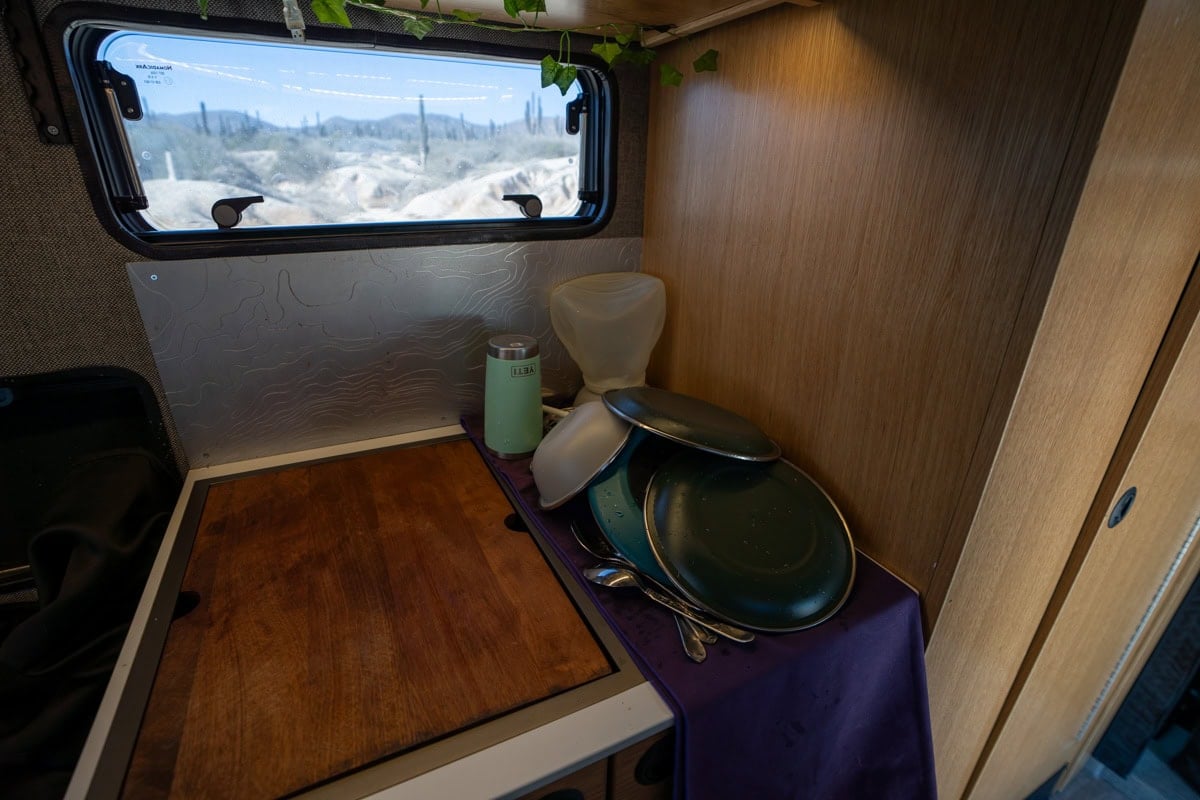
Dinnerware
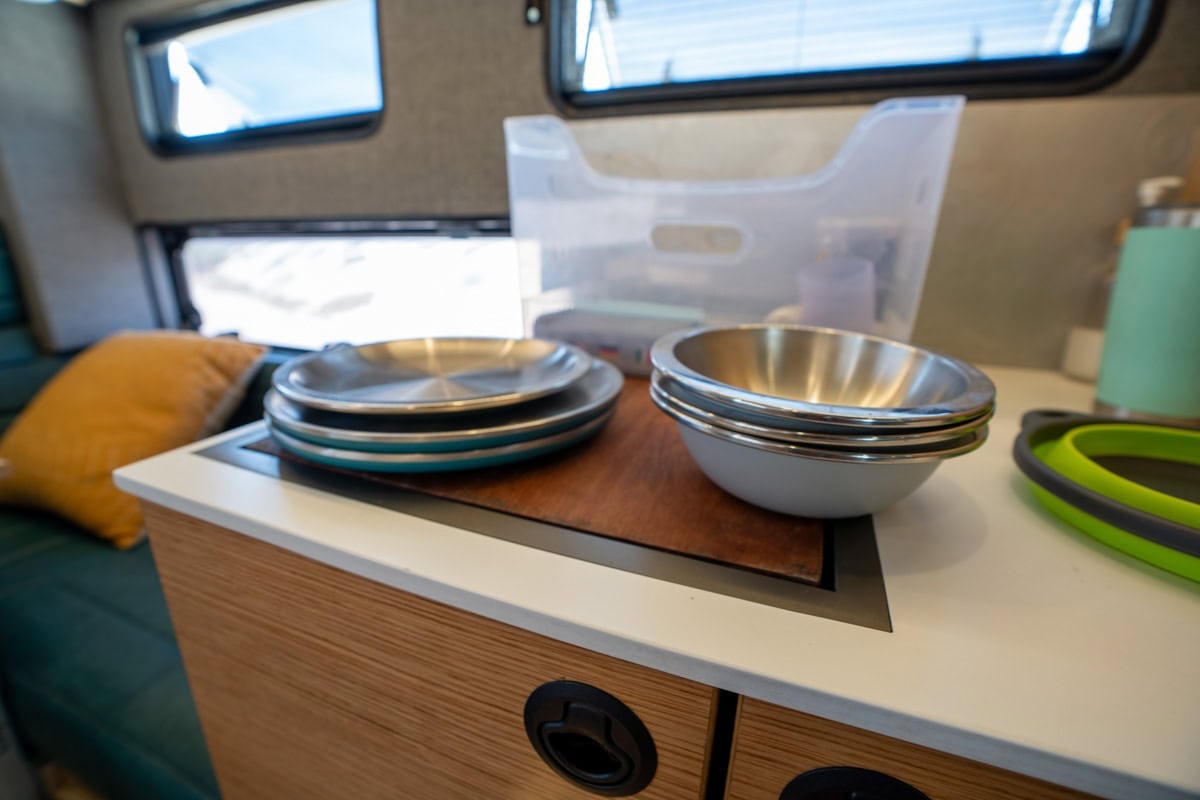
When it comes to dinnerware in our camper van, I like to avoid plastic as much as possible. Since we put effort into making good meals, it’s nice to enjoy them on normal-sized plates and bowls instead of tiny, flimsy camping dishes. Here are my recommendations:
4 plates: Even if you’re only traveling with two people, it’s helpful to have four plates so you’re not forced to wash dishes immediately — and you’ll be ready if you have guests. I like the heavy duty RTIC Anywhere Plate Set and lighterweight Hydro Flask stainless steel plates.
4 bowls: These Hydro Flask camp bowls are lightweight, durable, and big enough for a hearty bowl of soup, salad, or cereal.
Insulated mugs: Bring one per person. I use the Yeti Rambler mug — it keeps coffee and tea hot for hours and the lid is really easy to clean.
Extra cups: It’s nice to have a 1 or 2 extra lightweight cups on hand for drinking electrolytes, cold beverages after a hike, or a glass of wine by the campfire.
Silverware: I prefer using regular silverware over camping-specific utensils. It’s heavier, but it’s much nicer to eat with and makes meals feel a little more homey.
Coffee/Tea
Coffee and matcha are on our morning menu in our van. Here’s the van-friendly kitchen equipment we use to get our fix.
Kettle: A small electric kettle is perfect for quickly boiling water for coffee, tea, or instant meals.
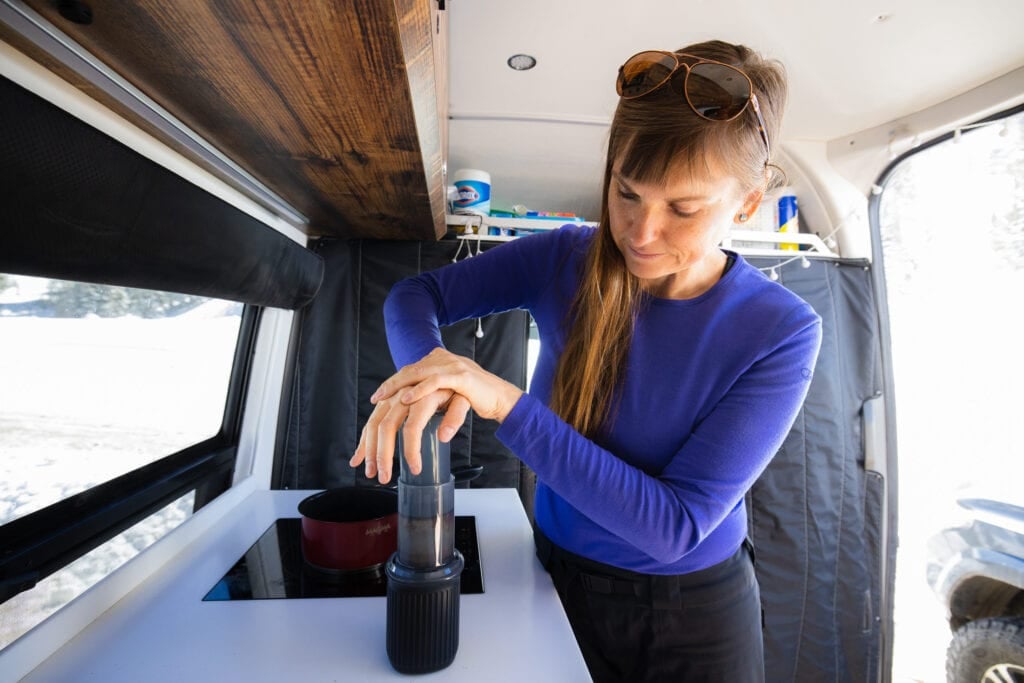
Coffee maker (Aeropress): The Aeropress is small, compact, and makes a delicious cup of coffee. It’s also super easy to clean — once you’re done, you just plunge the grounds into the trash and give it a quick rinse. No messy wet grounds going down the drain.
Compact coffee grinder: We typically buy ground coffee since it’s easier, but if you prefer using whole beans, you’ll want a small hand-crank or electric coffee grinder.
Milk frother: I use a handheld milk frother to make creamy, frothy milk for my matcha. It’s lightweight, easy to store, and makes my morning drink feel like a treat.
Loose leaf tea steeper: If you like drinking loose leaf tea, a small tea steeper is a must. It barely takes up any space and makes it easy to enjoy high-quality tea without the waste of tea bags.
Using the Aeropress Go coffee maker in my camper van
Food Storage
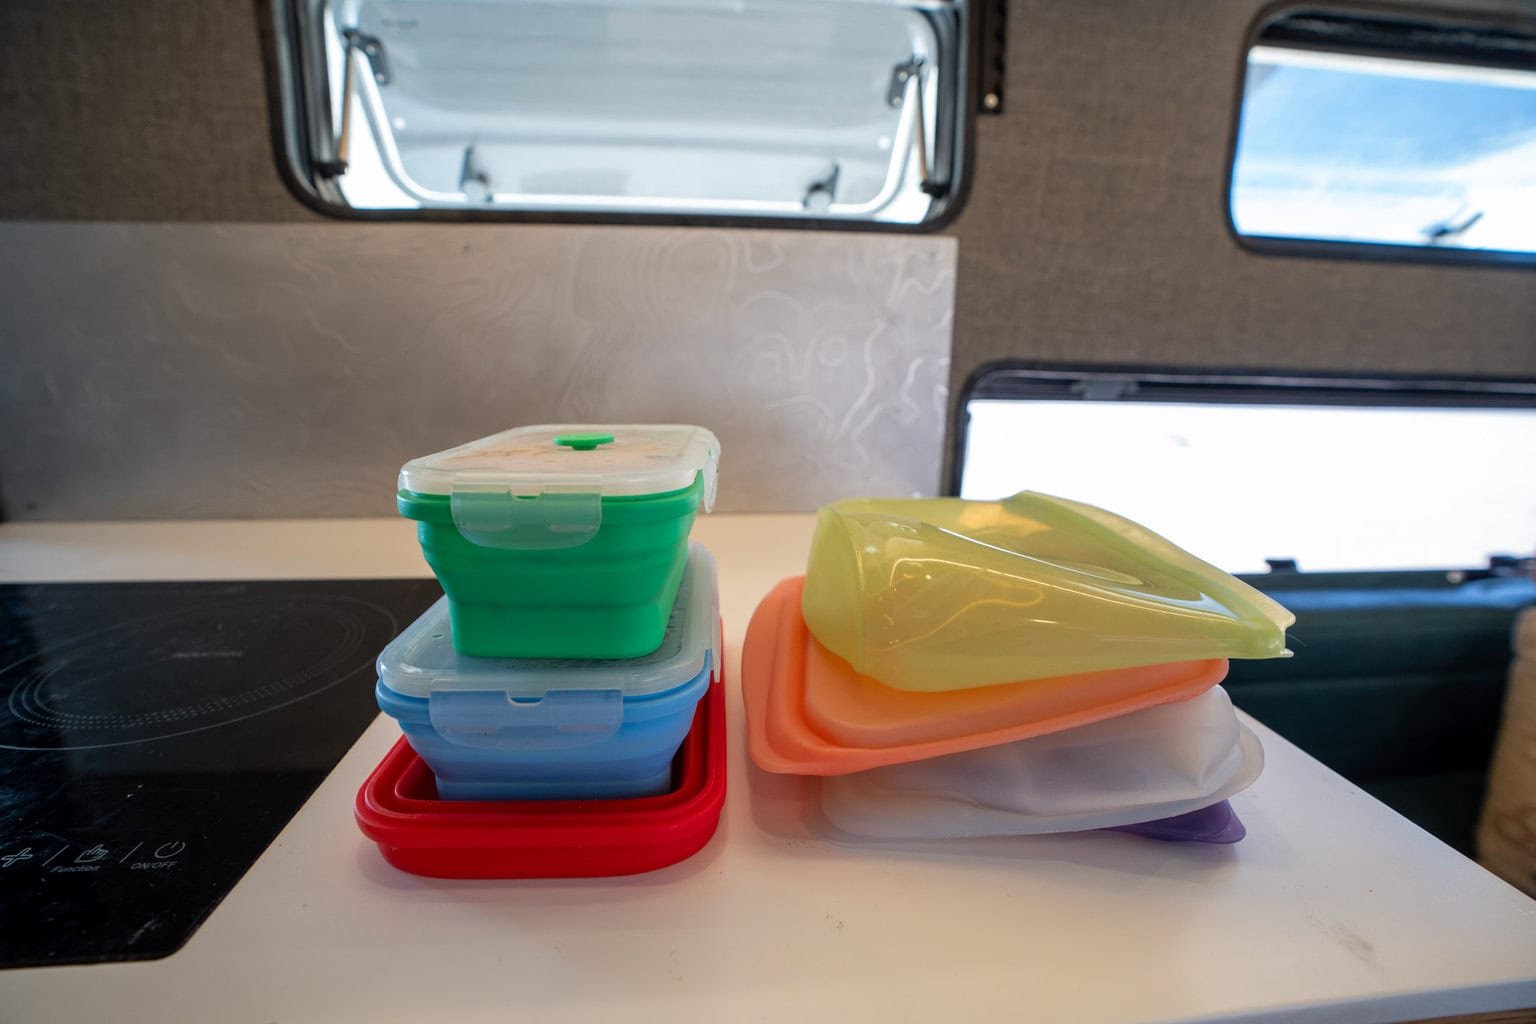
When it comes to food storage in a camper van, saving space and keeping things organized is key. I like to use reusable, non-plastic options that are compact, durable, and easy to clean.
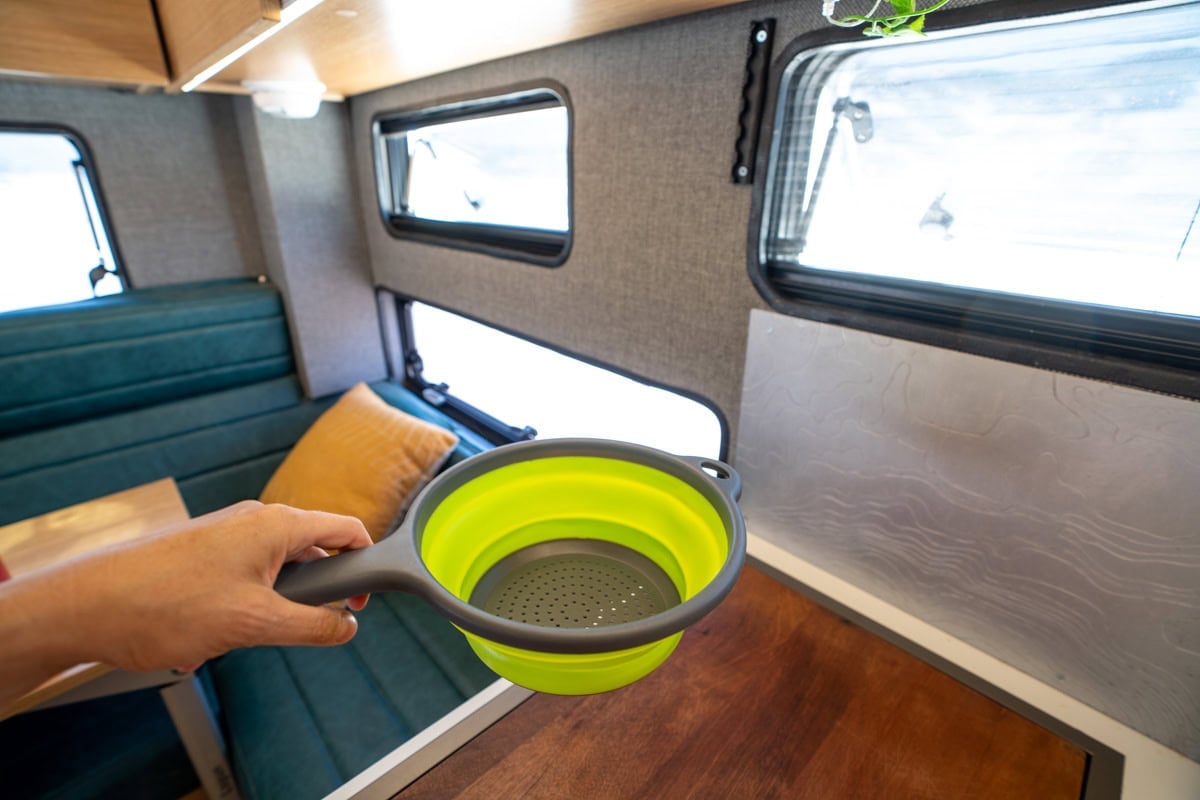
Collapsible silicone tupperware: Space is always at a premium in a camper van, and collapsible tupperware is a great solution. When you’re not using them, they flatten down and barely take up any room.
Stasher bags: Stasher bags are reusable, durable, and come in a variety of sizes. They’re perfect for packing to-go snacks for hikes, storing leftovers in the fridge, or even reheating food — they’re microwave-safe and can handle being put in boiling water. Wait until these go on sale though since they are pretty expensive!
Clean-Up
Keeping your van kitchen clean is much easier when you have the right tools. I like to keep things simple with quick-drying towels and compact cleaning gear that doesn’t take up much space.
Quick-dry towel or dish drying mat: When doing dishes, we place a quick dry towel on the counter to lay out the clean dishes off before we dry them.
Dish brush with soap in the handle: Makes washing dishes quick and easy without needing a separate soap bottle.
Eco-friendly dish soap: Using biodegradable, non-toxic soap helps protect the environment — especially when you’re draining grey water outdoors.
Final Thoughts
After years of part-time van life — and now traveling full-time with my son — I’ve learned that having the right kitchen setup can make or break your experience on the road. Keeping it simple, convenient, and easy to clean helps us spend less time dealing with dishes and more time soaking up the places we’re there to explore.
I hope this list of my favorite campervan cooking equipment and van life kitchen essentials helps you feel more confident in building out your own kitchen setup.
If you have any favorite kitchen gear you can’t live without, I’d love to hear about it in the comments.
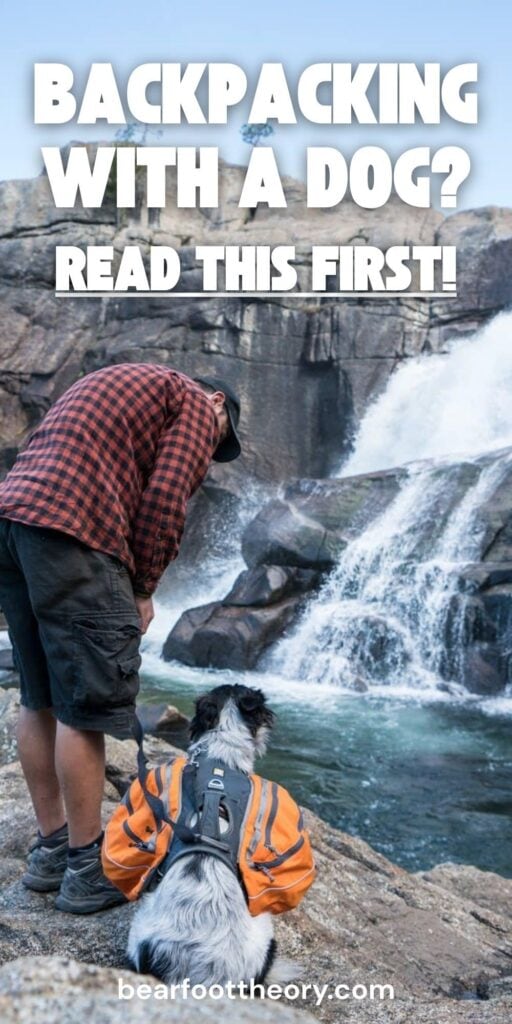
The first time I ever tried backpacking with a dog was back in 2010 with my Rhodesian ridgeback, Johnny. Honestly, I had no idea what I was doing—and it showed. Partway through the hike, Johnny overheated and just… stopped. He refused to move.
At 80 pounds, carrying him wasn’t an option. I panicked. It took a lot of coaxing (and a lot of treats) to get him down to a stream where he finally cooled off. It was scary, and I was so worried for his safety that I never took him backpacking again.
Fast forward to now, and things look a lot different. The dog I got next is Charlie. He’s a border collie with boundless energy and trail smarts to match. He’s the ultimate hiking partner, and thanks to his athleticism—and everything I’ve learned over the years—I felt confident giving backpacking with a dog another try.
Since then, Charlie and I have done tons of overnight trips, and I’ve picked up a lot of knowledge about what makes for a safe, successful backcountry adventure with a canine companion.
In this post, I’m sharing everything I’ve learned from experience, including:
How to choose a dog-friendly trail and prep your pup for the terrain
What gear your dog actually needs (and how to train them to carry it)
How to manage hydration, nutrition, and paw care on the trail
What to do at camp to keep your dog safe, happy, and well-rested
How to follow Leave No Trace with your dog in the backcountry
Whether it’s your first overnight or your tenth, I hope this helps you and your dog have an amazing trip.
1) Choose a Dog-Friendly Trail
The very first thing I check before planning a backpacking trip with my dog is whether the trail even allows dogs. A lot of National Parks are off-limits, which is a bummer, but National Forest and BLM lands are usually much more welcoming. When I’m not sure, I just call the local ranger station and ask.
Once I’ve confirmed dogs are allowed, I start looking at whether the trail is actually good for a dog. Just because dogs are permitted doesn’t mean the trail is going to be safe or comfortable for them. These are the things I personally look for:
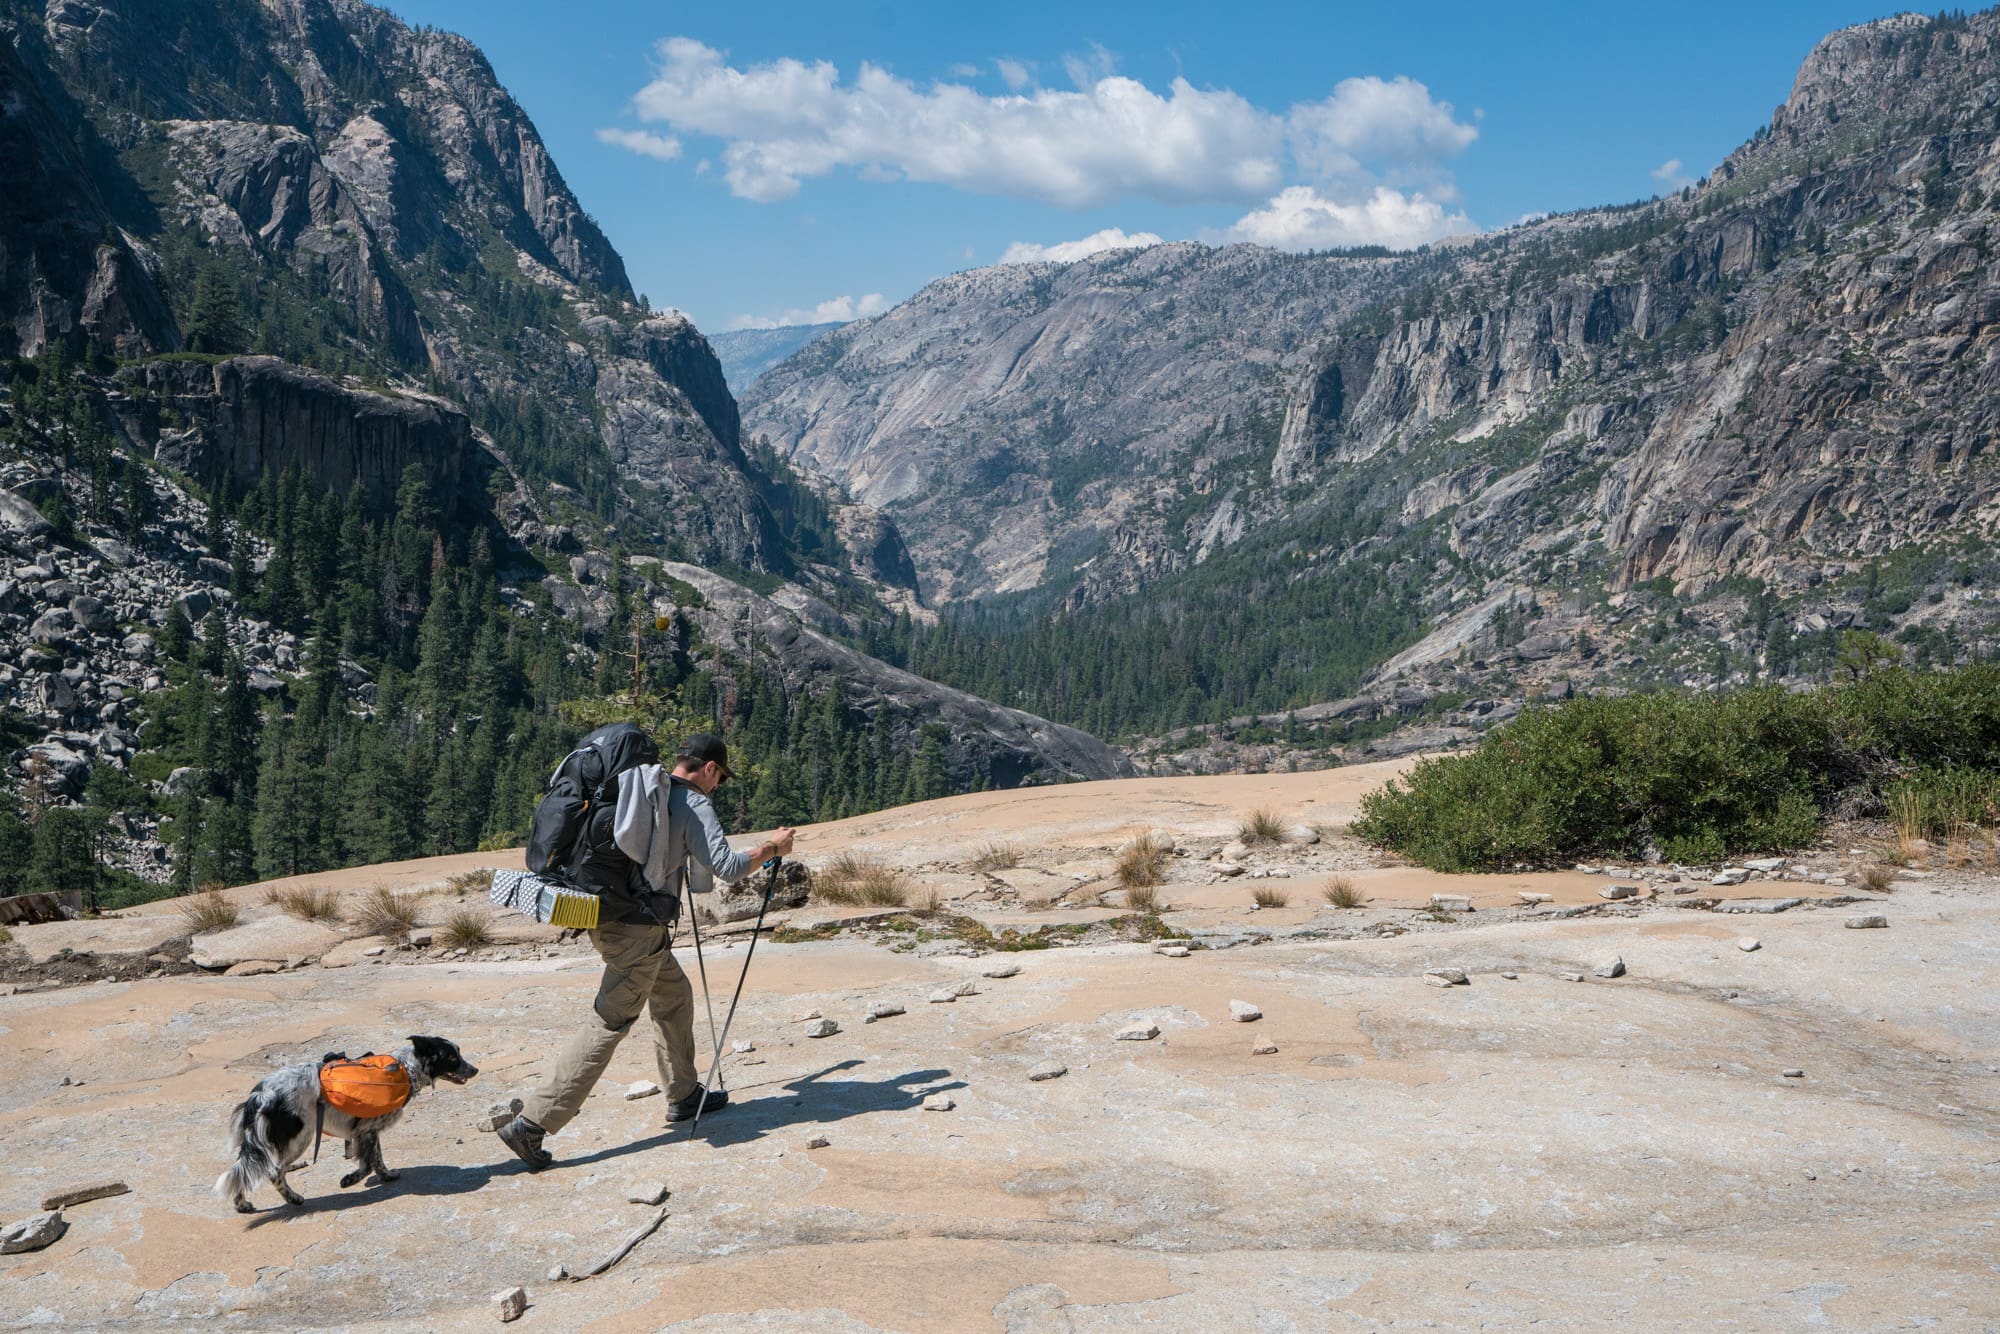
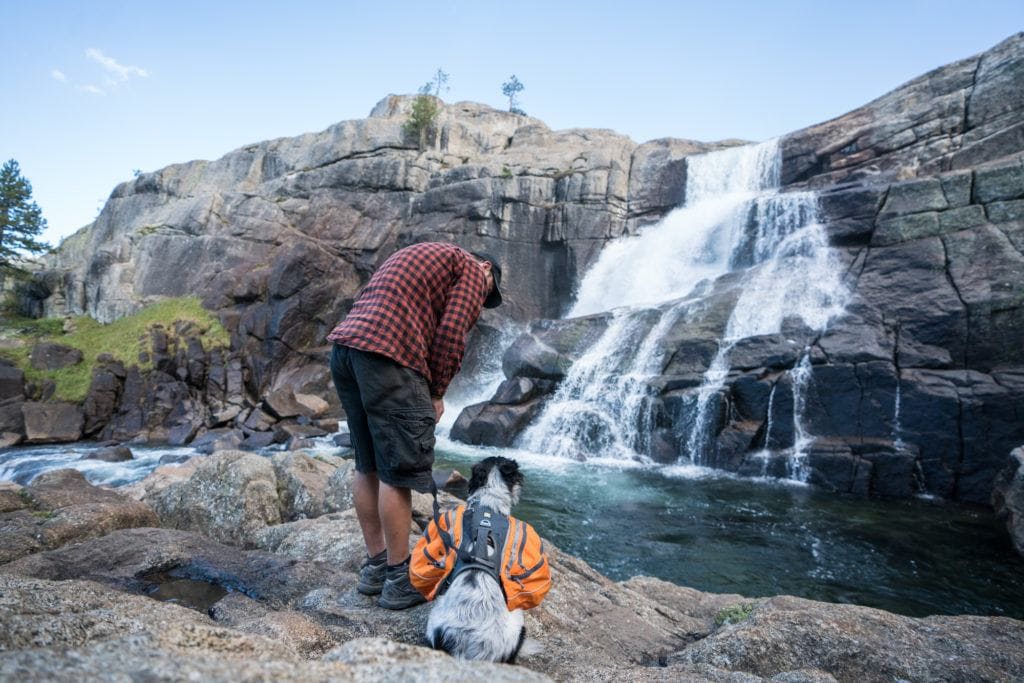
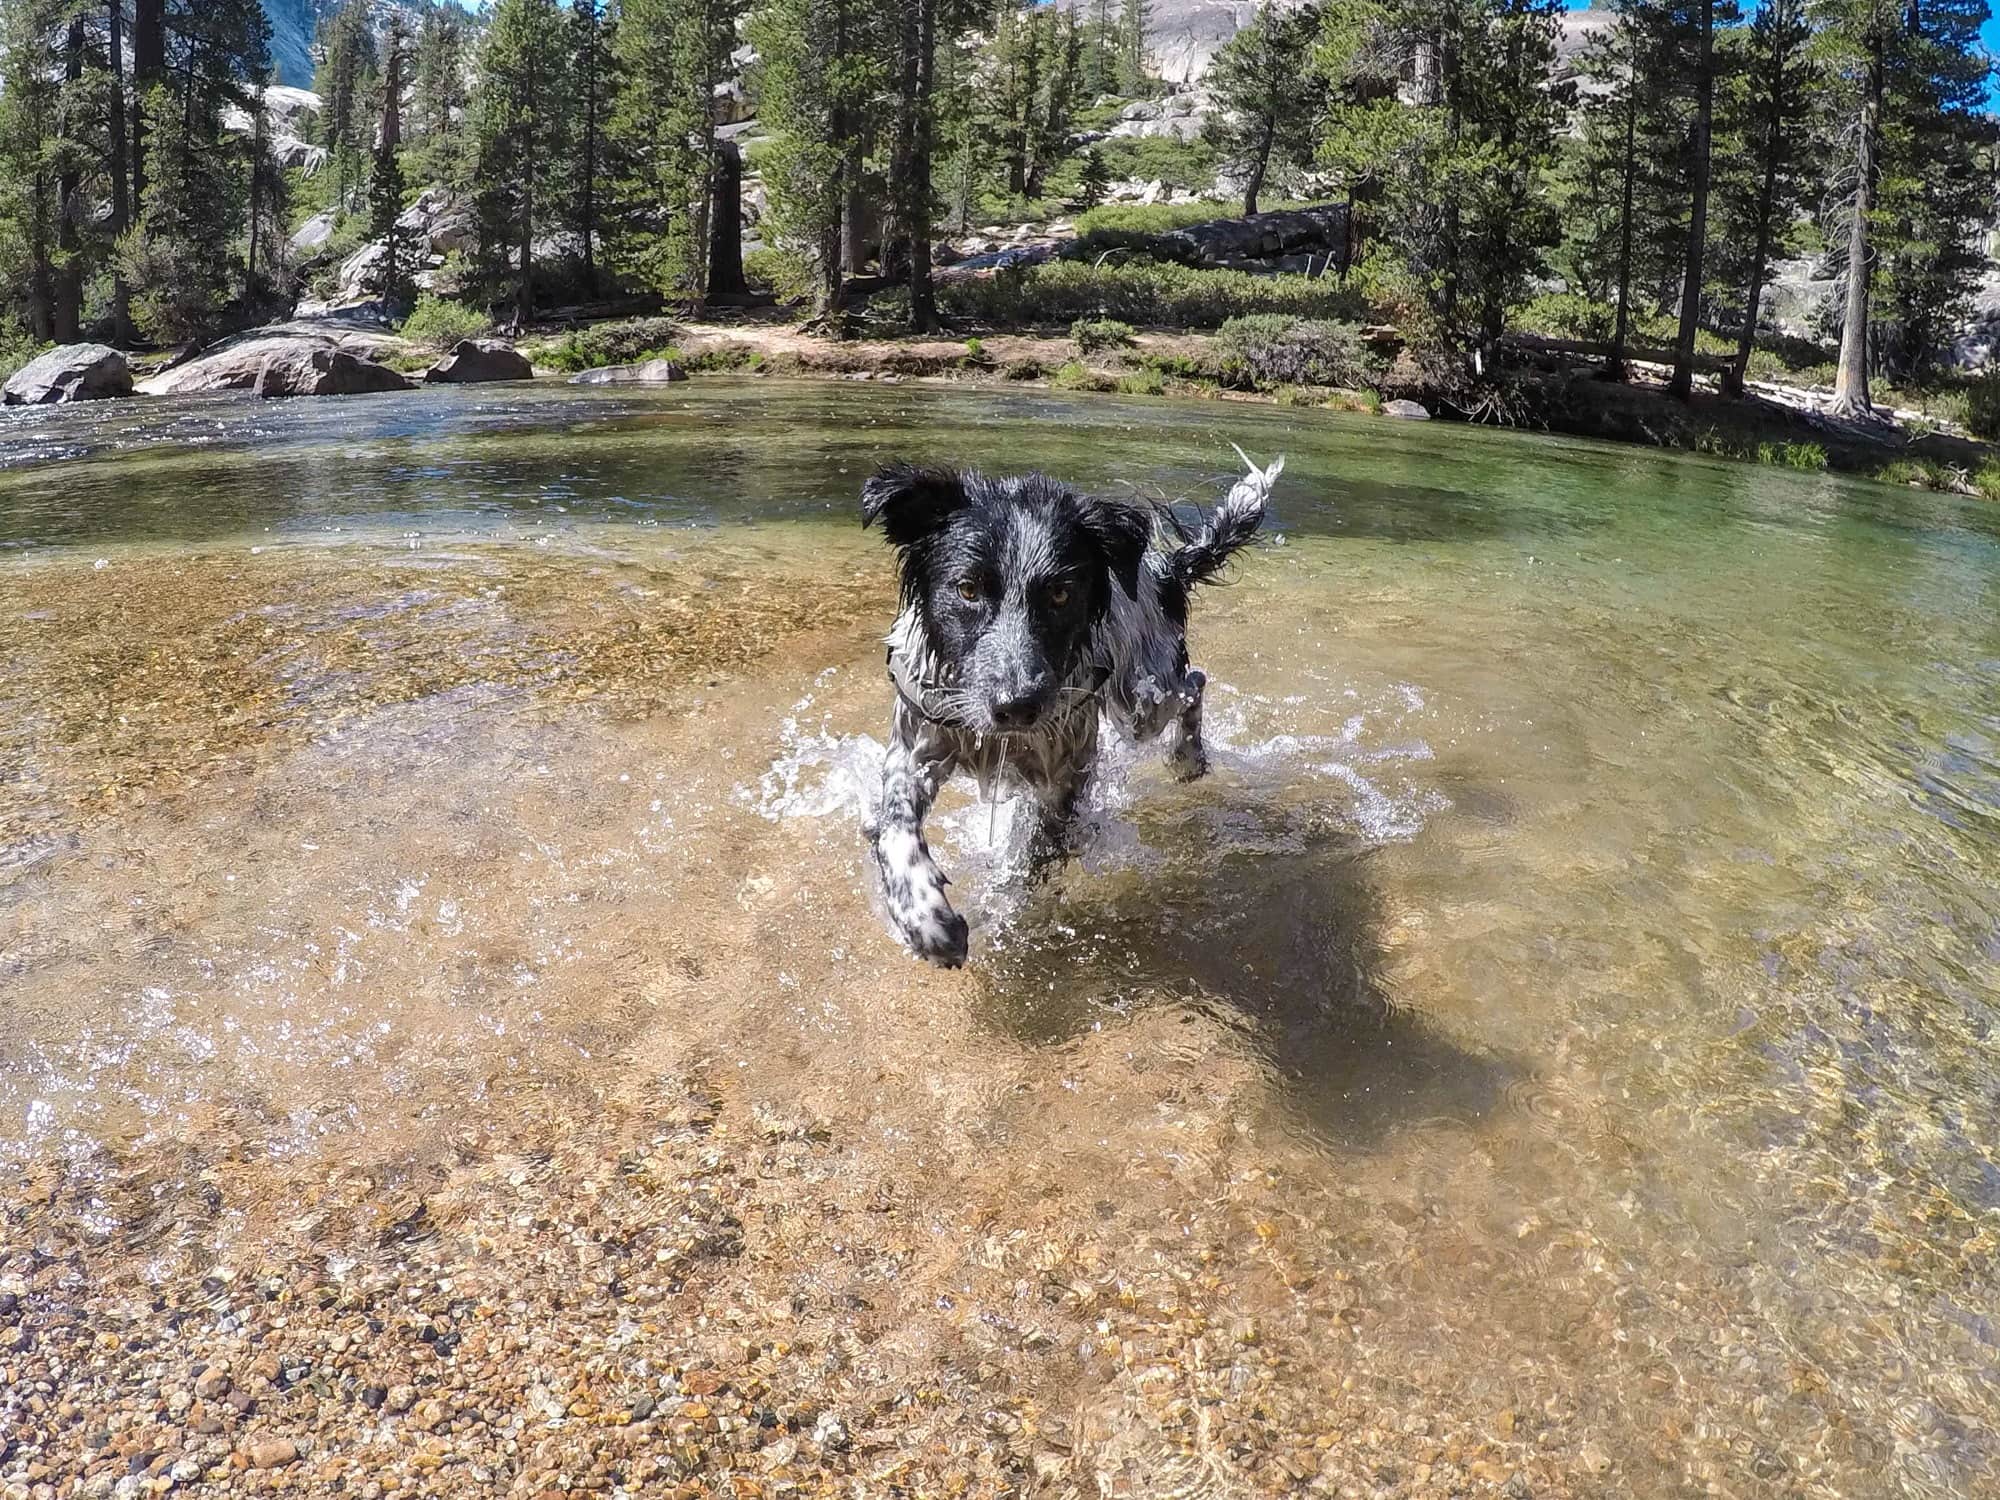
Water access: I try to pick routes that have creeks, lakes, or at least reliable water sources along the way. Charlie loves to splash around to cool off, and it also means I don’t have to carry as much water for him. When he gets a chance to play in the water, he’s noticeably more relaxed and happy on the trail.
Reasonable terrain: If a trail is super rocky or rough, it can really mess with a dog’s paws—especially on longer hikes. I’ve learned the hard way that terrain that looks “fun and rugged” for me might be painful for Charlie, so I lean toward smoother trails or ones with soft ground when possible.
Cooler temps or plenty of shade: After my scary experience with Johnny getting heat exhaustion, I’m much more cautious about the weather. If it’s going to be really hot, I’ll either go somewhere higher in elevation, look for shaded forest trails, or skip the trip altogether. Dogs feel so much hotter than humans due to their hair, so it’s best to play it safe here.
Wildlife considerations: Some animals—like grizzlies or moose—really don’t like dogs. I’m not saying you shouldn’t hike in areas where those animals live, but you do need to be aware and take extra precautions. I always read recent trail reports, carry bear spray when needed, and keep Charlie close when I know there’s a chance we could encounter something dangerous.
Do research ahead of time to find dog-friendly trails
2) Make Sure Your Dog is Physically Prepared
Not all dogs are built for backpacking. Breeds like bulldogs struggle with heat and endurance, so if you’re still choosing a dog, look for an active breed that enjoys exercise.
That said, size isn’t everything—small dogs – like my mini-aussie Gumbo – can totally hit the trail. They just might need help over obstacles and won’t be able to carry much.
If your dog is new to hiking, start with short day hikes and build up slowly. Dogs need to condition just like we do, especially if they’ve been mostly indoor pets. When Charlie was getting started, I took him on gradually longer hikes to see how he handled it.
Once your dog has some trail experience, pick routes that match their ability. Charlie can do big mileage now, but when he was a puppy, I kept it easy so he could build stamina and confidence. Don’t expect your dog to do 10-mile days right off the bat—they’ll enjoy it a lot more if you ease into it.
Go on day hikes with your dog and keep them active before taking them backpacking
3) Keep Your Dog Under Control at All Times
Even if your dog is great off-leash (like Charlie usually is), I always carry a leash where I can grab it fast. You never know when you might run into wildlife—or a hiker who doesn’t love dogs as much as you do. If your dog starts to bolt after a deer, you’ll want a way to reel them in quickly.
When our dogs are off-leash, we use e-collars set to vibrate mode. It’s super effective for getting their attention when they start to wander or get distracted. If we need them to heel, a quick buzz usually does the trick.
If you’re thinking about letting your dog off-leash, make sure they’re fully trained and have solid recall. If they don’t come the first time you call, they’re not ready. And just in case something goes wrong, make sure your dog has current ID tags and a microchip.
Make sure your dog has up-to-date ID tags and has great voice recall
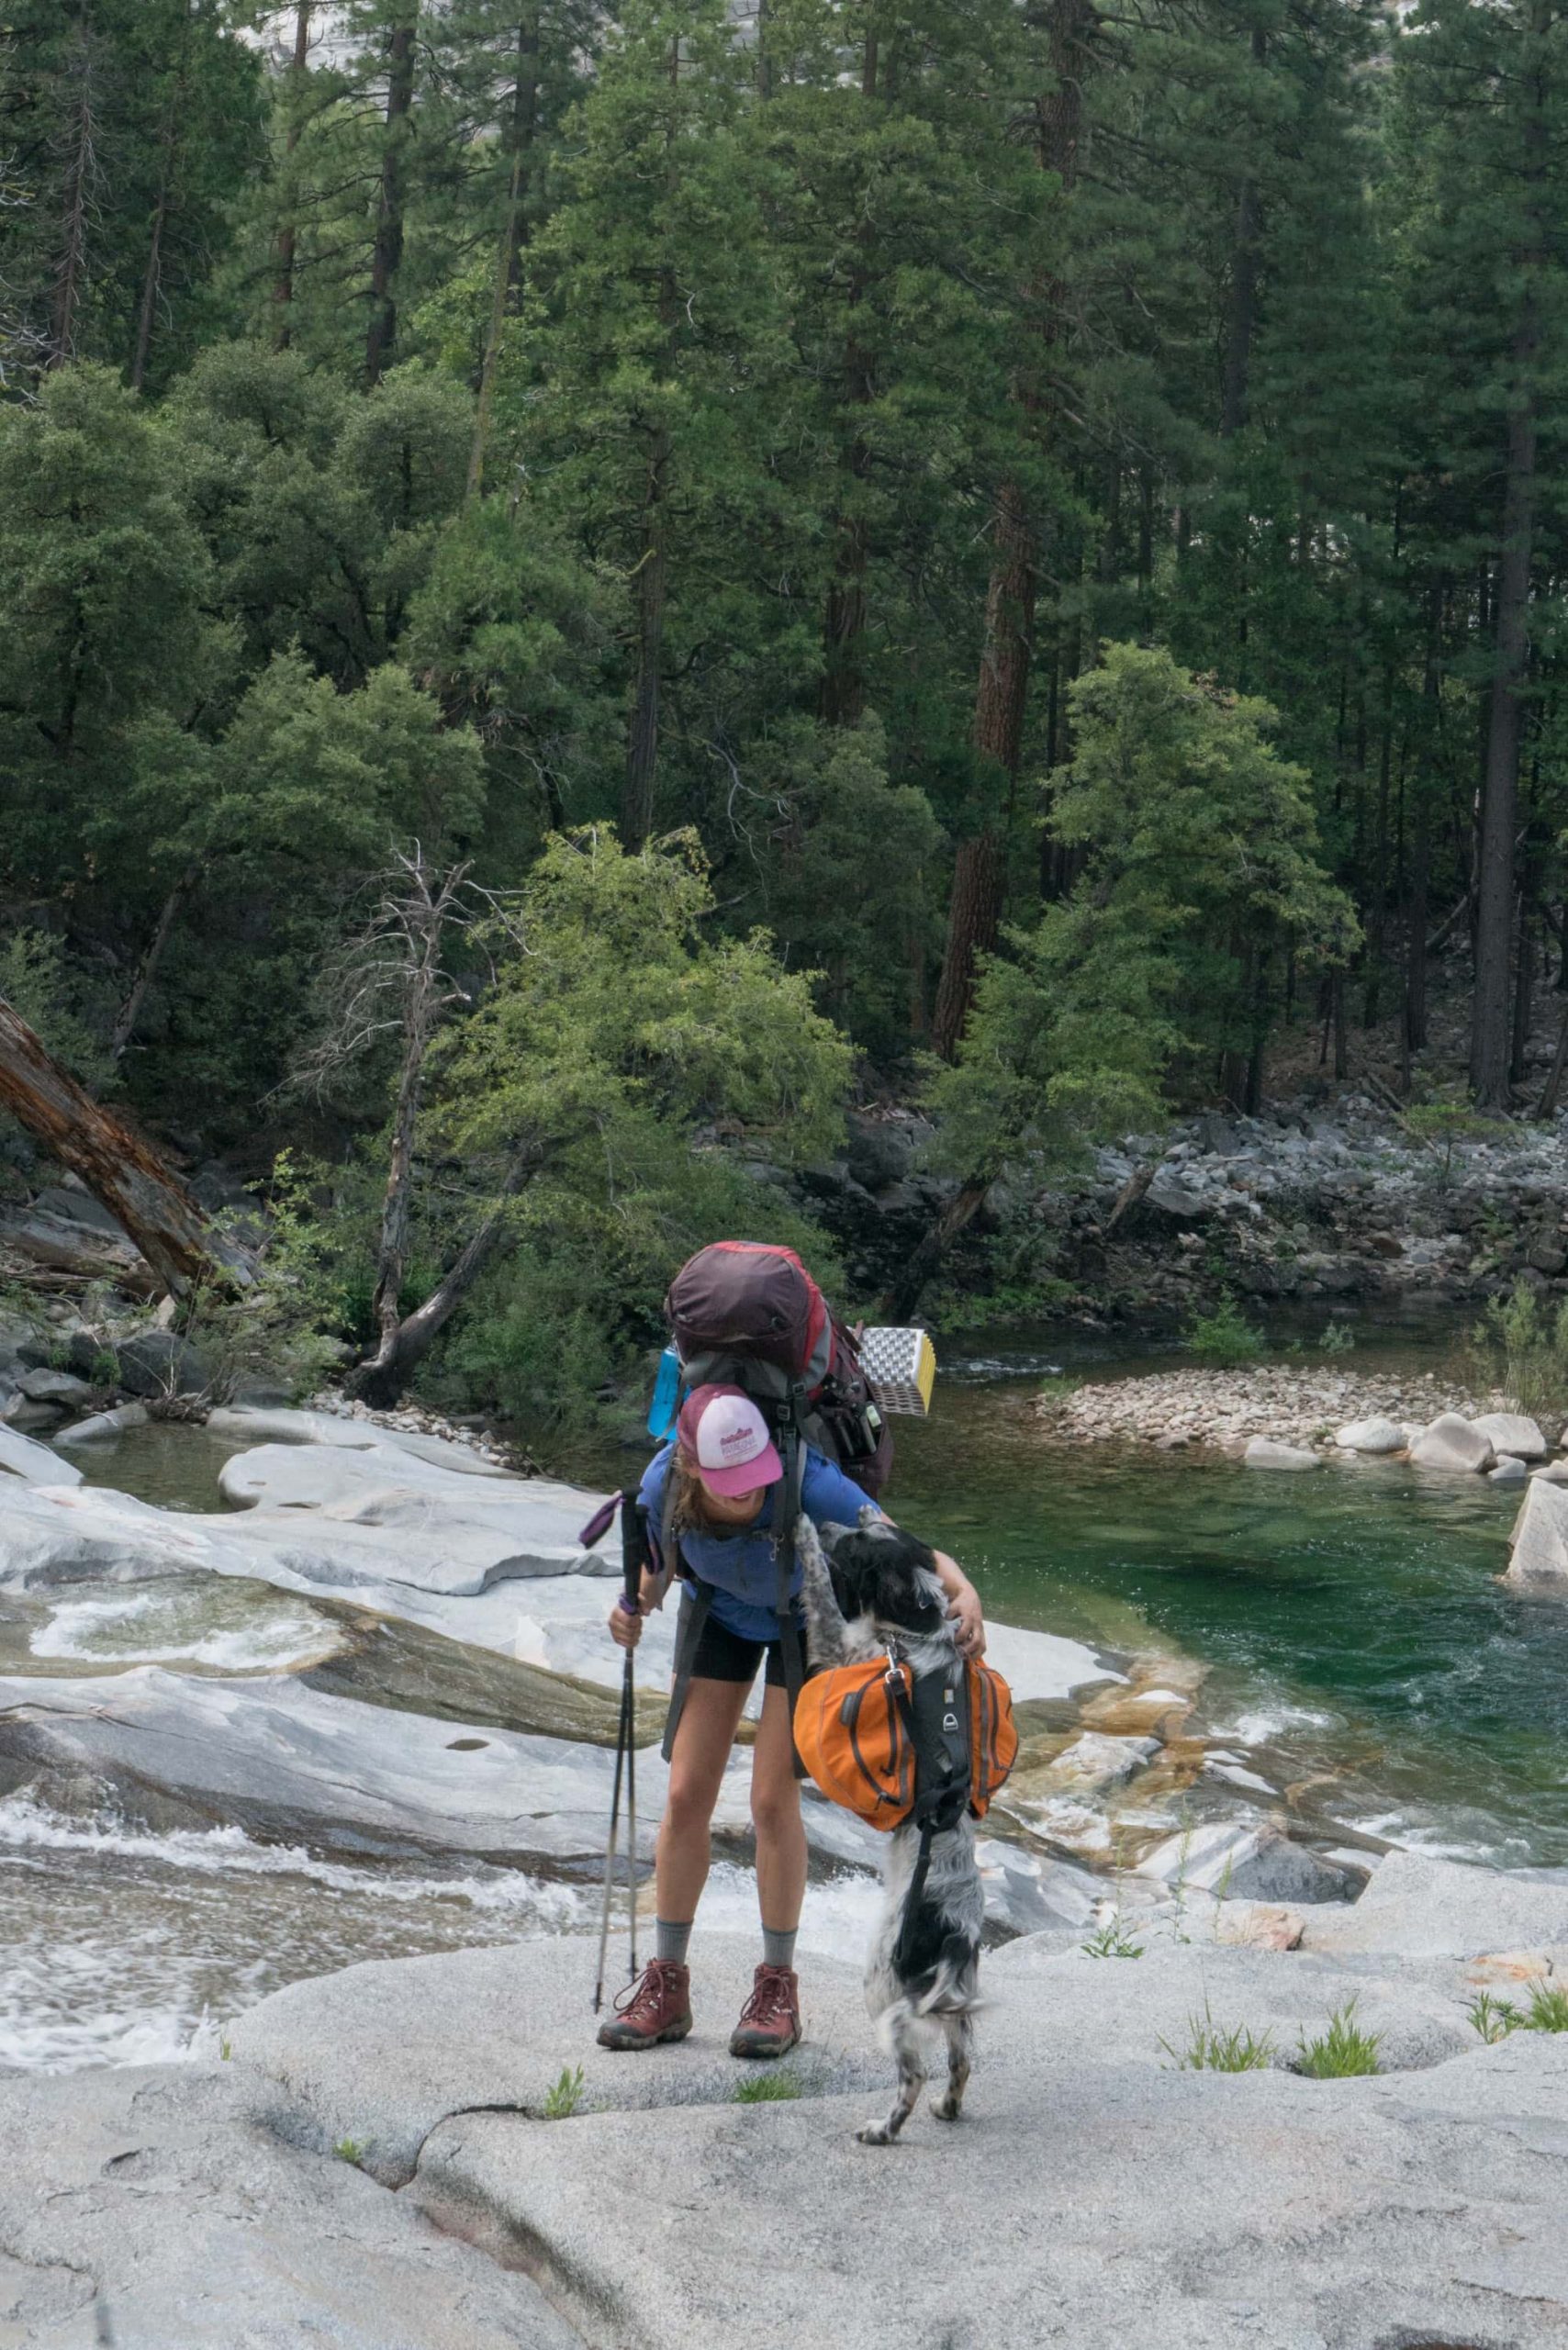
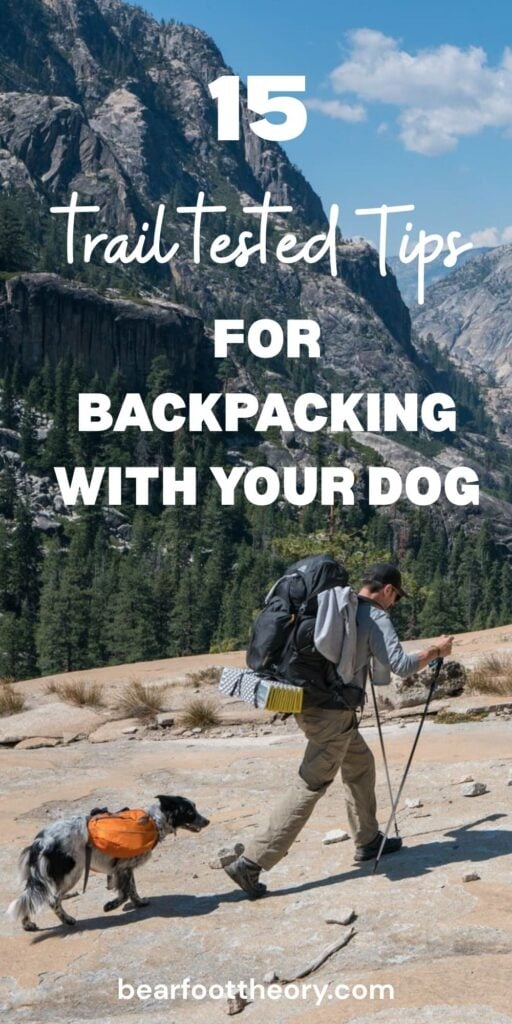
4) Let Your Dog Carry Their Own Gear
Once Charlie started joining us on backpacking trips, getting him a backpack was a total game-changer. It lightened my pack and gave him a little job to do—which, as a working dog, he loves. Many dogs enjoy having a “task,” and carrying their own food and gear is a great way to keep them engaged on the trail.
I recommend starting with no more than 10% of your dog’s body weight.
We use the Ruffwear Approach Pack, which has been perfect for Charlie. It’s durable, fits well, and the saddlebags are streamlined enough that they don’t flop around when he runs or scrambles over rocks. Ruffwear also makes a lighter version called the Front Range Pack if your dog’s carrying less weight or just getting started.
In his pack, Charlie carries a little bit of food, a collapsible bowl, a ziplock of treats, and poop bags – so nothing too crazy, but I find that it keeps him focused on the trail.
A dog backpack allows your dog to carry their own food, water, and treats
5) Make Sure Your Dog Gets Adequate Nutrition
Backpacking burns a ton of calories—for both you and your dog. When Charlie’s on the trail, he definitely eats more than usual, so I always bring a little more food than I think he’ll need.
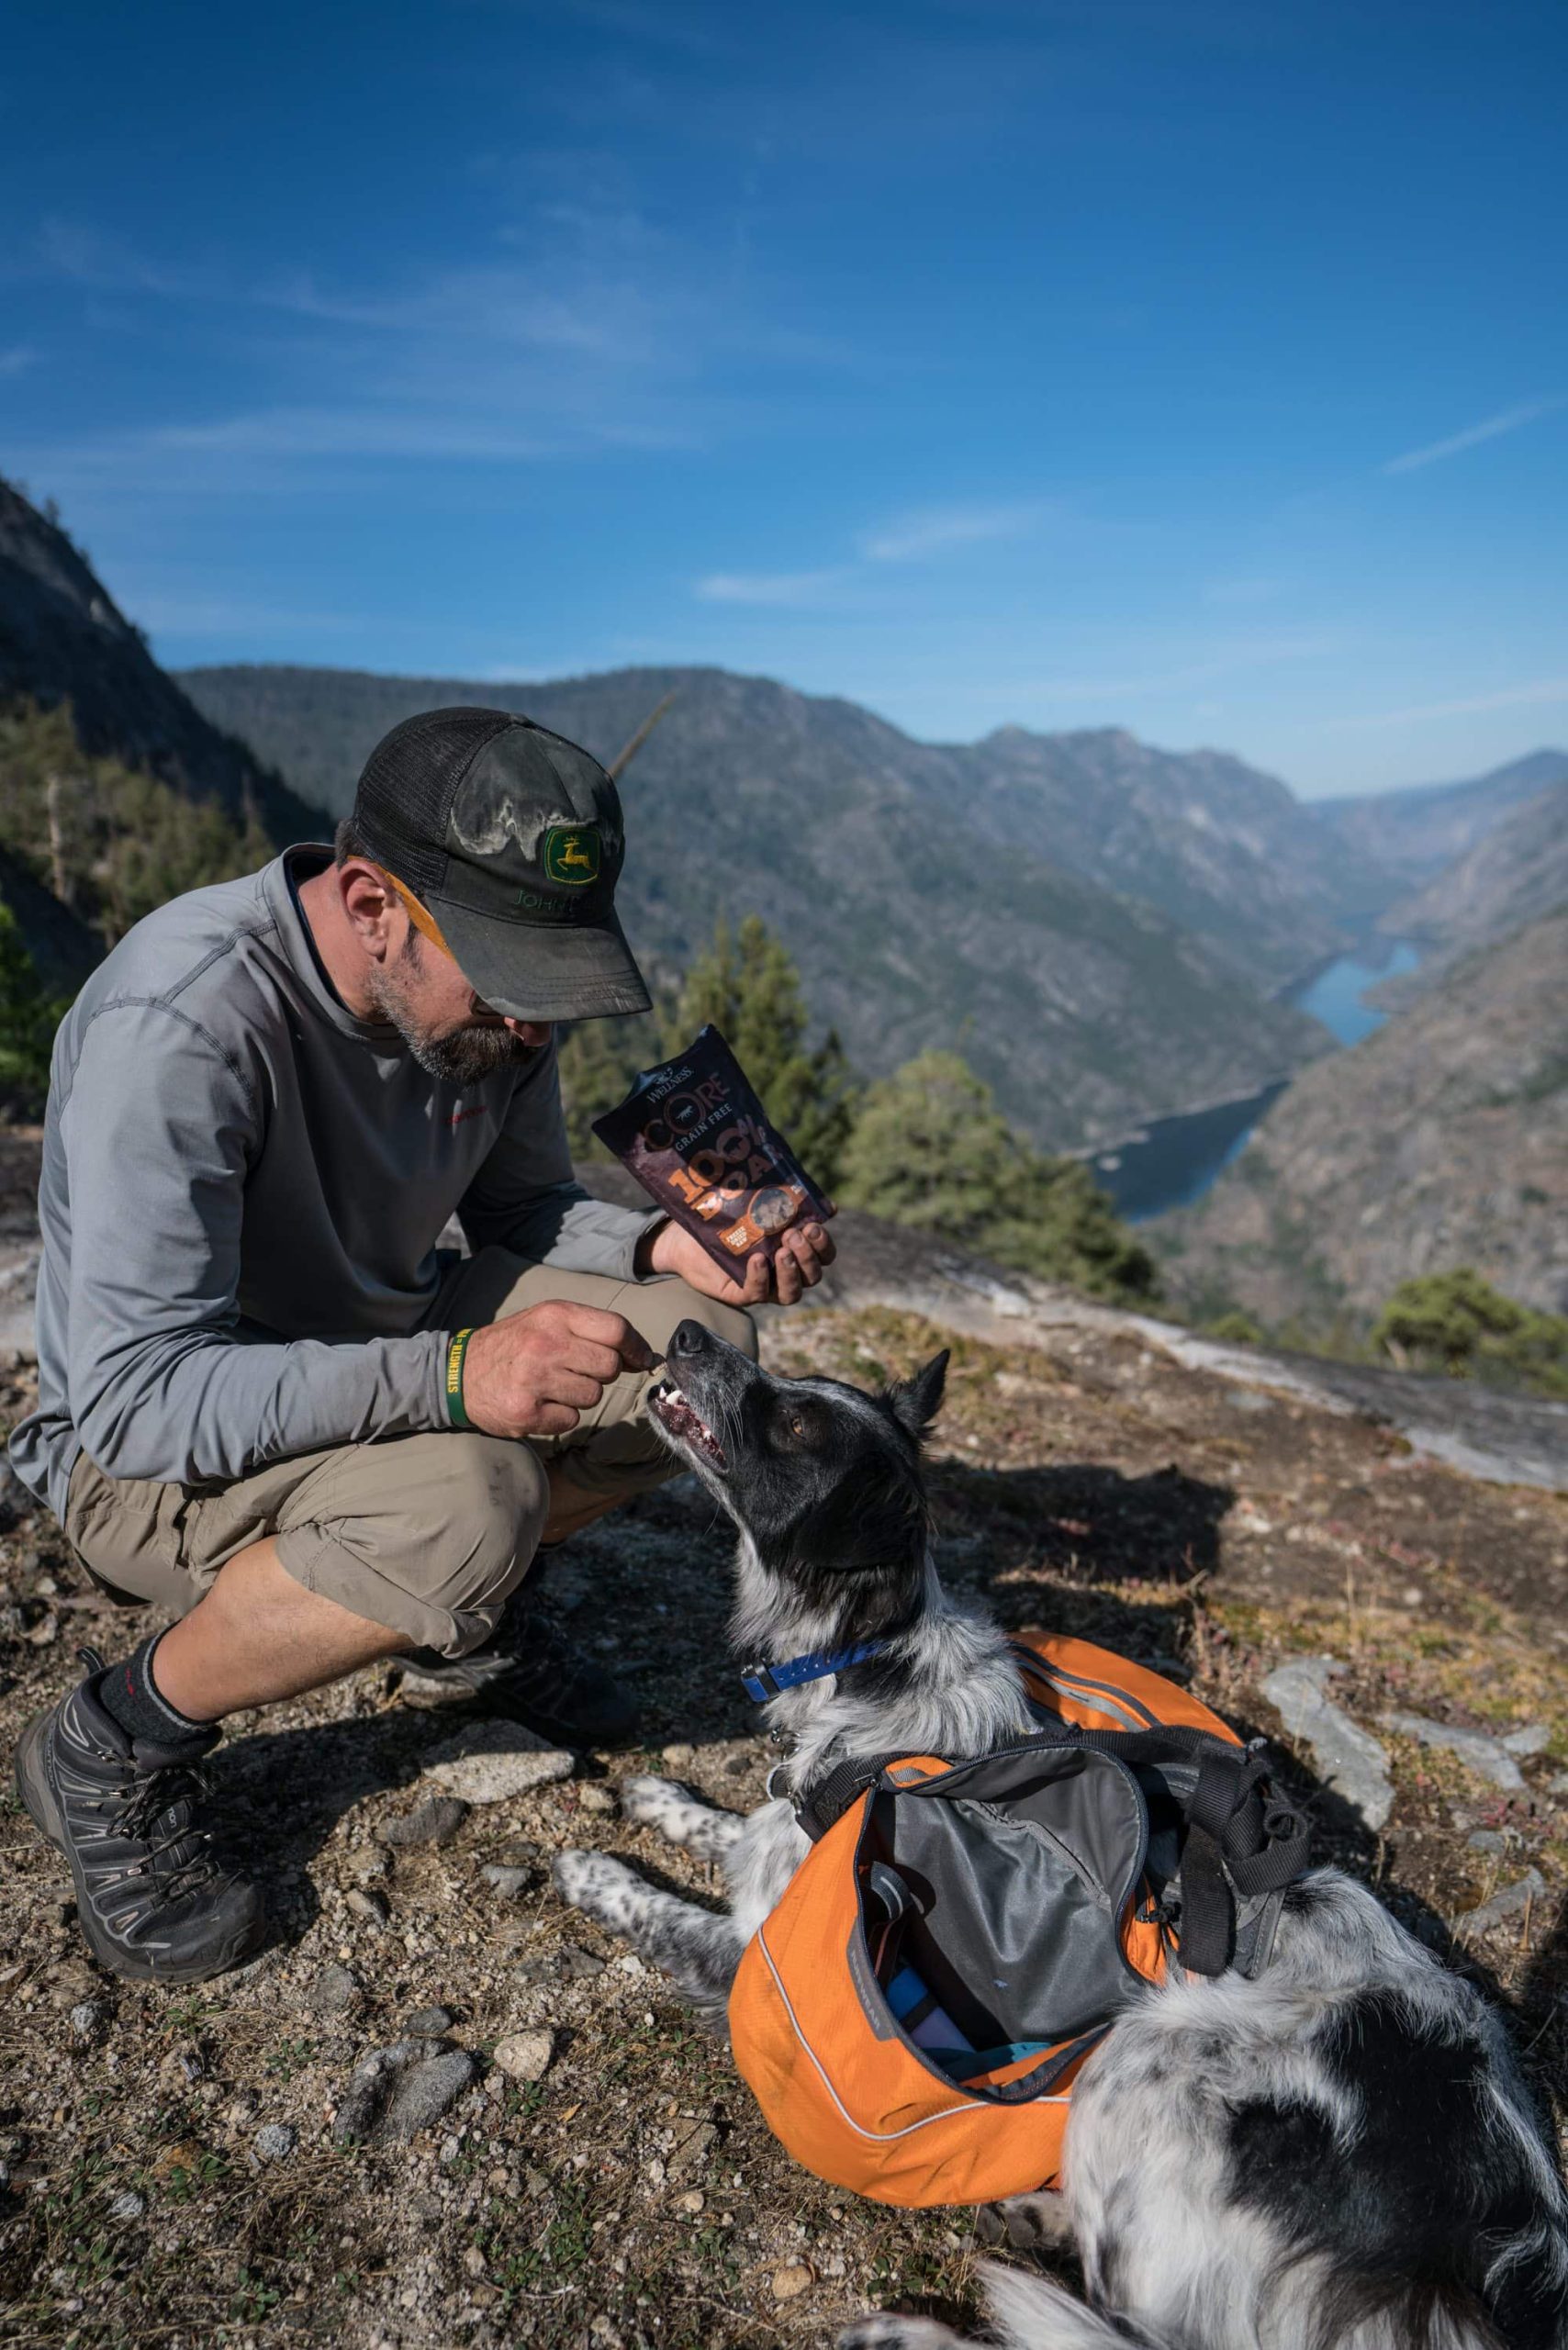
I also pack lightweight treats to reward good trail behavior and give him an energy boost. Freeze-dried treats are my go-to—they’re light, don’t crumble, and Charlie will do pretty much anything for them.
If you’re backpacking in bear country, make sure your dog’s food and treats go in your bear canister, right along with your own. Not only will this protect it from bears, it’ll also keep out mice, squirrels, and other critters who would love to chew through your pack for a snack. If you’re not using a canister, still be smart—never leave dog food unattended in your tent or backpack.
Bring extra food and snacks on your trip to keep your dog well-nourished and energy levels high
6) Keep Your Dog Hydrated
Staying on top of hydration is one of the most important parts of backpacking with a dog. I always make sure Charlie has access to clean water throughout the day—just like I do for myself. And yes, I filter his water too (see my next point).
When we’re at camp or taking a break, I set out his collapsible bowl (we use one from Ruffwear that fits right in his backpack) and offer him water. On the trail, I make a point to stop every hour or two for a drink, and I watch for early signs of dehydration like a dry nose or extra panting.
Make sure your dog always has frequent, easy access to water
7) Filter Your Dog’s Water
Just like I wouldn’t drink straight from a stream, I don’t let Charlie drink untreated water either. Dogs can get sick from the same pathogens we can—like giardia or other parasites—and the last thing you want is a sick dog in the middle of the backcountry.
So whatever I’m using to filter my own water, I use it for his too. I just filter some into his collapsible bowl, and we’re good to go. It’s quick, easy, and totally worth the peace of mind.
8) Keep Your Dog Cool in the Heat
After what happened with Johnny, I’m super cautious about hiking in hot conditions. Heat exhaustion is no joke, and dogs can overheat fast—especially on exposed trails with little shade.
If it’s hot out, I build in more breaks, find shady spots to rest, and let Charlie cool off in streams whenever we come across one. He loves splashing around, and it does wonders for keeping his core temperature down. I avoid hiking in the middle of the day if I can, especially in hotter climates.
The main thing is to watch your dog closely. If they’re panting heavily, slowing down, or looking uncomfortable, stop and cool them off—don’t try to push through it. I’d rather arrive at camp late than risk my dog’s safety.
Help keep your dog cool by stopping for breaks in the shade, keeping them hydrated, and allowing them to splash around in water
9) Protect Your Dog’s Paws While Backpacking
Your dog’s paws take a beating on the trail, especially if you’re hiking on rocky or rough terrain. I’ve learned to check Charlie’s paws regularly—usually at breaks and definitely at the end of the day—to catch any cuts, cracks, or rubbing early before they turn into real problems.
We’ve tried booties, but Charlie absolutely hated them. He would do anything to get them off. What works way better for us is a wax-based paw balm called Musher’s Secret. I put it on in the morning before we start hiking and again at night. It helps moisturize his paws and adds a layer of protection against rough surfaces and hot ground. You just have to make sure they don’t lick it off.
If you’re not sure how your dog’s paws will hold up, start by doing a few longer hikes on similar terrain and see how they do. And always pack a small paw care kit—mine includes Musher’s Secret, some gauze, tape, and a small pair of scissors—just in case we need to deal with a cut on the trail.
10) Keep an Eye on Your Dog at Night
Once we’re at camp, I like to give Charlie a little freedom to move around—but I still want to know exactly where he is. To make that easy, I clip a small LED light to his collar so I can spot him at a glance, even if he wanders into the trees or behind a bush.
It’s such a simple trick, but it gives me peace of mind. I don’t have to constantly call him or worry that he’s wandered too far—I can just follow the little glow bouncing around the campsite.
11) Follow Leave No Trace Practices with Your Dog’s Poop
I was told by rangers in Yosemite that when you are backpacking with your dog, all poop should be buried in a cathole 6–8 inches deep and at least 200 feet from water and camp. If your dog goes too close to a stream or right in the middle of camp, you can use your poop shovel to move it to an appropriate spot and bury it properly. Alternatively, you can carry it out in poop bags.
I store my backpacking poop shovel in a ziplock bag inside Charlie’s backpack to keep things sanitary and easy to access.
Leaving dog waste out in the open isn’t just gross for other hikers—it can contaminate water sources and disrupt the ecosystem.
12) Know Basic Dog First Aid
I’m not a vet, and I won’t pretend I know how to handle every possible dog injury on the trail—but I do believe in being prepared for the basics.
Before I took Charlie backpacking, I made sure that I understood how to treat common, minor issues like a cut paw or a scraped nose. I don’t need to be an expert—I just need to be able to keep things from getting worse until we can get off the trail.
I carry essentials like gauze, tape, antiseptic wipes, and tweezers, plus a few dog-specific items like paw balm and sometimes backup booties if they are absolutely necessary.
* Fun tip: If your dog hates booties, try putting a toddler-sized sock over their paw instead. You can use tape to tighten it so it doesn’t fall off.
If you’re not sure where to start, there are plenty of pre-made dog first aid kits available online, and you can always customize one to fit your trip.
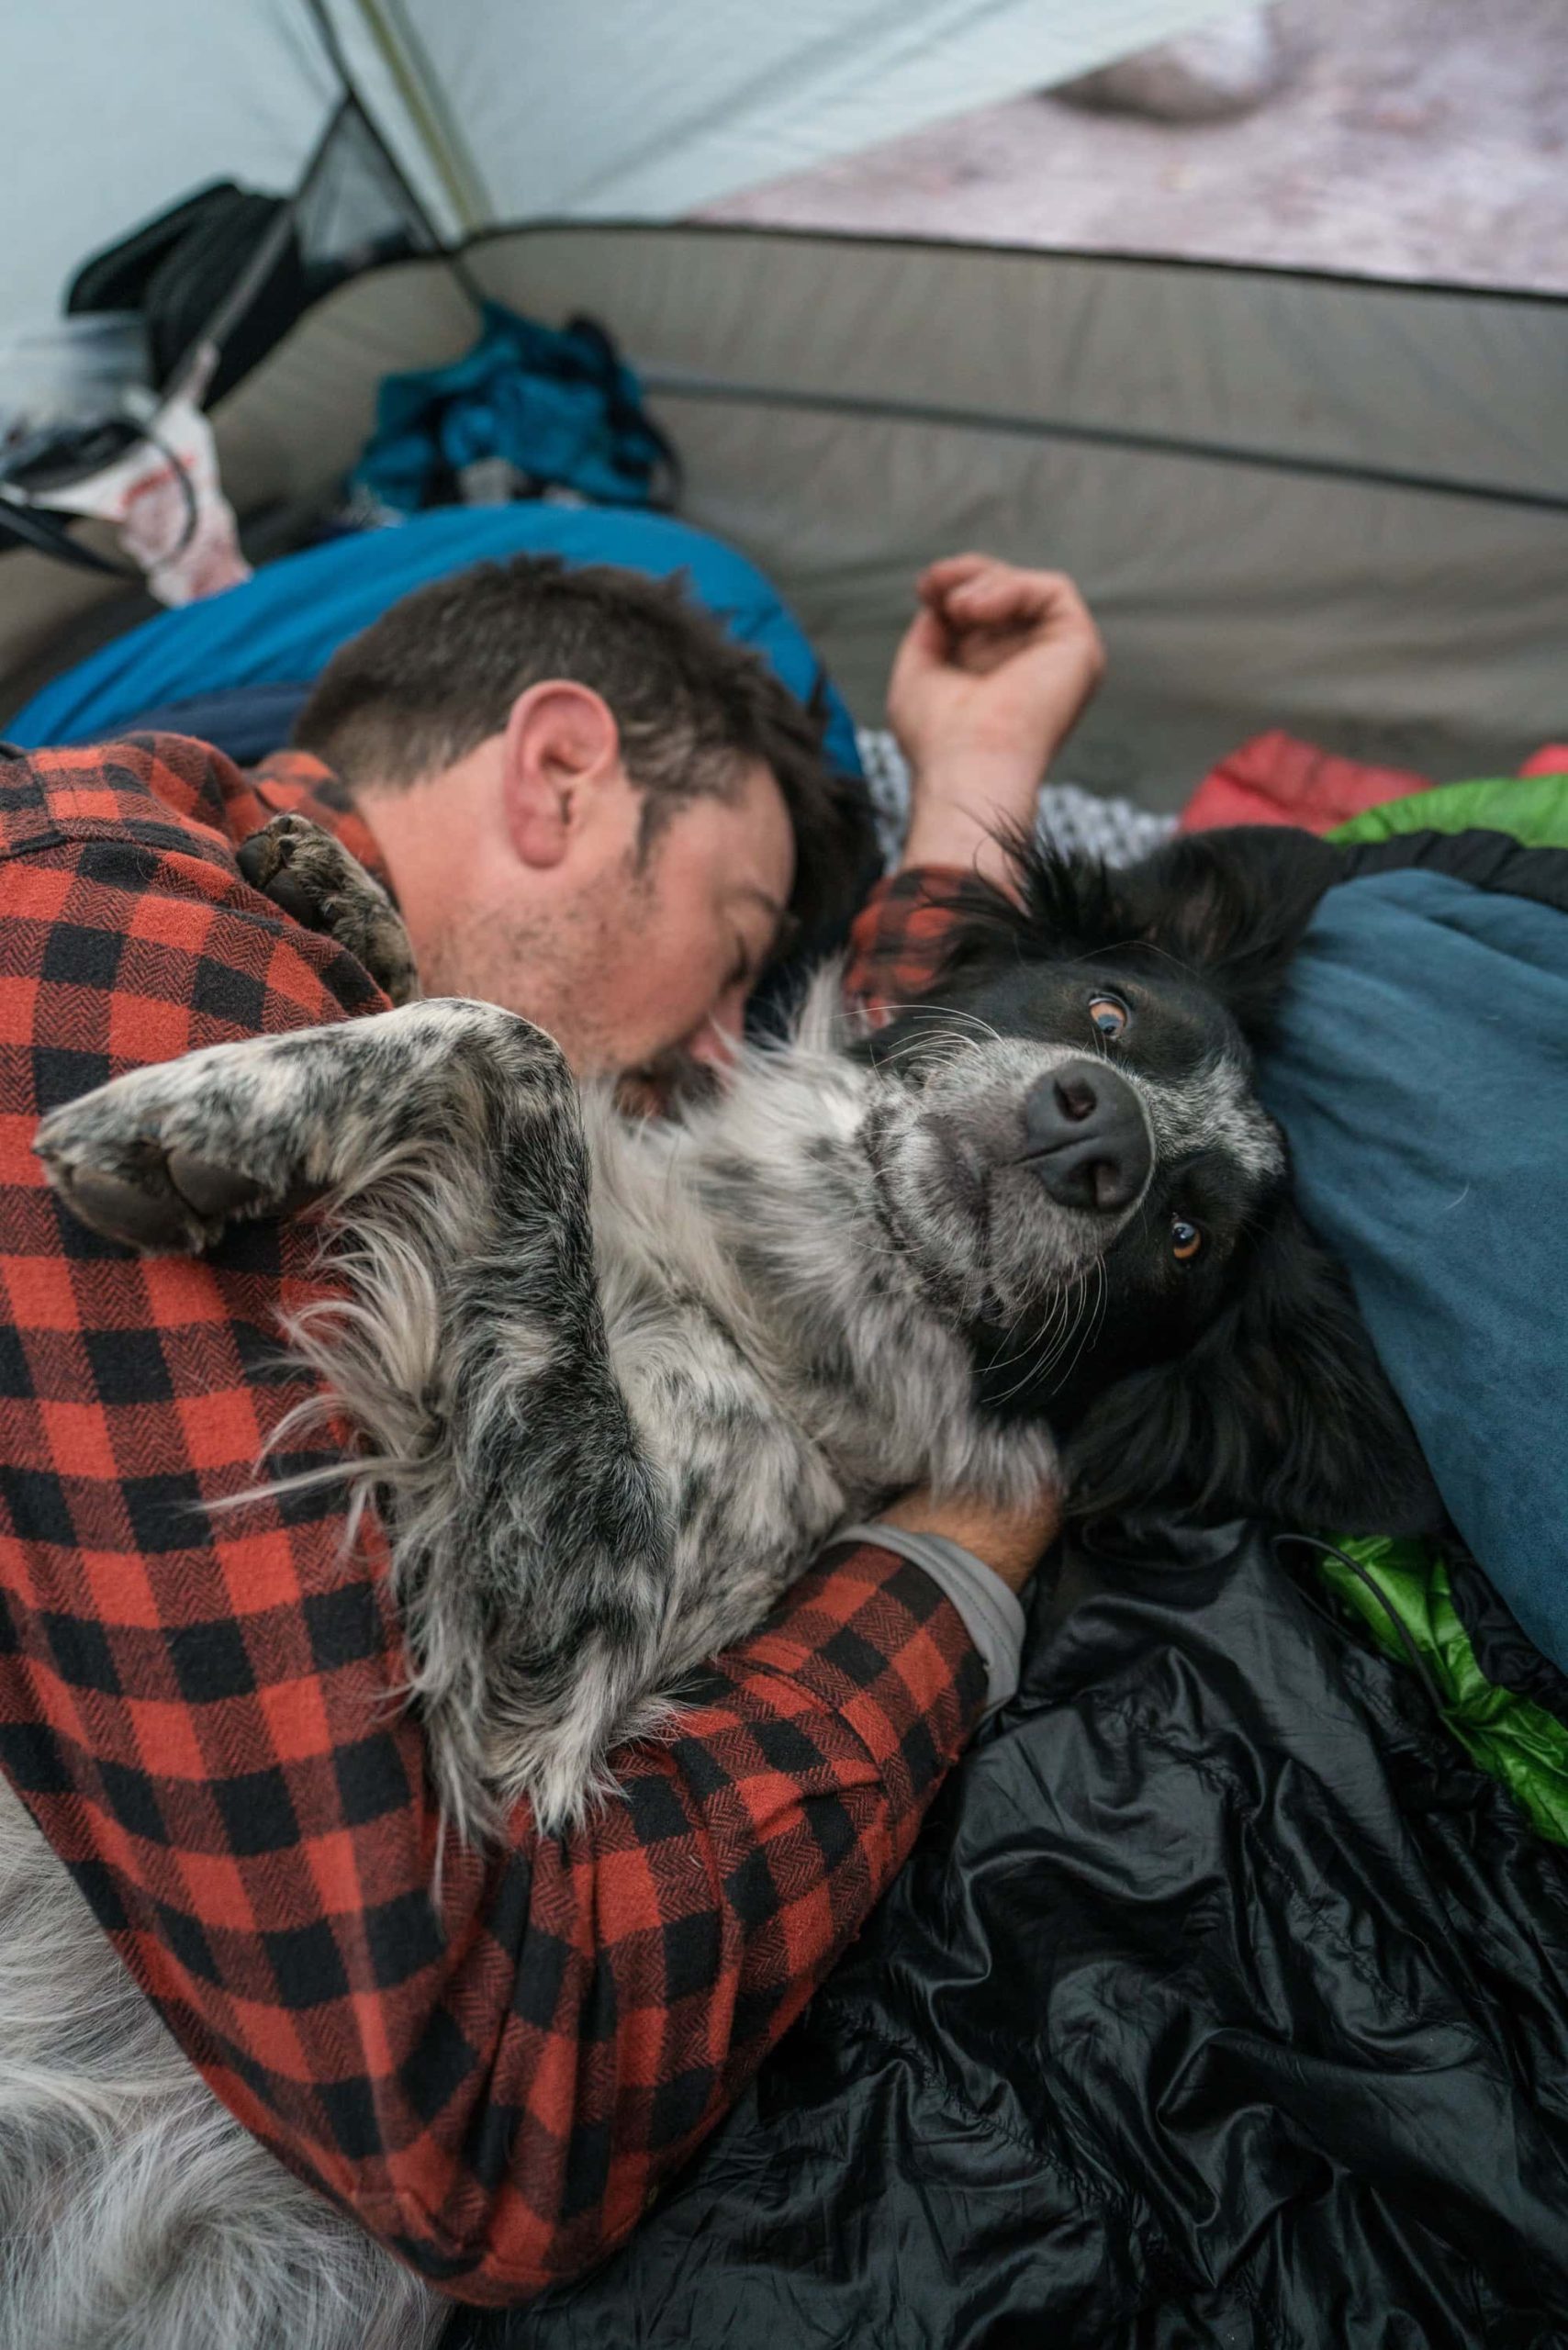
13) Give Your Dog Room to Sleep in Your Tent
If your dog is sleeping in your backpacking tent with you (which I definitely recommend), make sure there’s enough space for everyone to get a good night’s rest. When it’s me, my partner, and Charlie, we bring a 3-person tent so he has his own space.
To make Charlie more comfortable, we pack a closed-cell foam pad just for him. It weighs barely over a pound, but it gives him insulation from the cold ground and a soft spot to crash after a big day. It also helps him settle in quickly—he knows it’s his space when we set it down.
Opt for a larger tent model to allow room for both you and your dog
14) Be Prepared for Emergencies (Even If You Hope You’ll Never Need To)
I never expect something to go wrong on the trail—but I’ve learned to think through the “what ifs” anyway. Especially when I’m backpacking with Charlie, I like to have a rough plan in mind in case he gets injured or something unexpected happens.
I carry a Garmin InReach on all of our trips. I’m obviously not going to hit the SOS button if Charlie’s injured, but it’s peace of mind knowing I can text a friend or family member for help if we need to bail early or I can’t get him out on my own. It’s also a good backup if we lose the trail or run into bad weather.
Before heading out, I usually ask myself:
Could I carry or assist my dog if he got hurt and couldn’t walk out?
How far am I from the trailhead or nearest road?
Will I have cell service, or do I need to rely on my Garmin?
I don’t obsess about worst-case scenarios, but having a loose plan helps me feel more confident out there.
15) Wildlife Awareness on the Trail
Before you go hiking with your dog, it’s essential to brush up on basic wildlife safety tips so you know how to react if you have a run-in with an animal on the trail. I always carry bear spray, leash my dogs, and stay more alert than usual. It’s just not worth the risk to let them roam in areas where a wrong move could escalate fast.
Some animals, like moose, are especially aggressive toward dogs, and a loose dog can make a dangerous situation worse. When we were in the Canadian Rockies, our dogs stayed leashed the entire time.
I also treat dog food like human food—everything scented goes in a bear canister to avoid attracting unwanted visitors around camp.
Backpacking with your dog is one of the most rewarding ways to experience the outdoors. It’s not always easy—there’s extra planning, extra gear, and a few more variables to manage—but sharing those quiet mornings, trail miles, and campfire hangs with your pup makes it all worth it.
If you’re heading out soon, I hope this guide helps you feel confident and ready. And if you’ve already hit the trail with your pup, I’d love to hear about it—drop your best tips or trail stories in the comments!