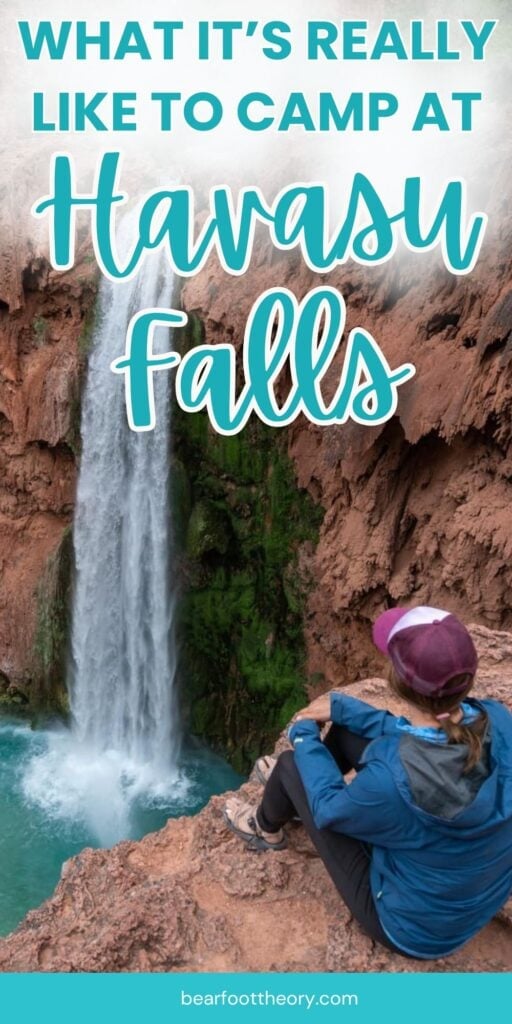
I’ve been lucky enough to hike to Havasu Falls twice, and each trip was an unforgettable adventure. The waterfalls are absolutely magical and worth every ounce of effort it takes to get there.
This iconic Havasu Falls hike, located on Havasupai tribal land, is a bucket list destination for many outdoor lovers. The trail is 10 miles each way, departing from Hualapai Hilltop in Arizona where you descend into a steep canyon and travel through a dry sandy wash all the way to paradise.
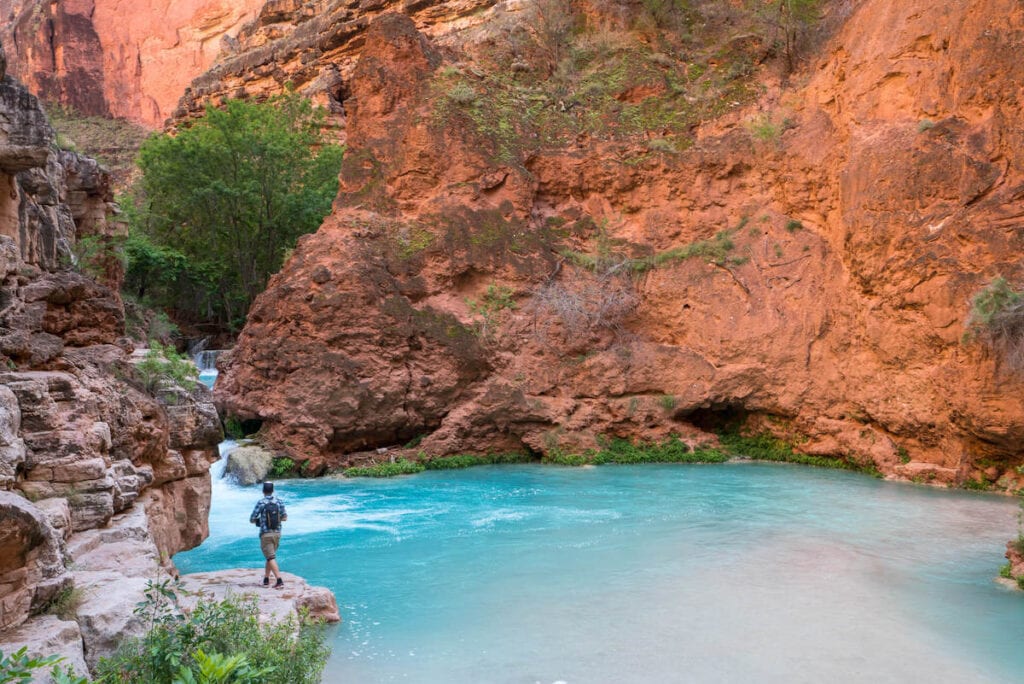
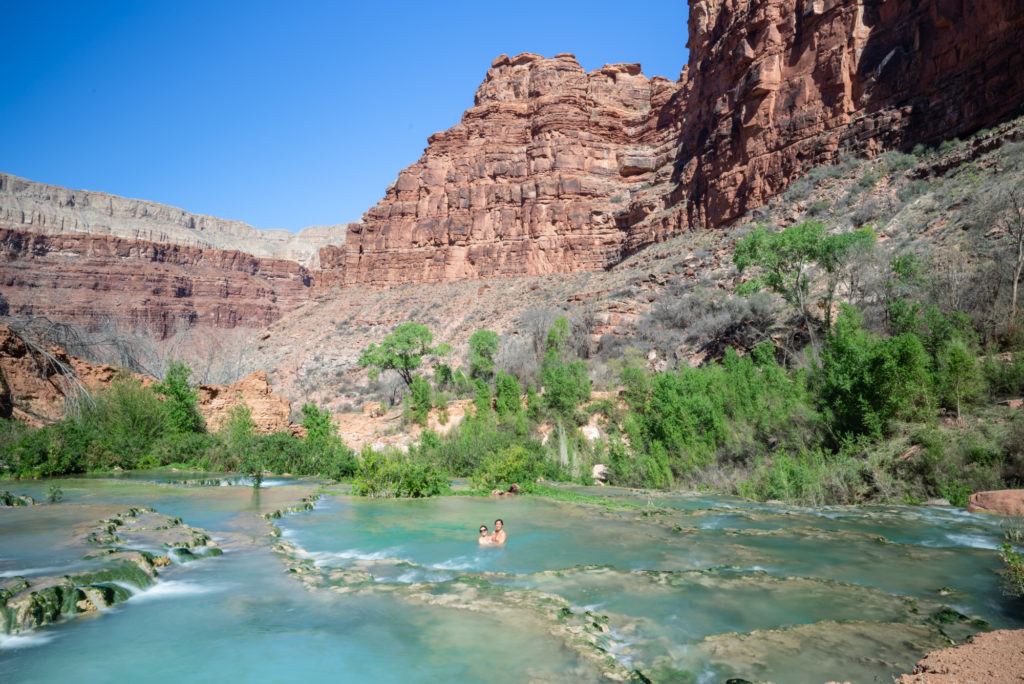
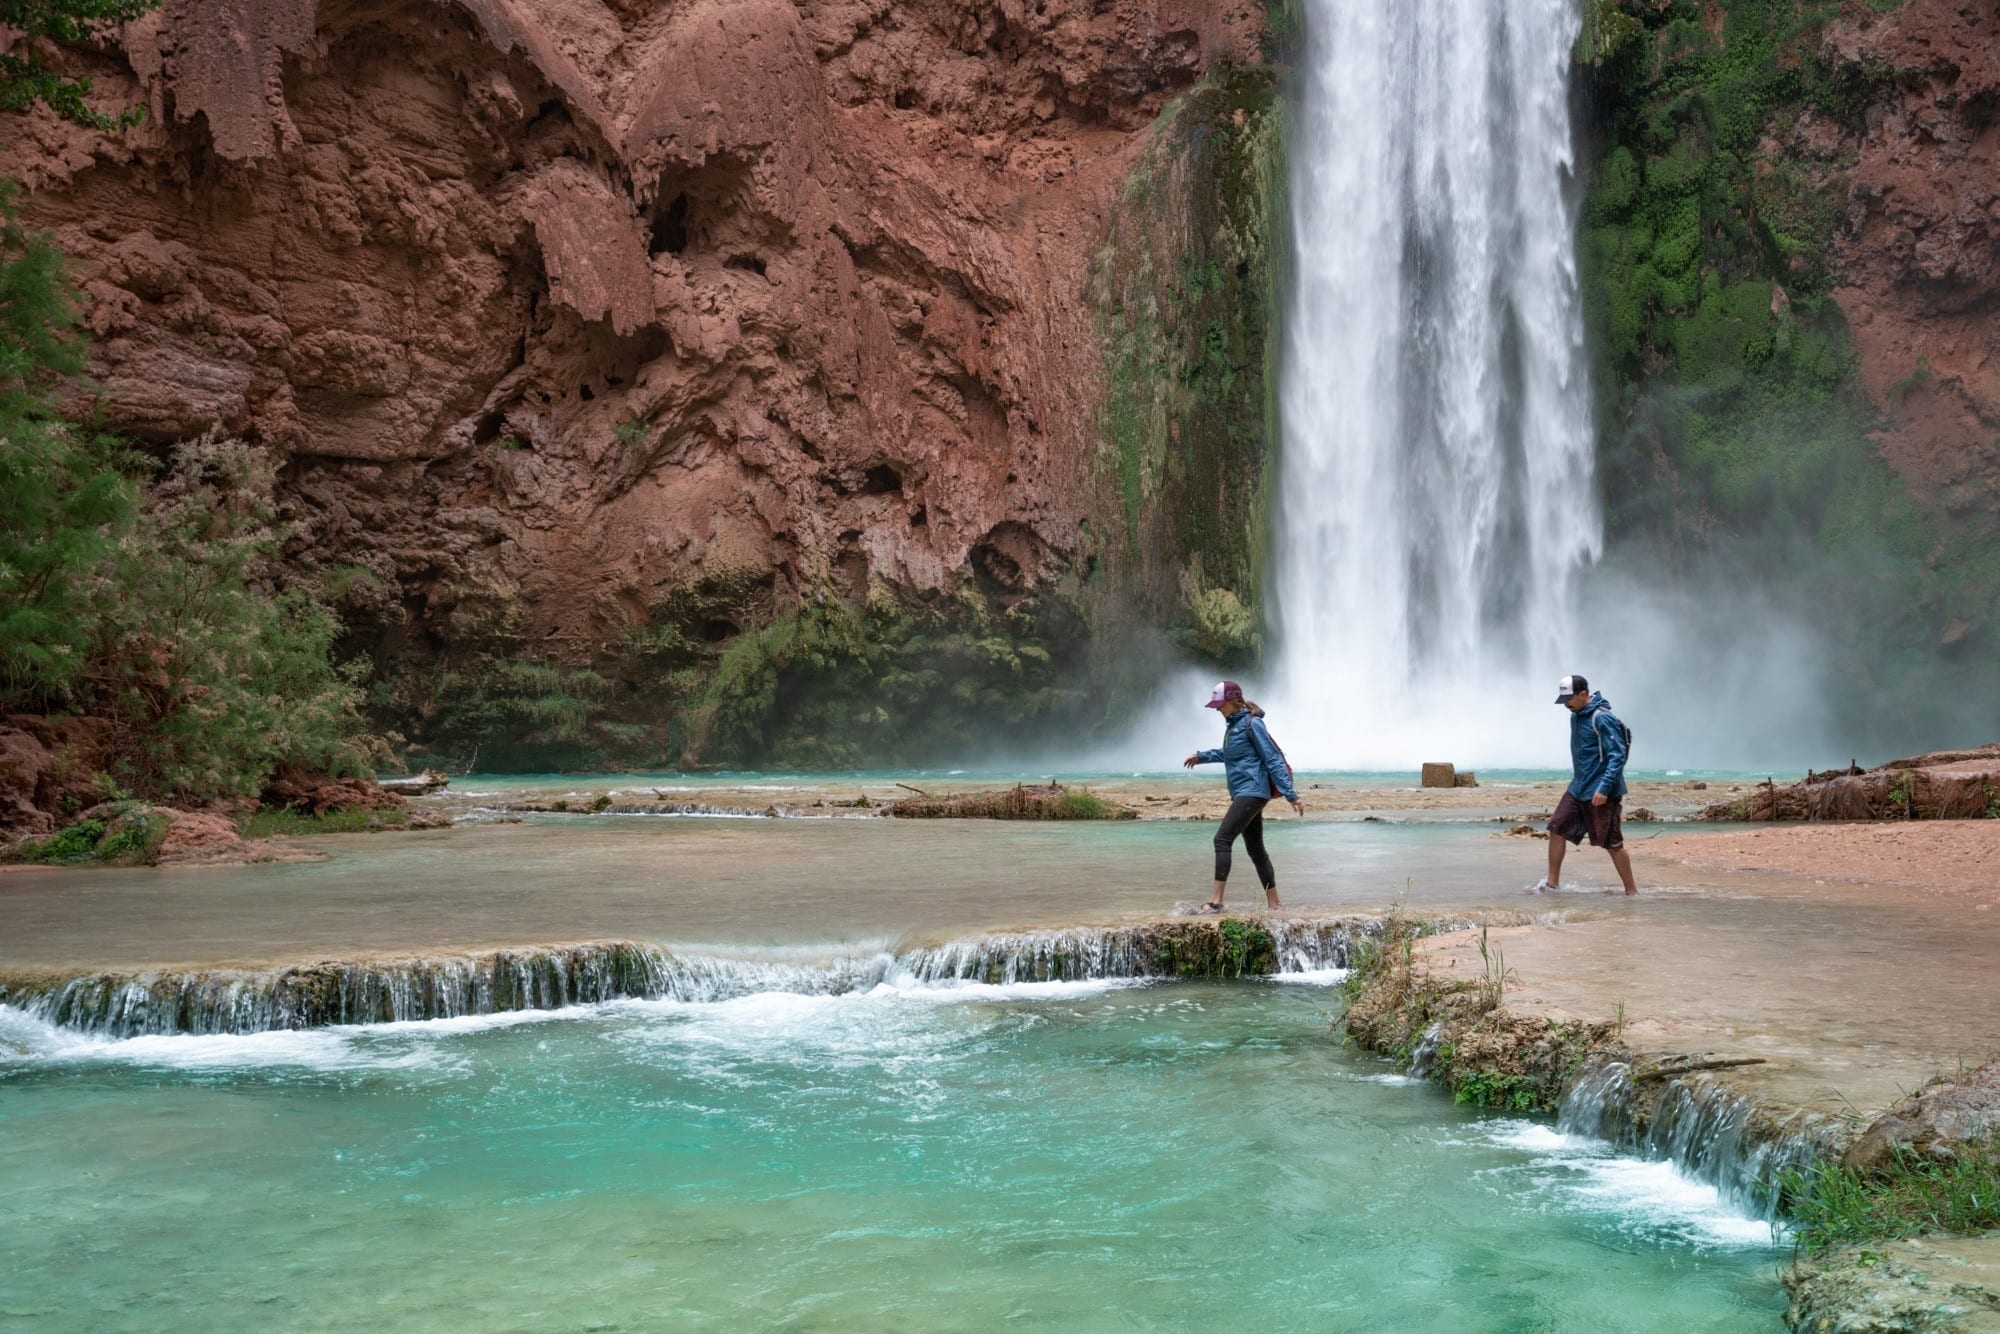
It’s a long hike carrying your backpacking gear, but once you arrive and take off your pack, you’ll be rewarded with turquoise swimming holes, gorgeous waterfalls, and relaxing creekside camping.
In this post, I’ll share how to prepare and what to expect on your Havasu Falls hike so you are ready for an epic adventure!
Read these other Havasu Falls Posts:
Havasu Falls Hiking Map
Below is the trail map that I created for my Havasu Falls hike. If you have a GPS, you can download the Havasu Falls GPS file here for free and upload it to your GPS. If you don’t have a GPS, Gaia premium is $4.99 a month and will allow you to access this map on your phone when you are offline.
Havasu Falls Trail Description
Trail Stats
Hiking from Hualapai Hilltop to Havasu Falls
The total distance to the Havasu Falls campground is approximately 10 miles one way. The trail begins at the Hualapai Hilltop parking lot at an elevation of 5,200 feet.
I recommend getting an early start for two reasons. First, the trail has NO SHADE. So starting earlier means your hike to Havasu Falls will be a lot more comfortable. Second, the earlier you arrive, the more campsites you’ll have to choose from since you’ll be ahead of many other hikers.
Note: There is no water available at the trailhead or anywhere on the trail, so make sure you pack enough to make it all 10 miles to the campground. There are bathrooms at the trailhead.
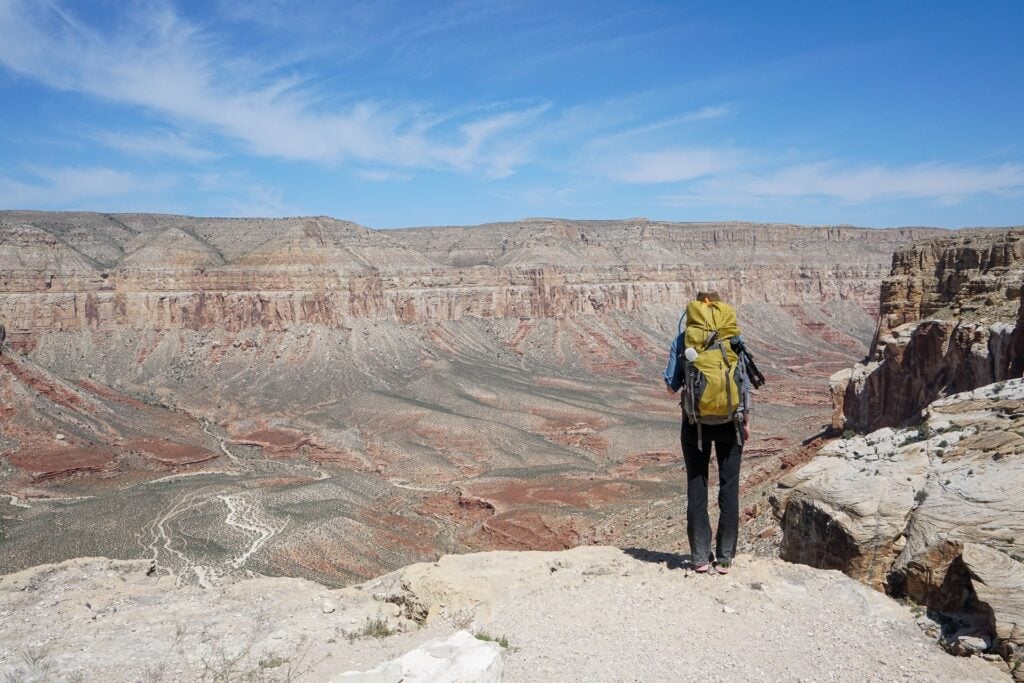
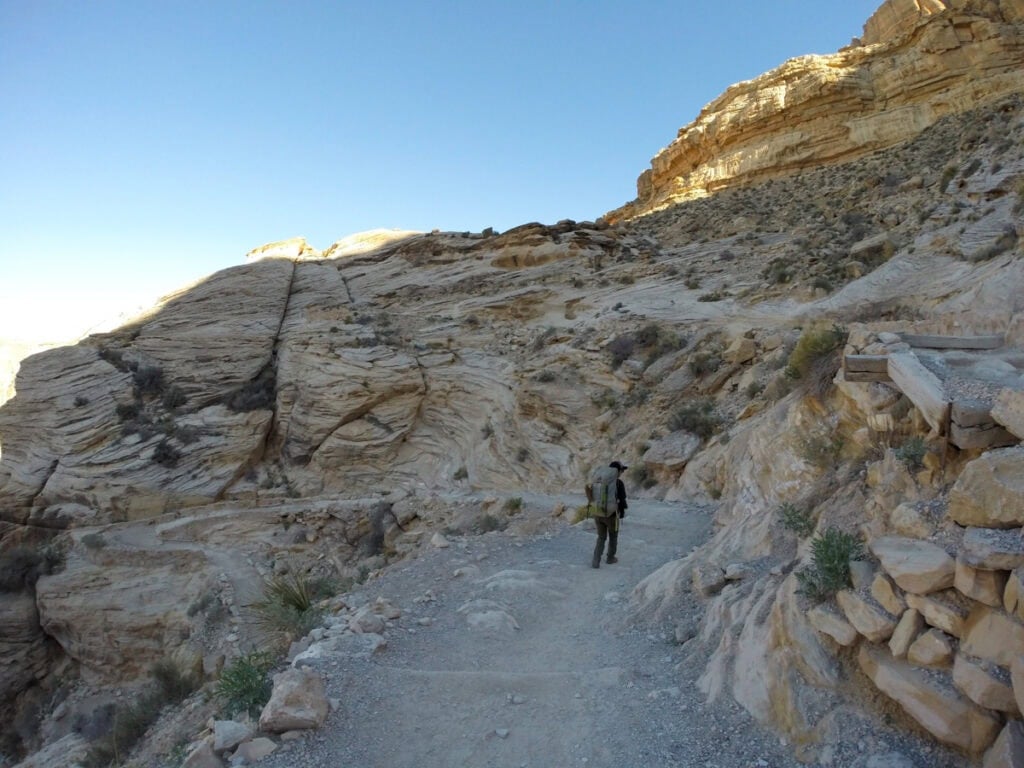
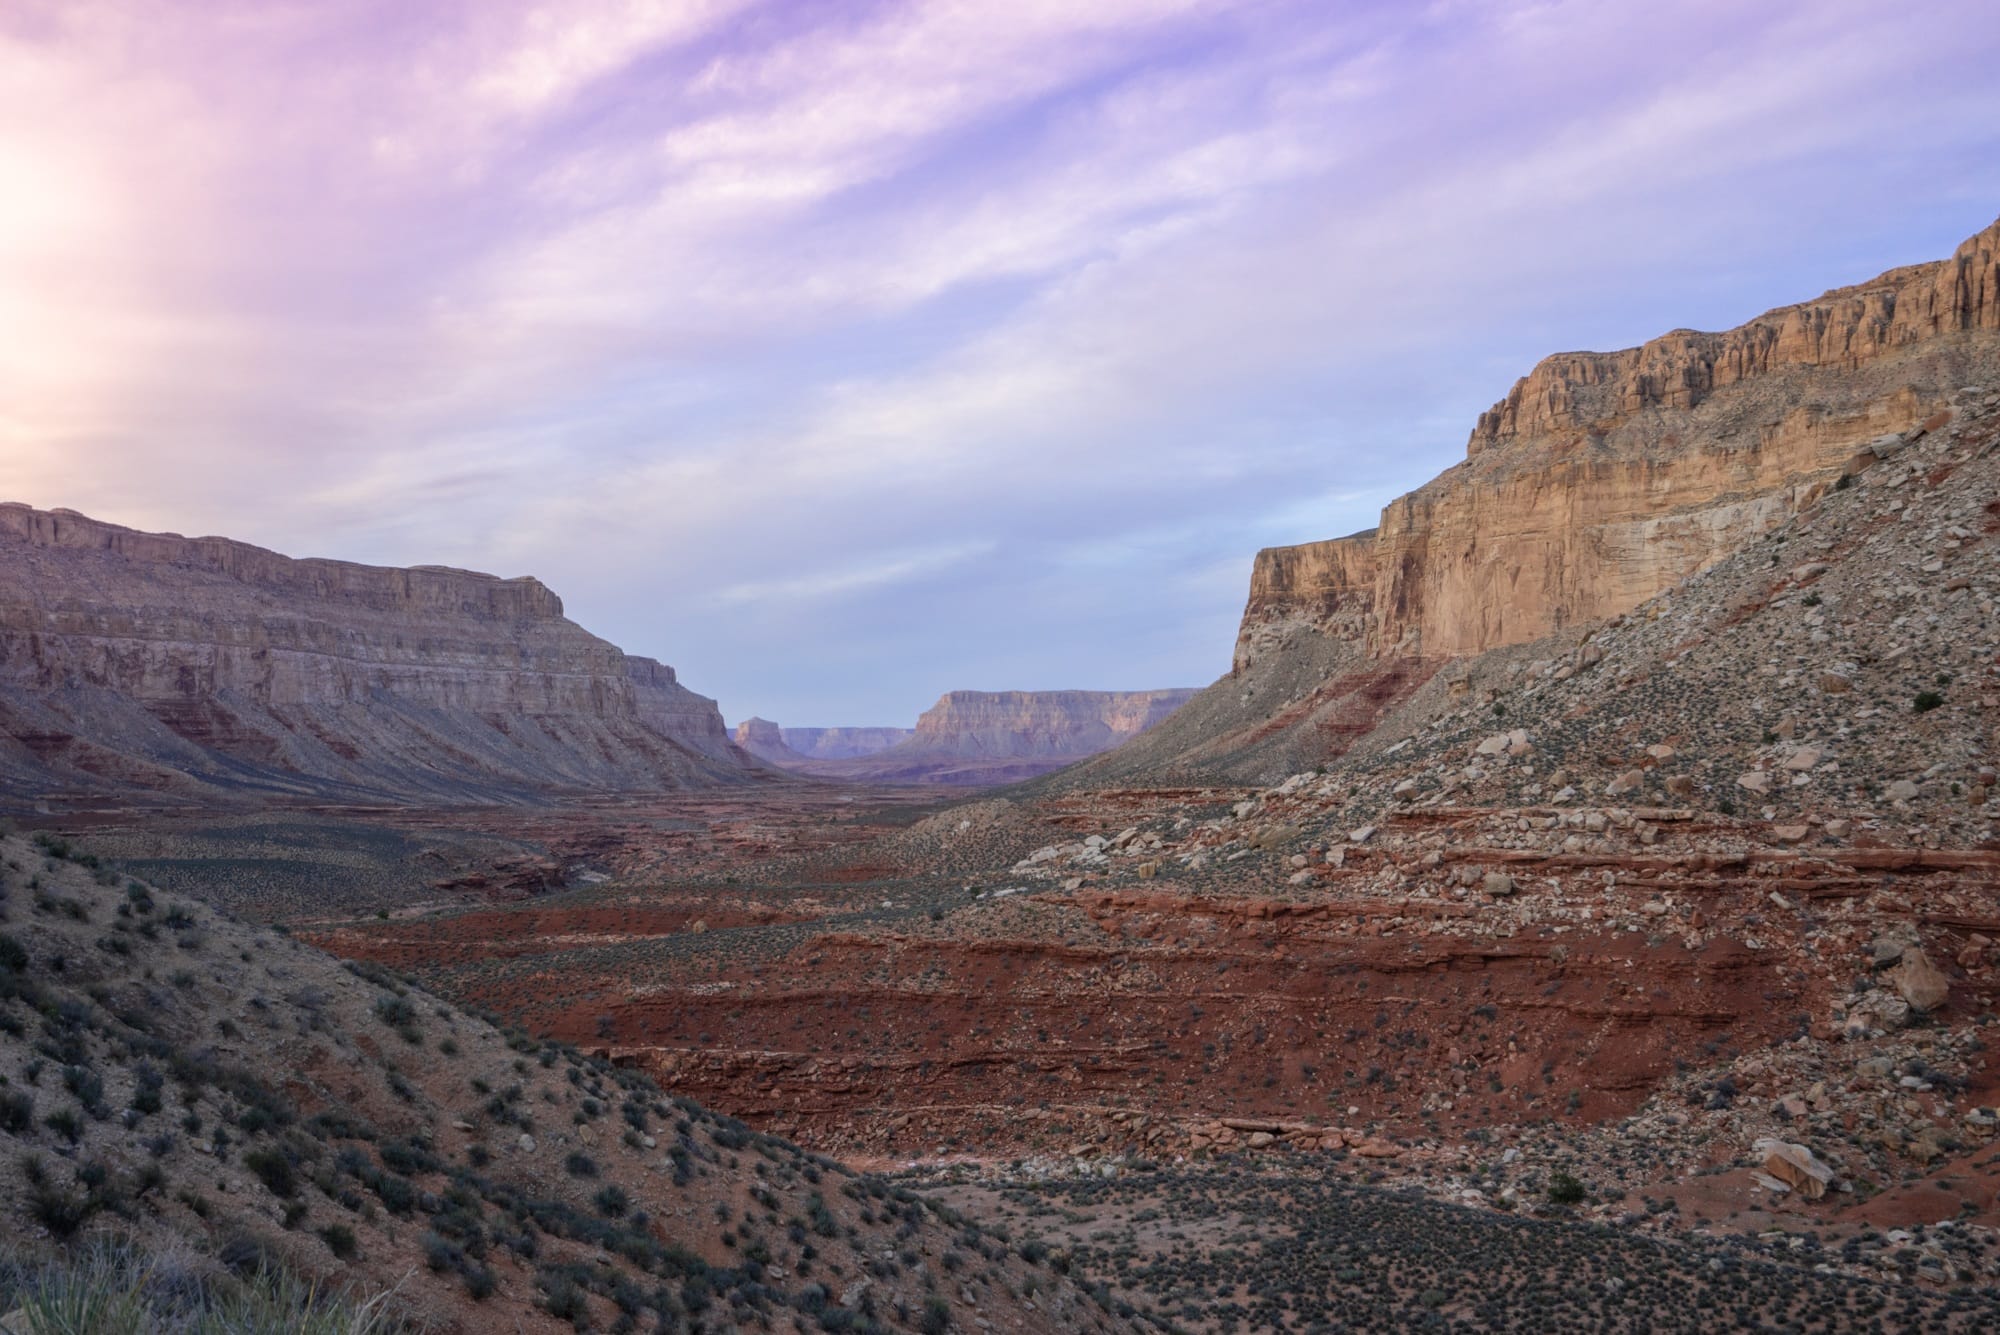
From the Hualapai Hilltop trailhead, the trail begins an immediate 800-foot descent over the first mile, dropping you into Havasu Canyon which you can see below.
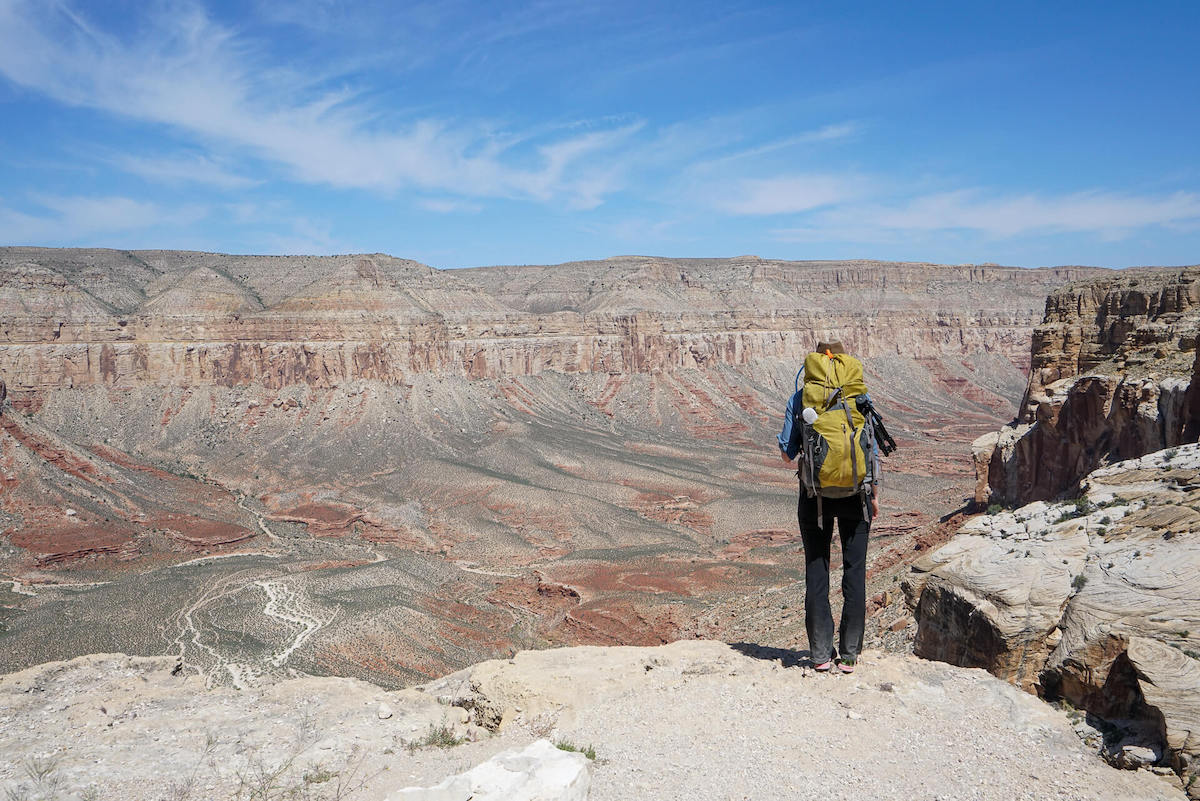
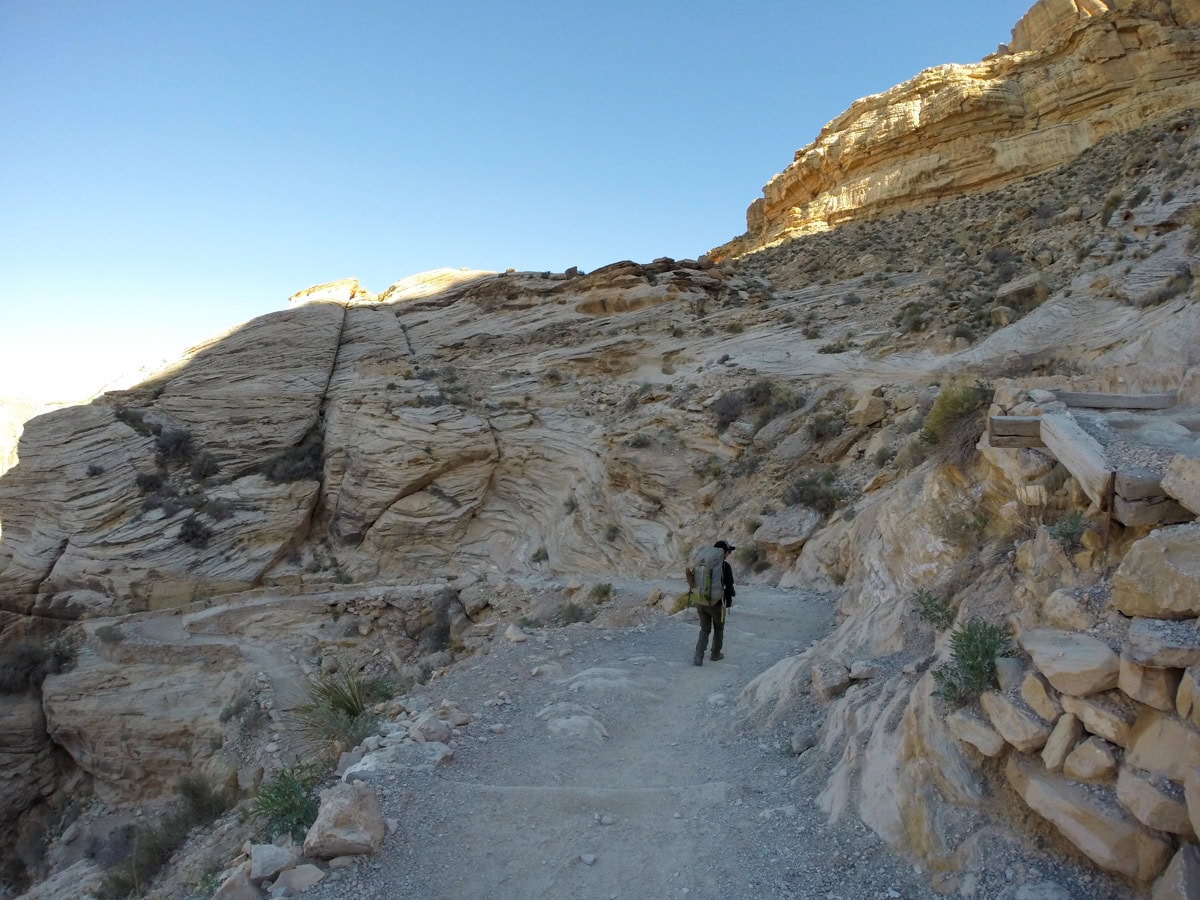
The hike on the way in is long but not too difficult and the initial descent is on a well-maintained series of switchbacks.
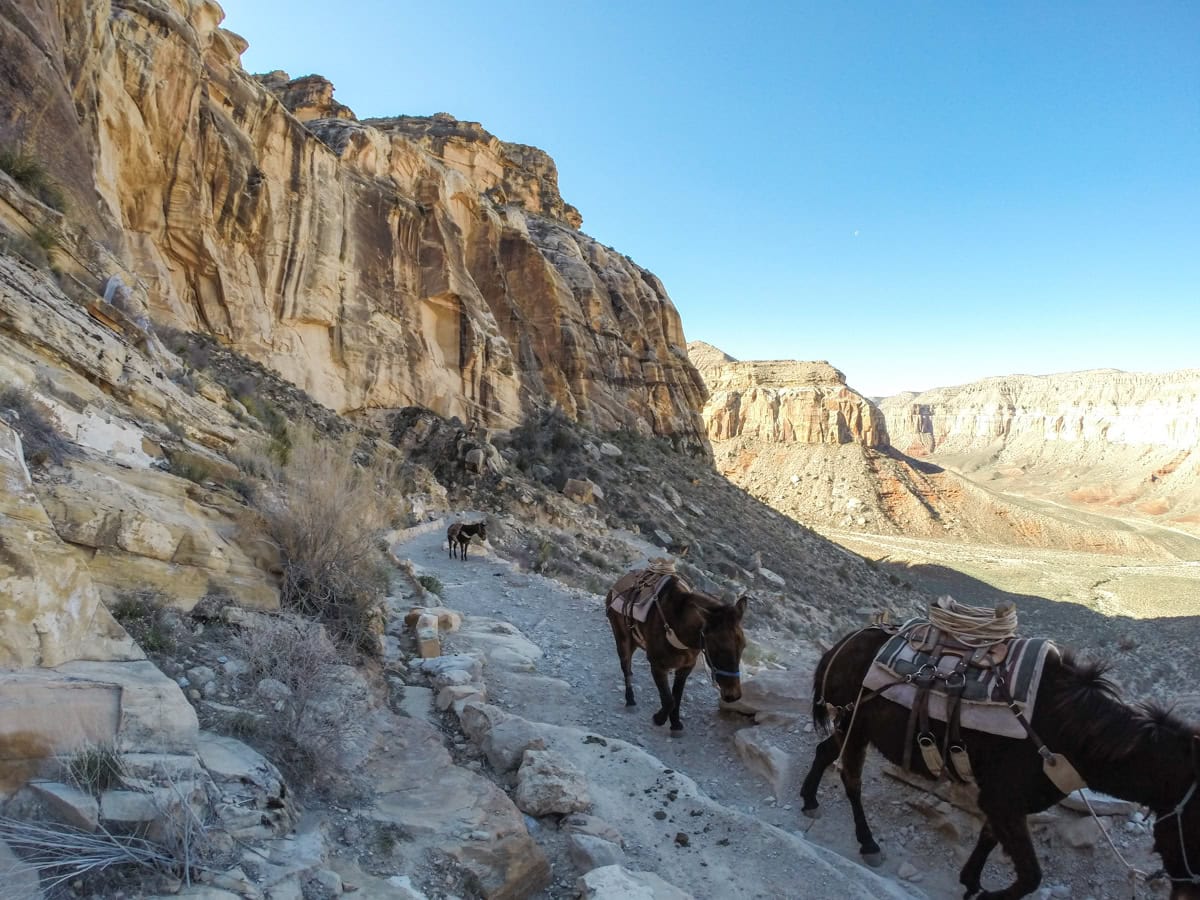
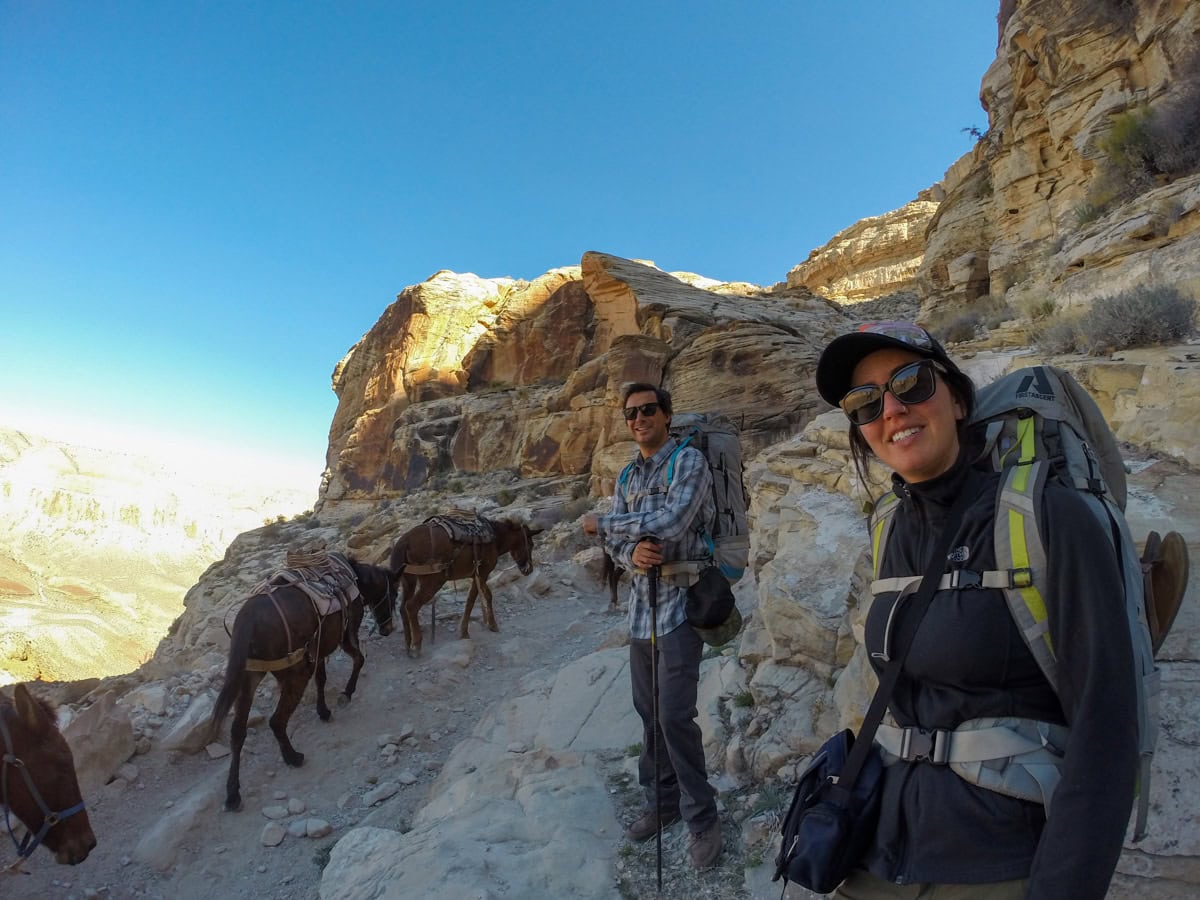
During your hike, you’ll likely encounter packs of horses/mules being led by local tribe members. These mules are carrying gear for campers who paid for the service.
Horses/mules have right of way on the trail so please step off the trail when you see them. Be alert and if you hike with earbuds in, consider leaving one out so you can hear them approaching. There’s no reason to make them work harder than they already are.
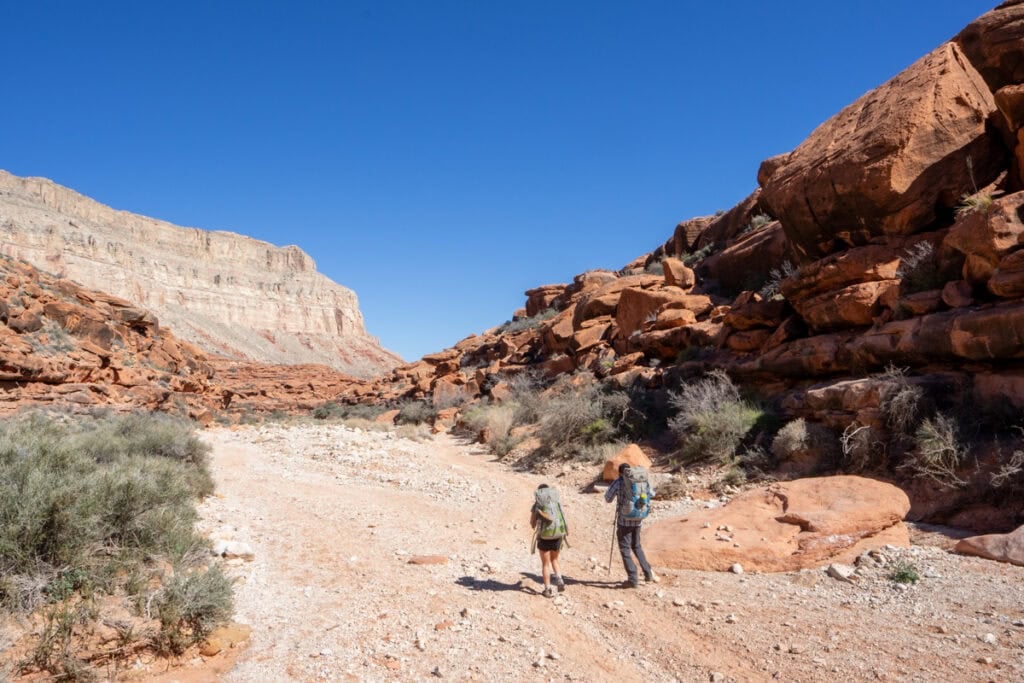
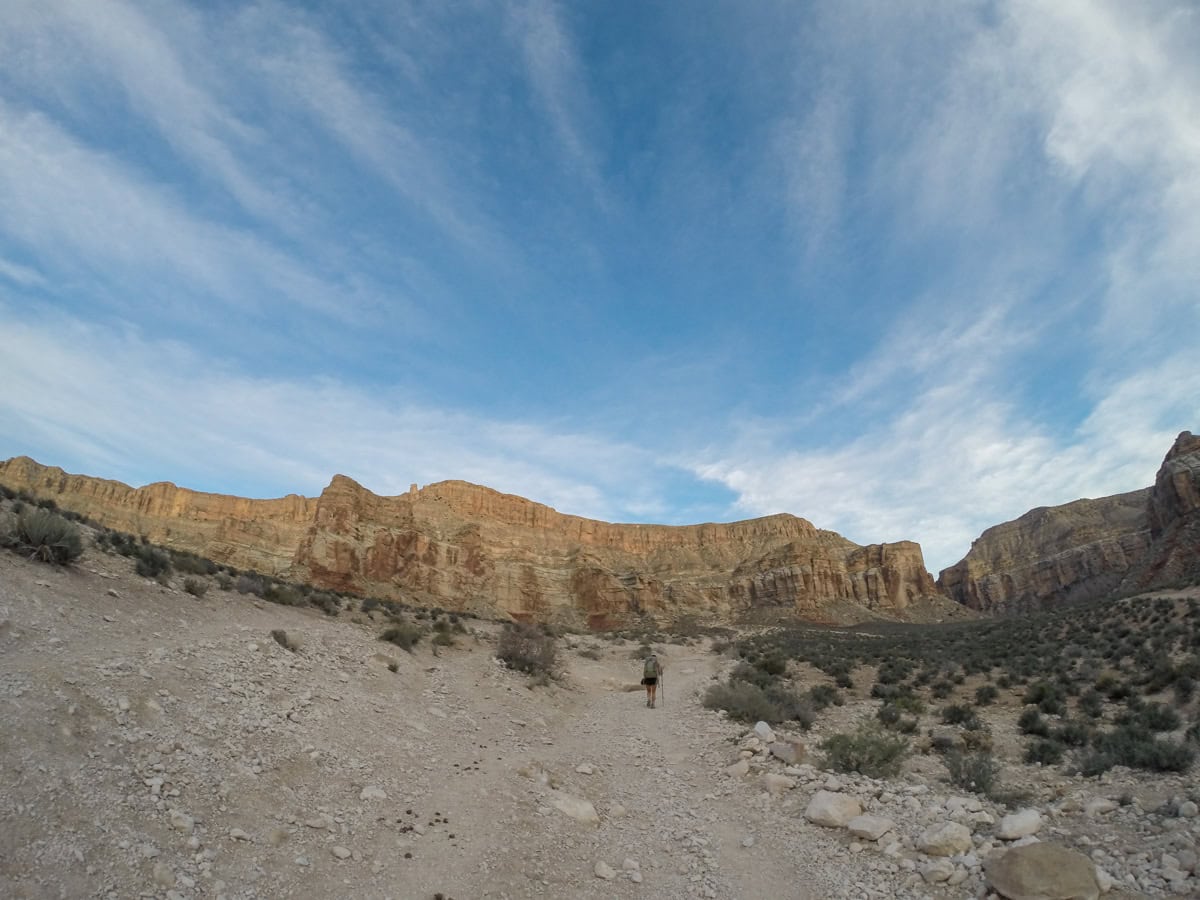
Once you reach the wash, the trail follows a dry river bed for the next 6.5 miles, gradually dropping another 1,200 feet. Here, the hiking can be a bit slow due to the sandy gravel, but the trail is very easy to follow.
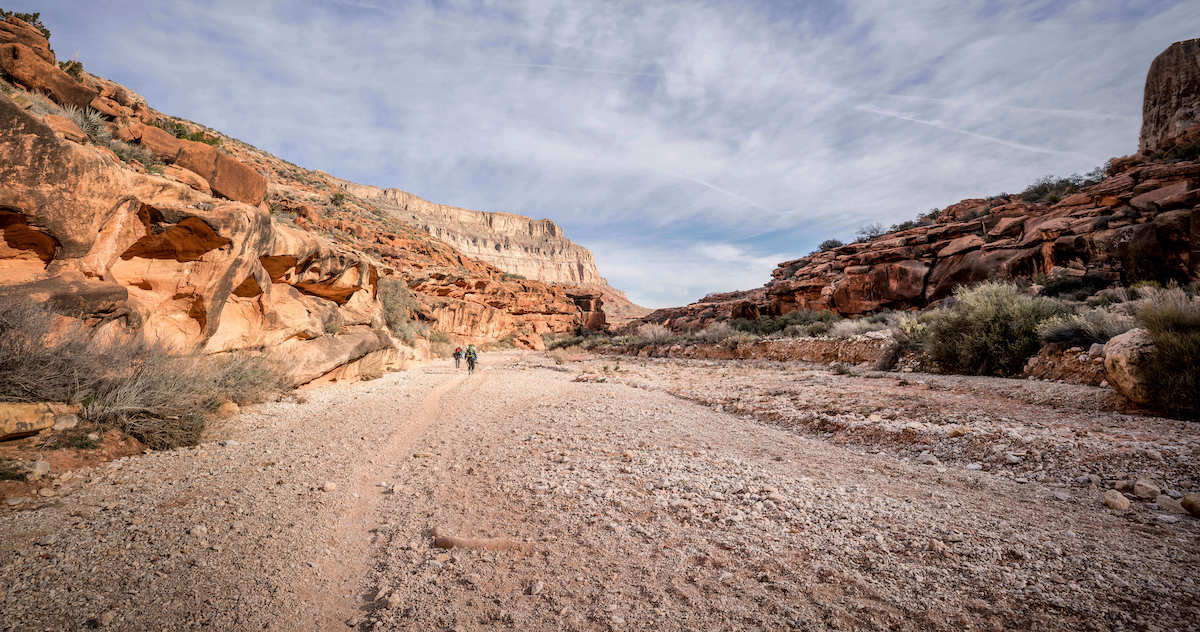
If at any point you think you’ve lost the trail, just keep following the river bed until you meet back up with the worn path.
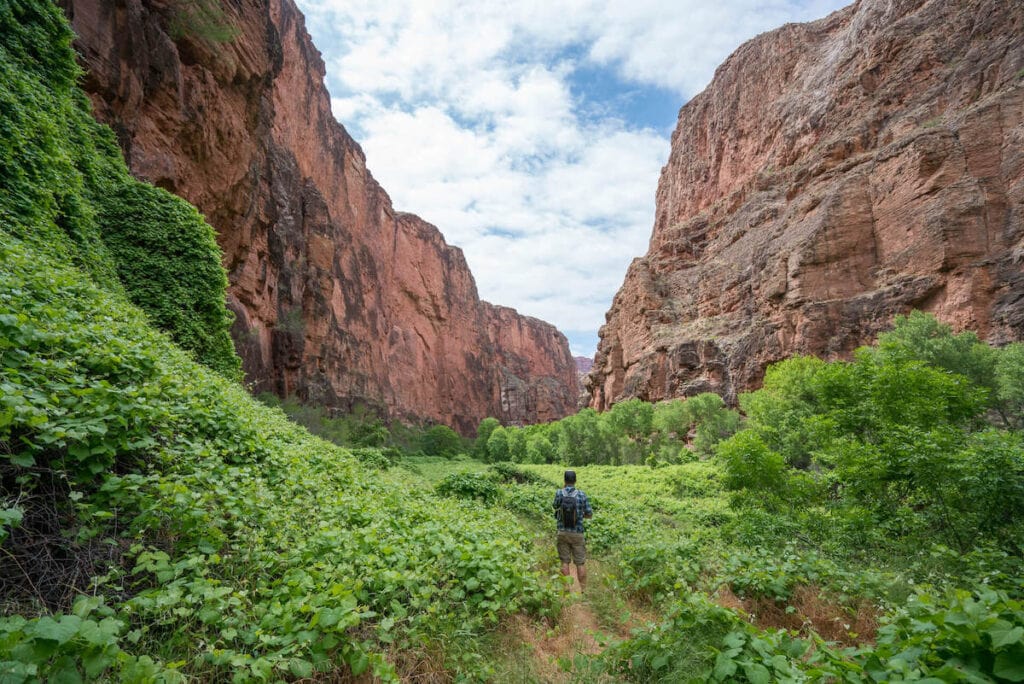
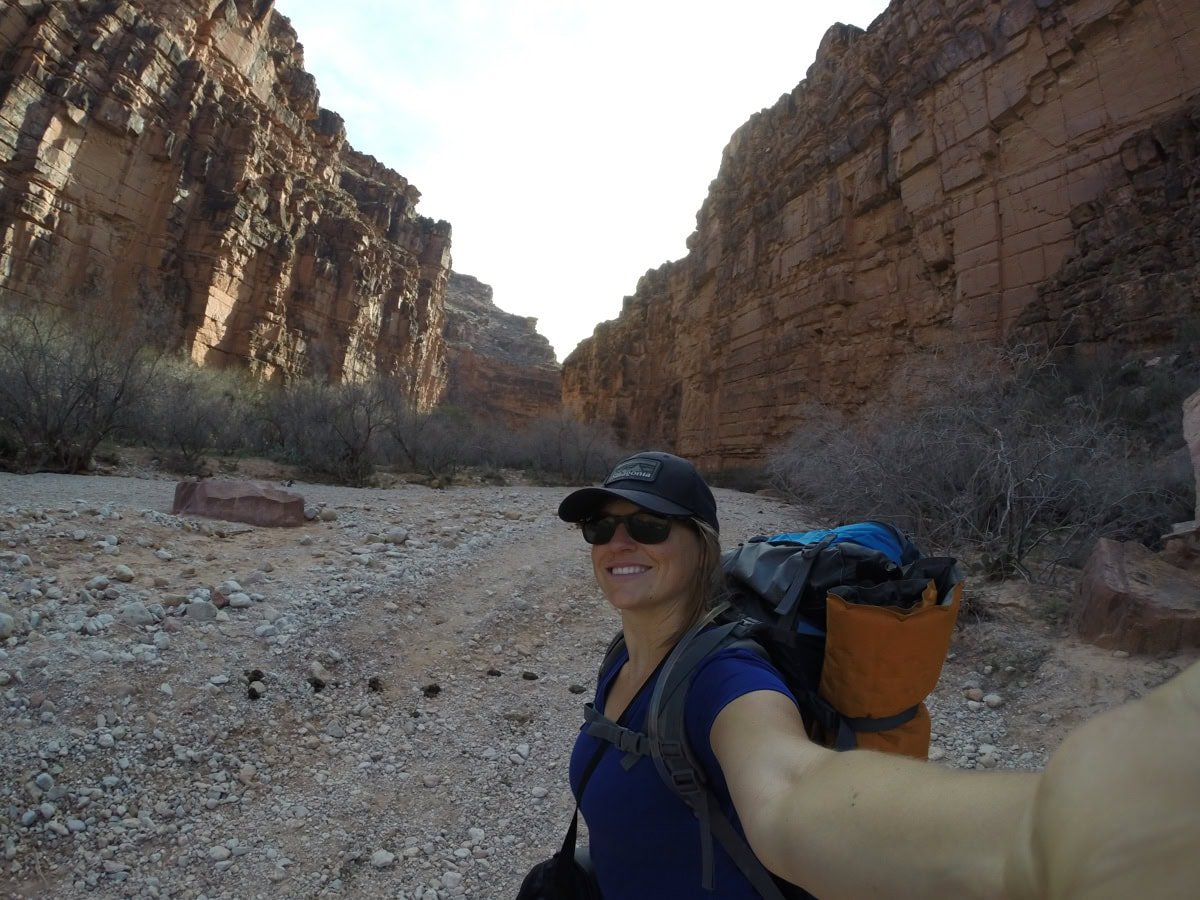
As you get closer to the Supai Village, the canyon chokes up and gets narrower. Here we were able to get some reprieve from the sun.
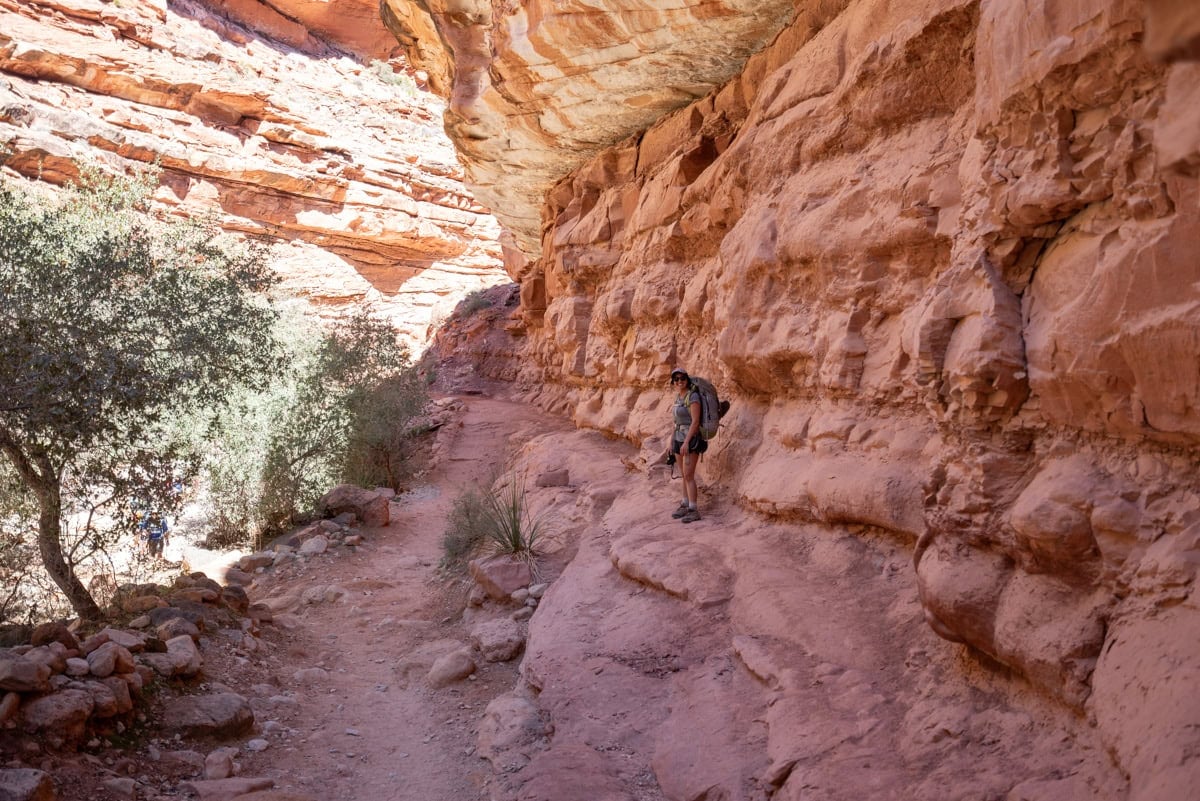
At 6.2 miles, you’ll reach an intersection with the Supai Trail and Havasu Creek. Here you’ll turn left. Soon you’ll start to see homes belonging to the Havasupai people. Stay on the trail and follow the signs to the village.
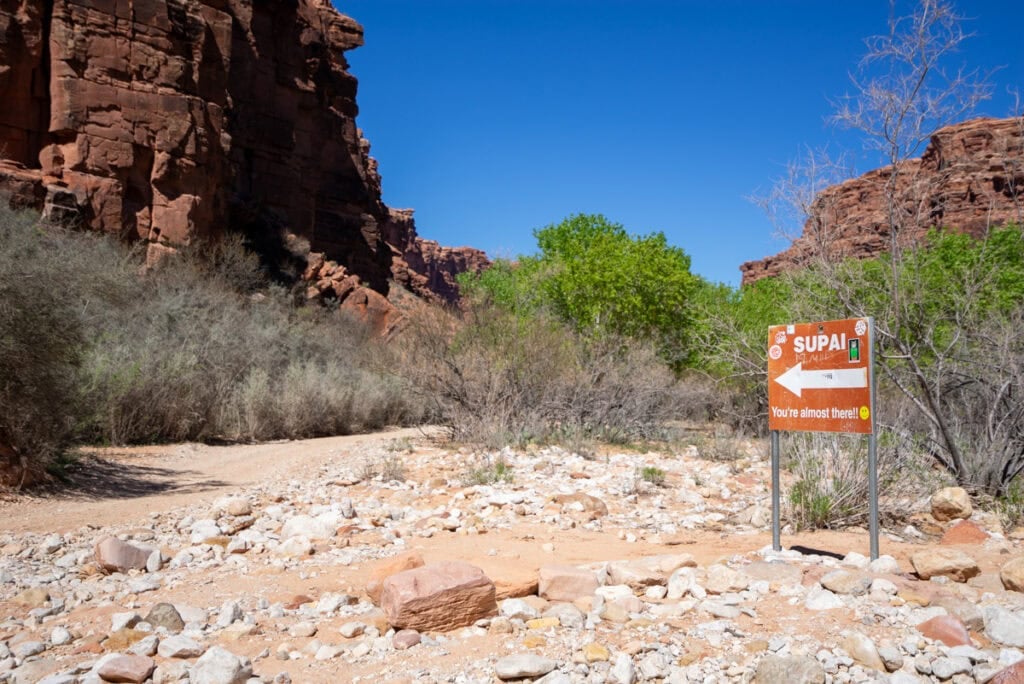
At mile 7.5, you’ll enter Supai village. No photos or videos are allowed in this area, and there may be signs asking you to wear a face mask as you walk through the village. Please be respectful and obey the current wishes of the Havasupai Tribe.
In the village, once you get to the Village Market, the road turns left. Continue on here and follow any signs pointing you towards the campground.
Once you pass through the Supai village, it’s another 2 miles and 150 feet of elevation loss down to the Havasupai campground.
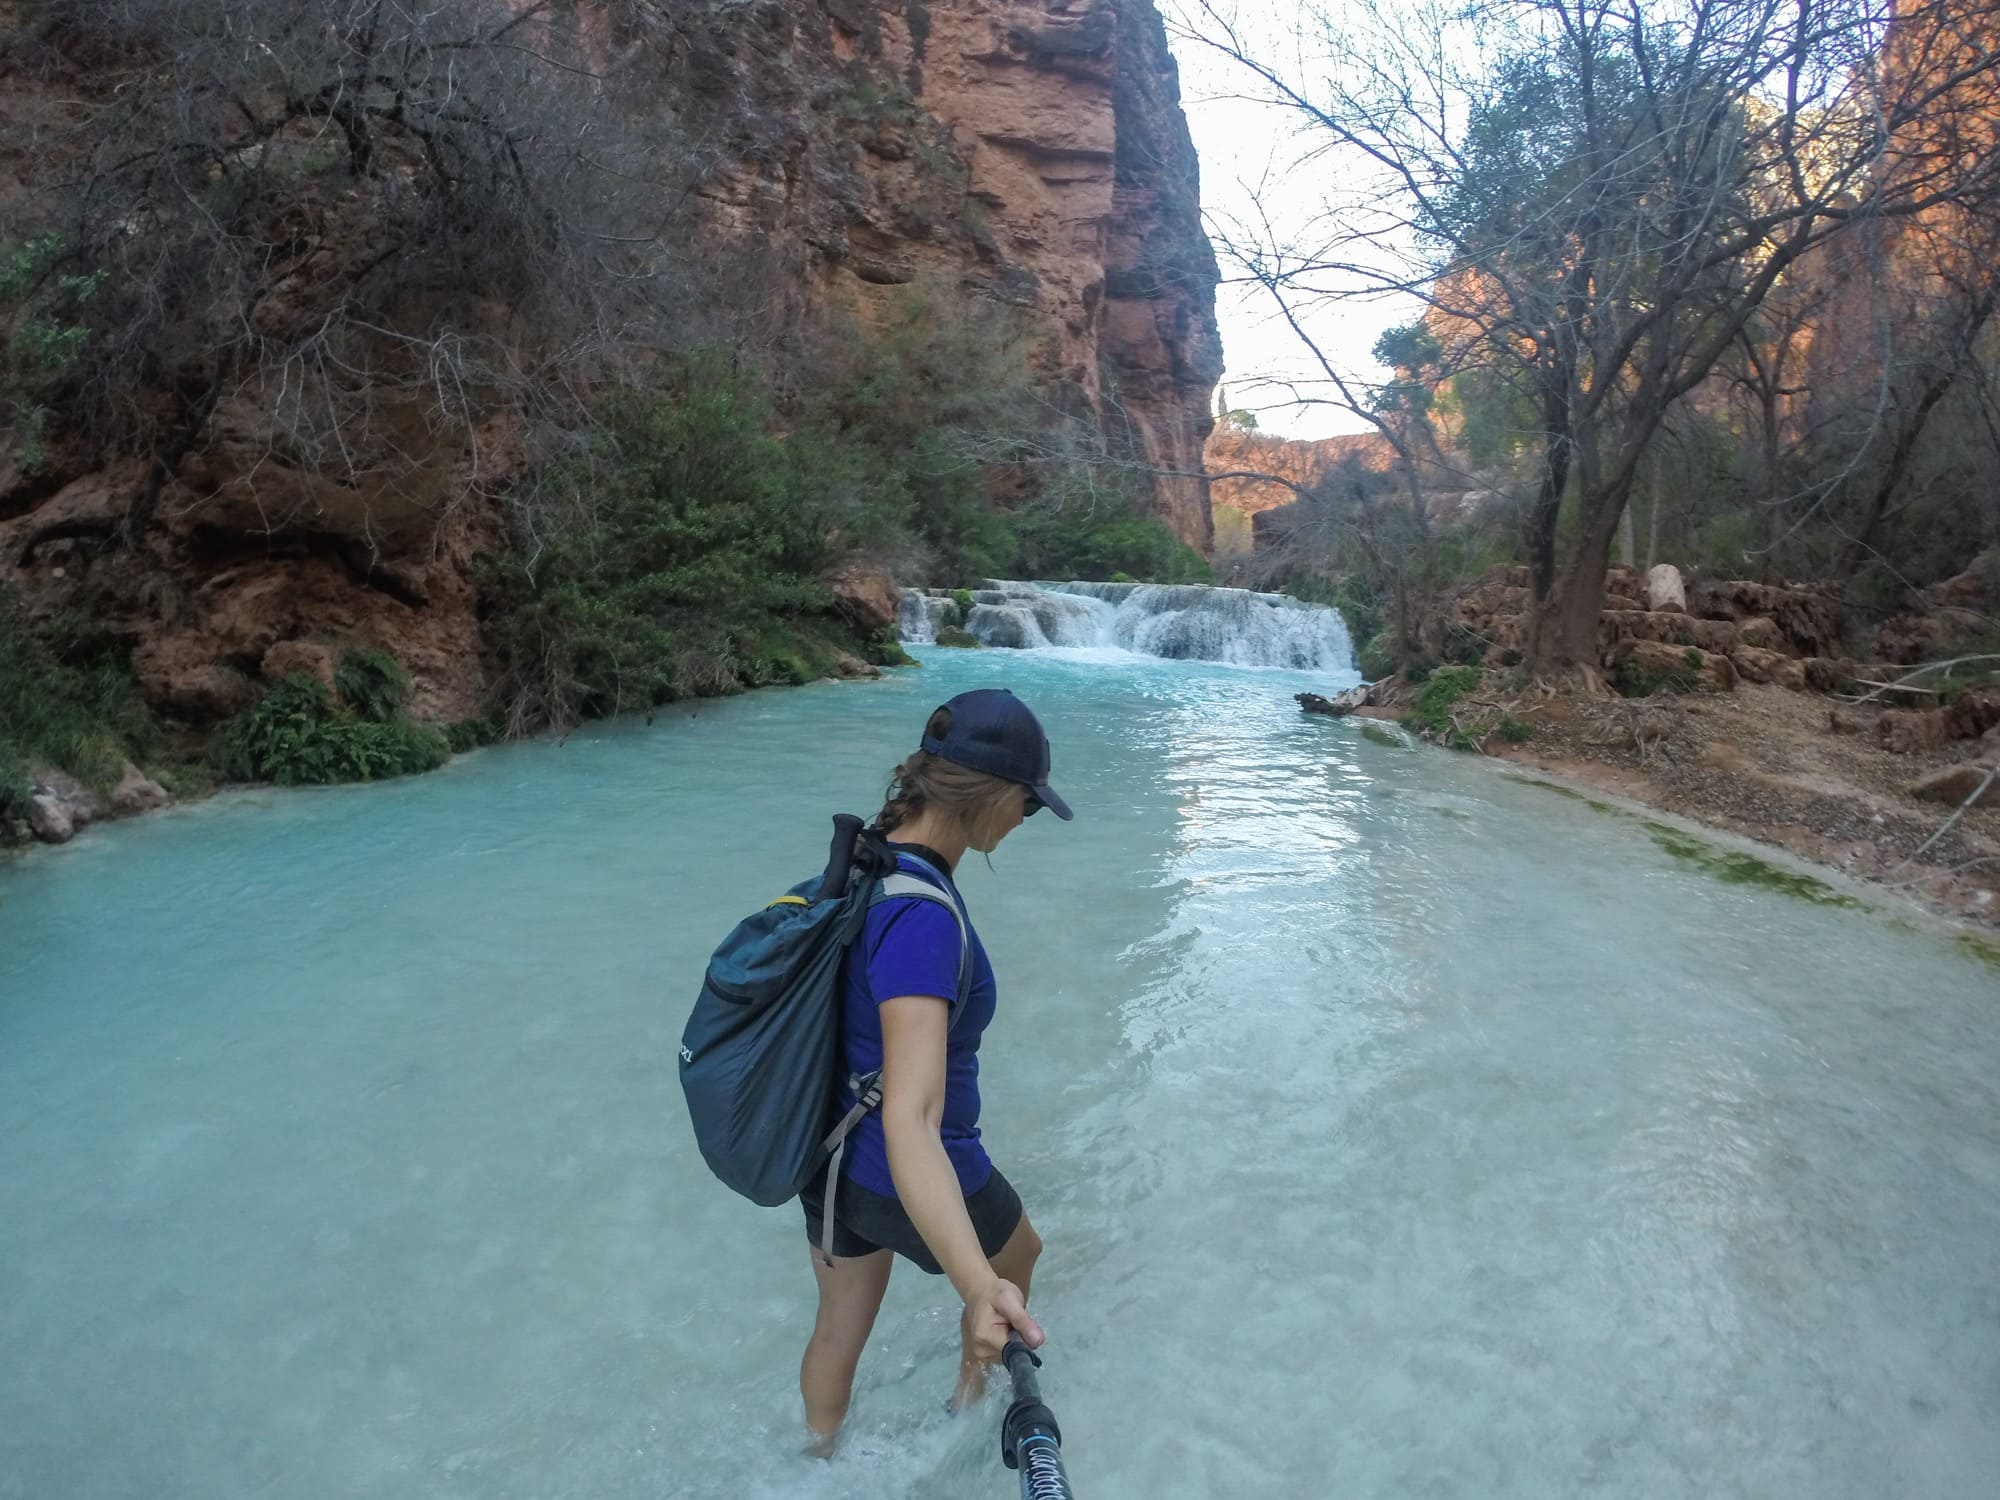
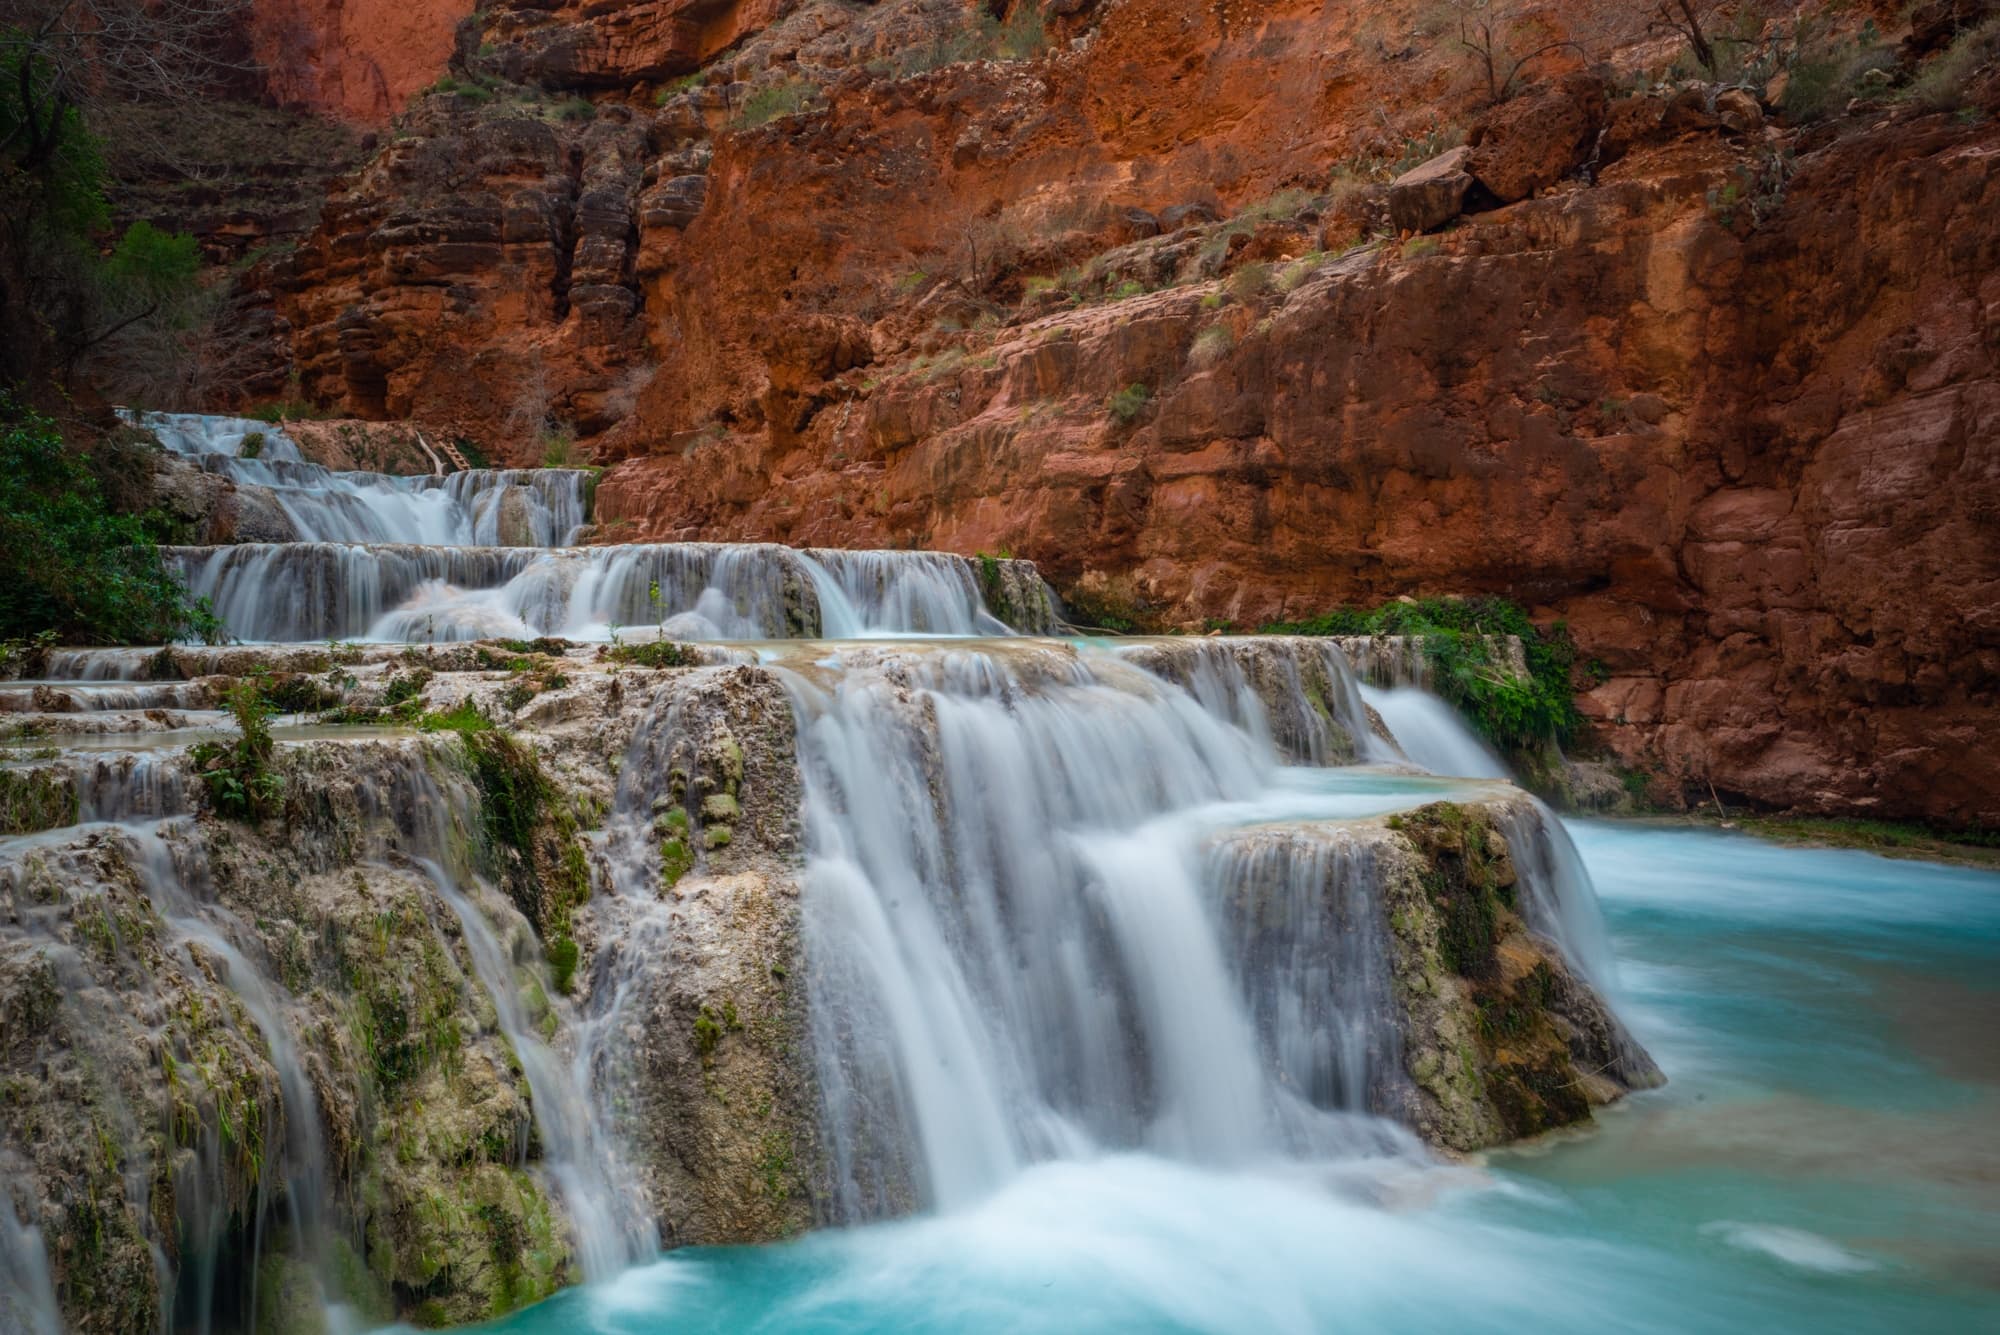
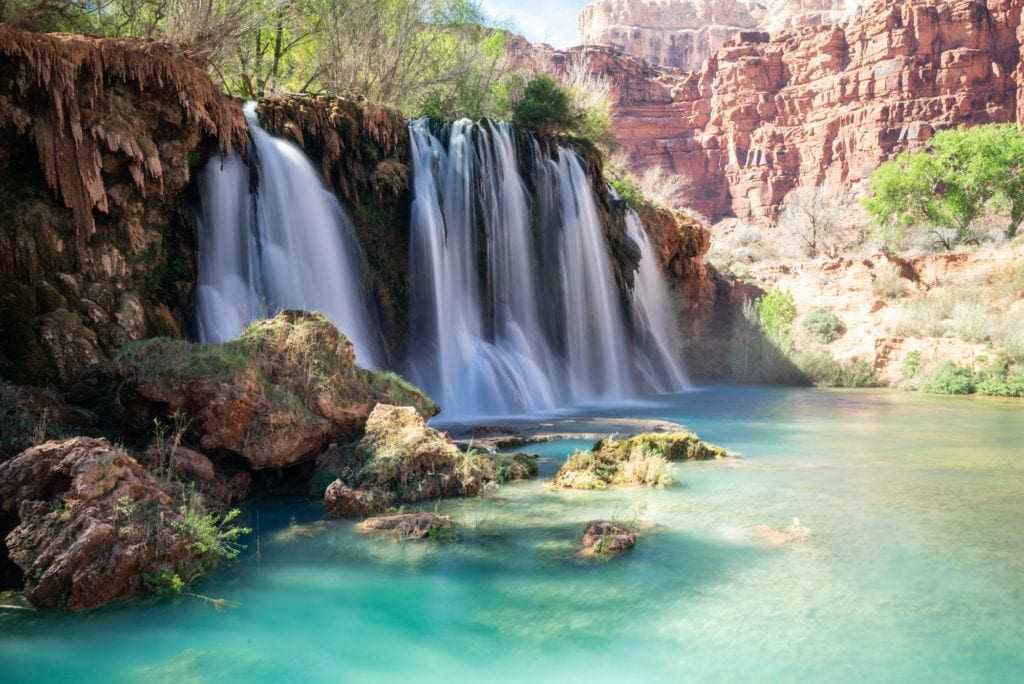
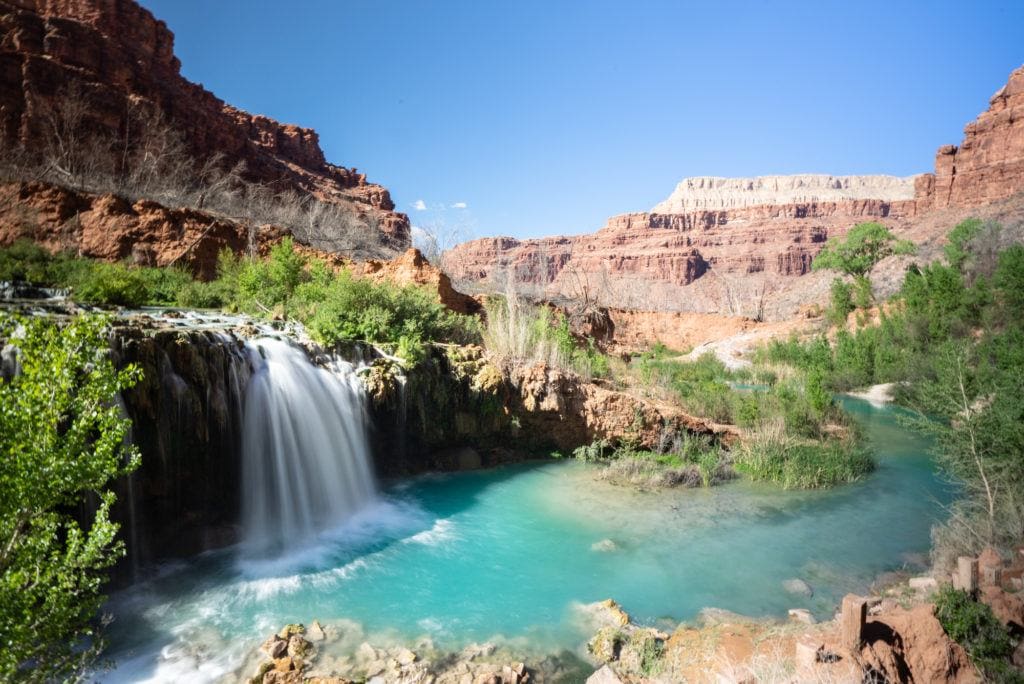
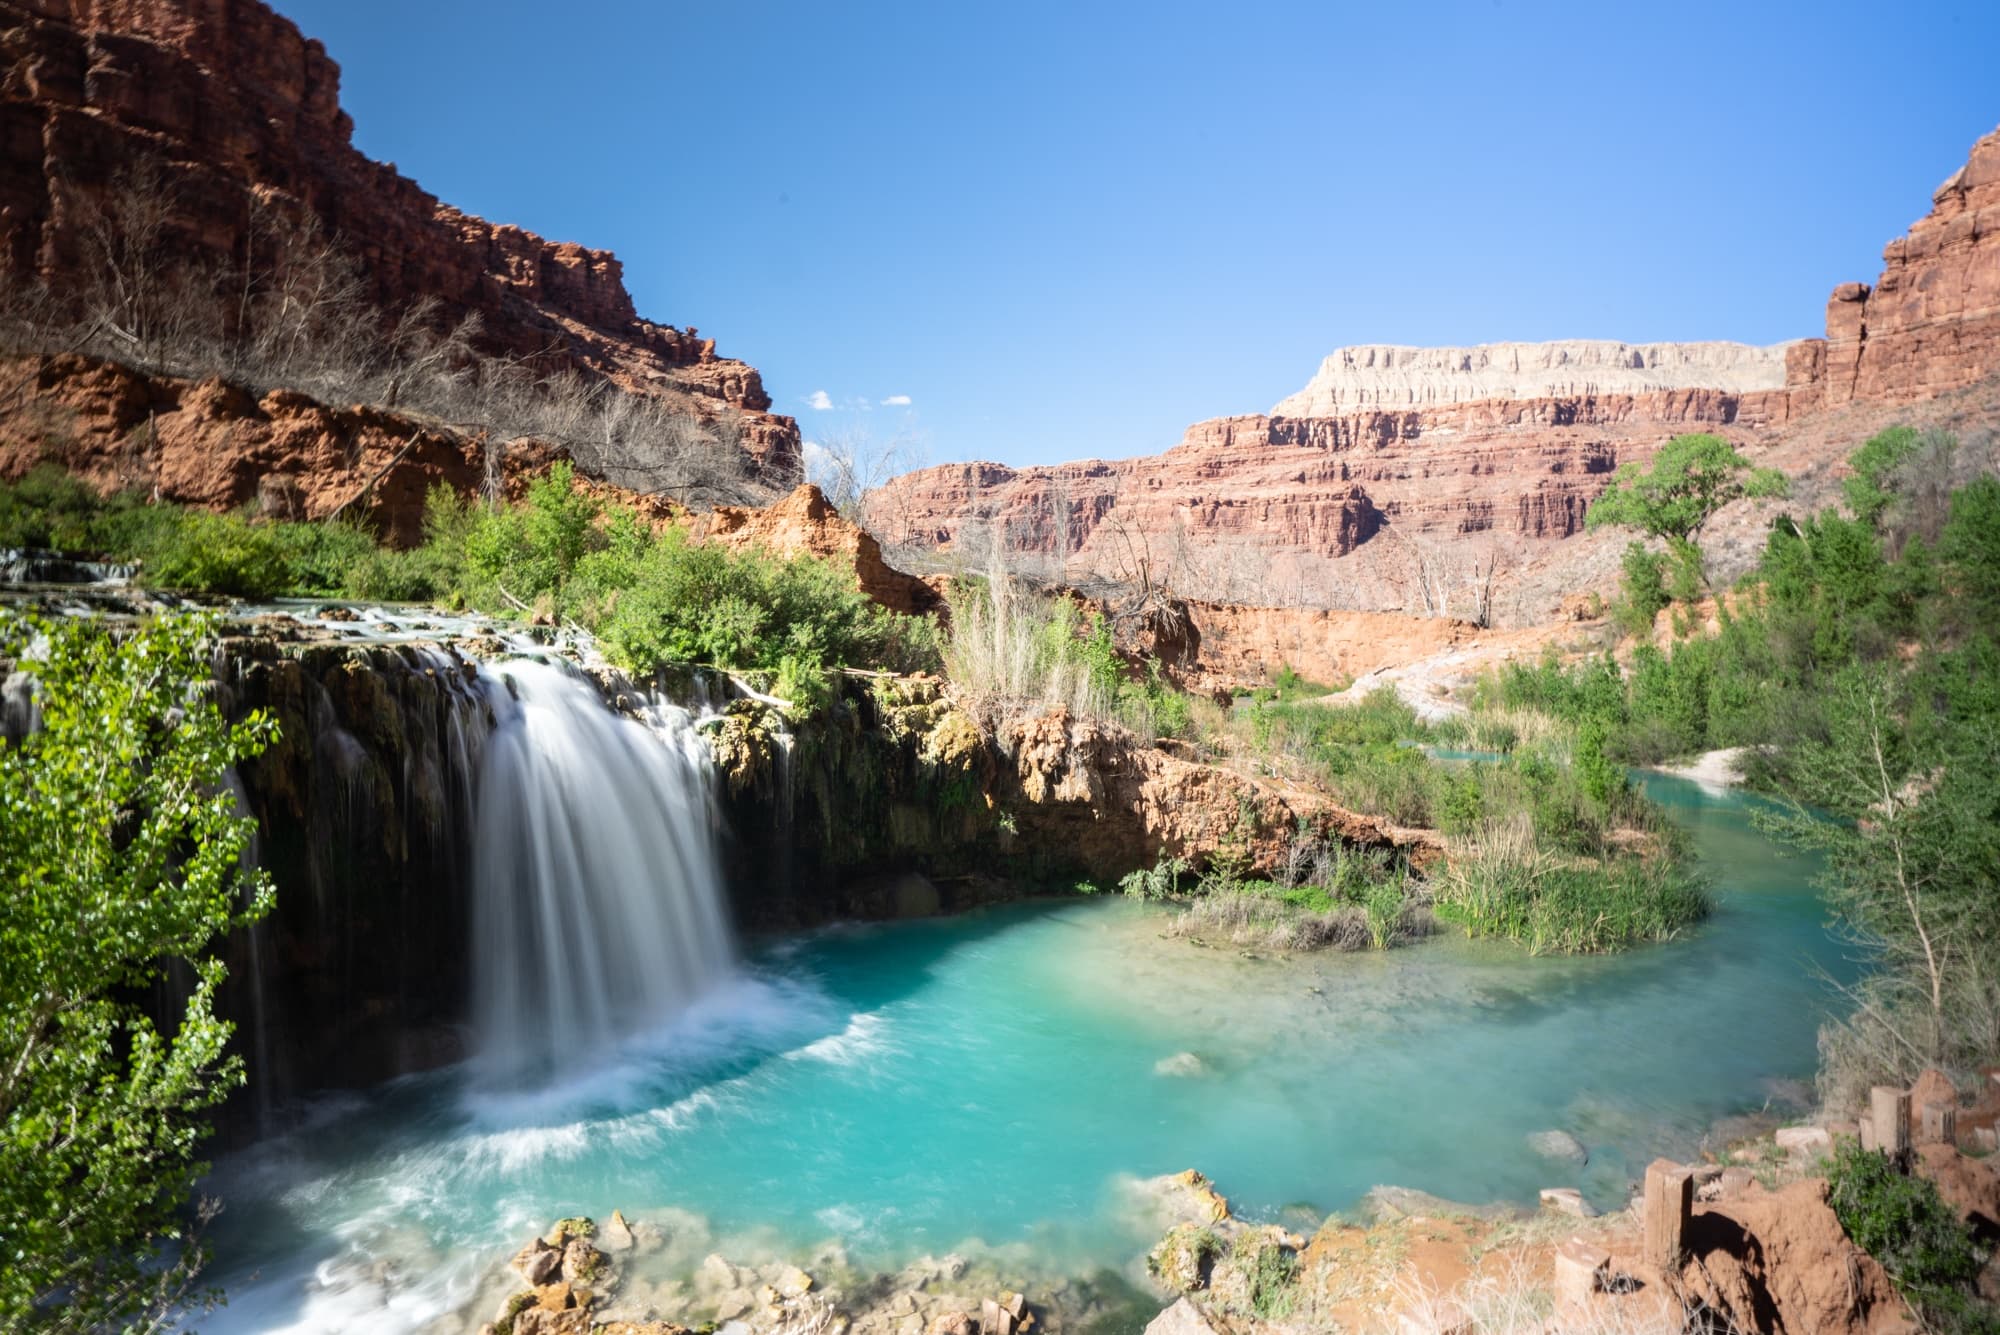
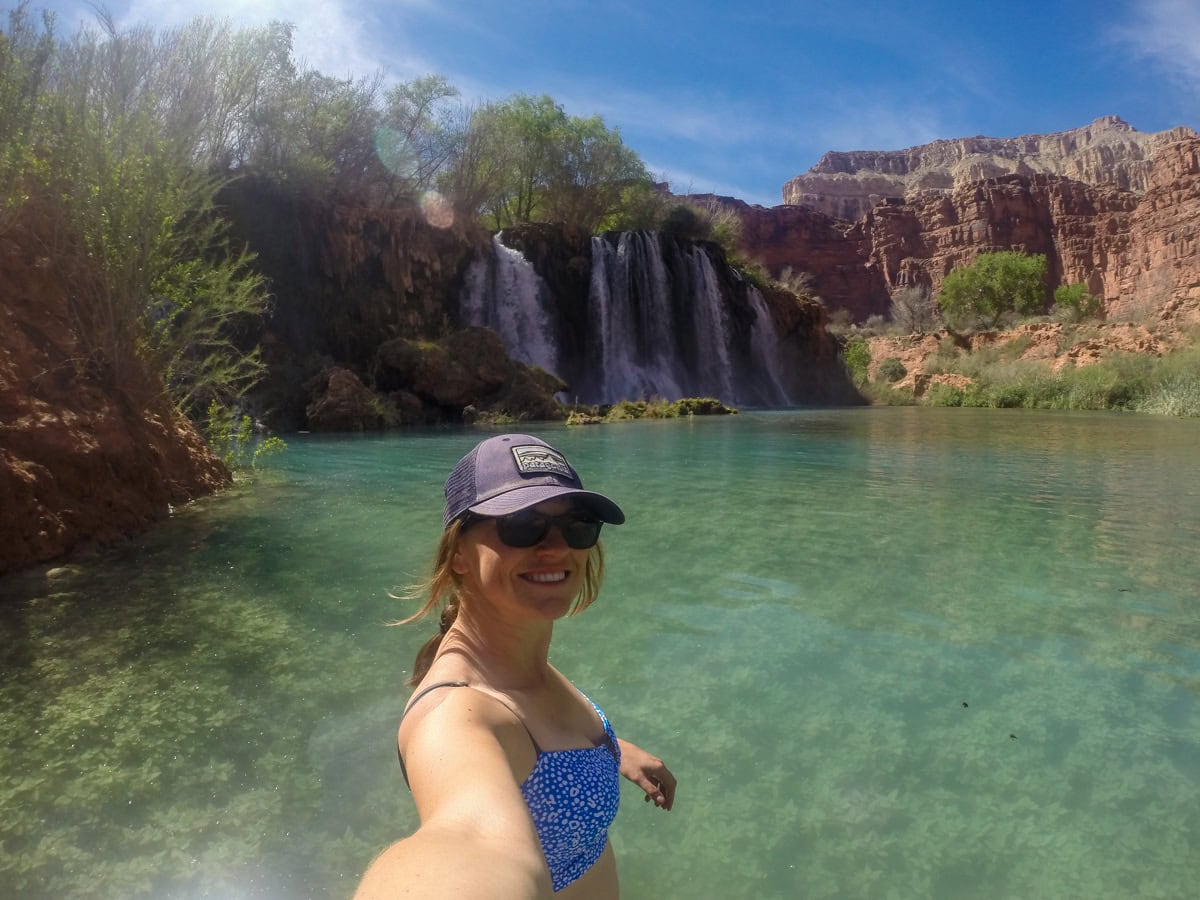
Before you get to Havasu Falls, you’ll pass two other waterfalls at the halfway point – Fifty Foot Falls and Navajo Falls. These are located one mile from the Supai Village and one mile from the Havasu Falls campground.
Depending on the time of day, you might consider stopping to explore. If it’s getting late, you can skip these and come back to enjoy them on another day of your trip.

The different waterfalls on the Havasupai Reservation may look different than the photos here. Flash floods can dramatically alter the landscapes from year to year. The color of the water can even change depending on the time of day and whether it’s sunny out.
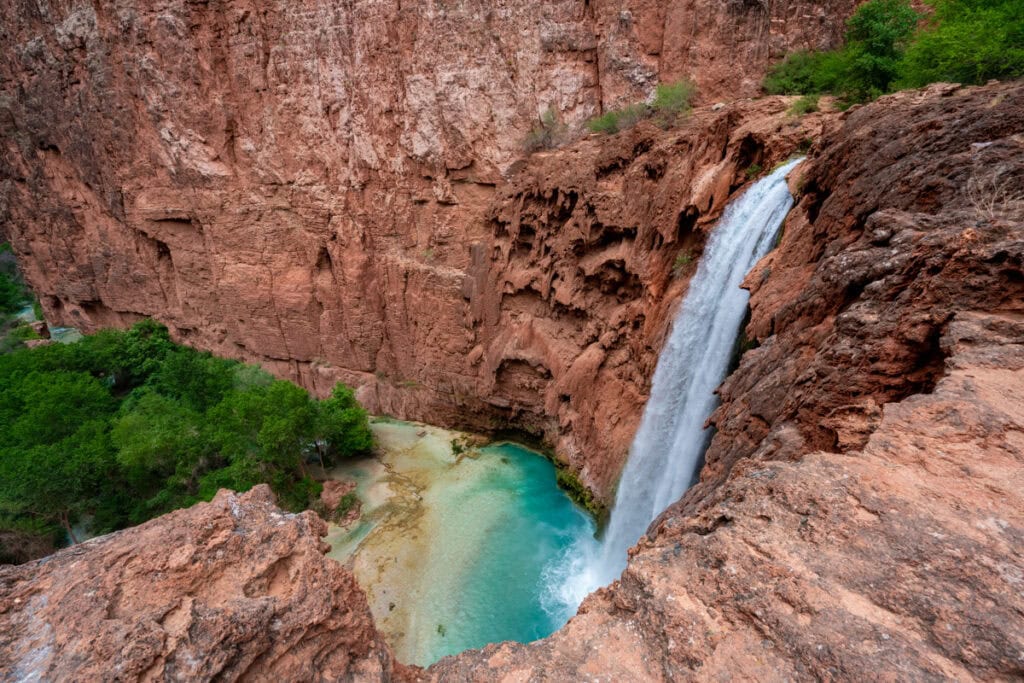
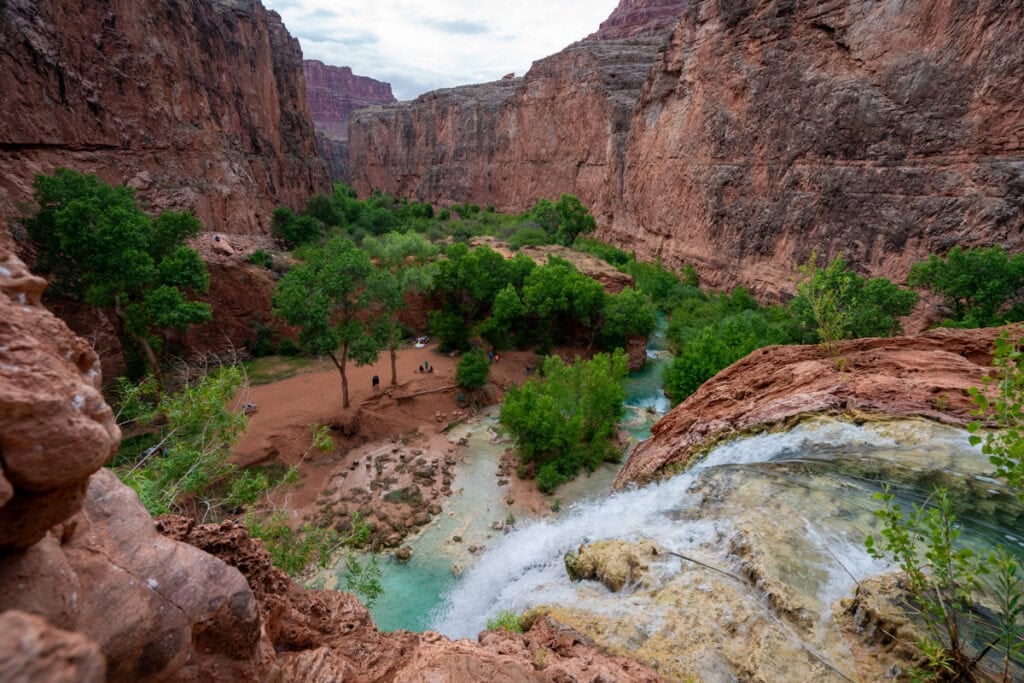
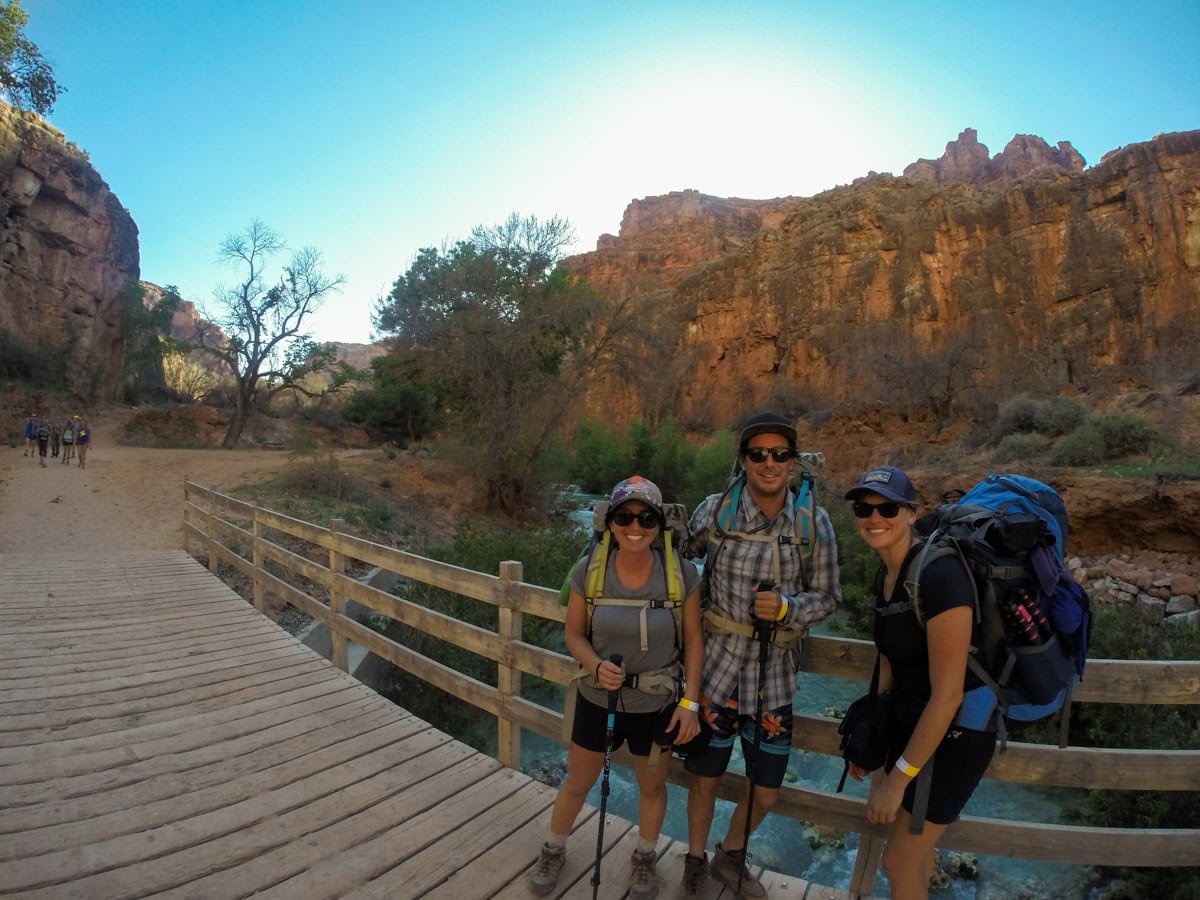
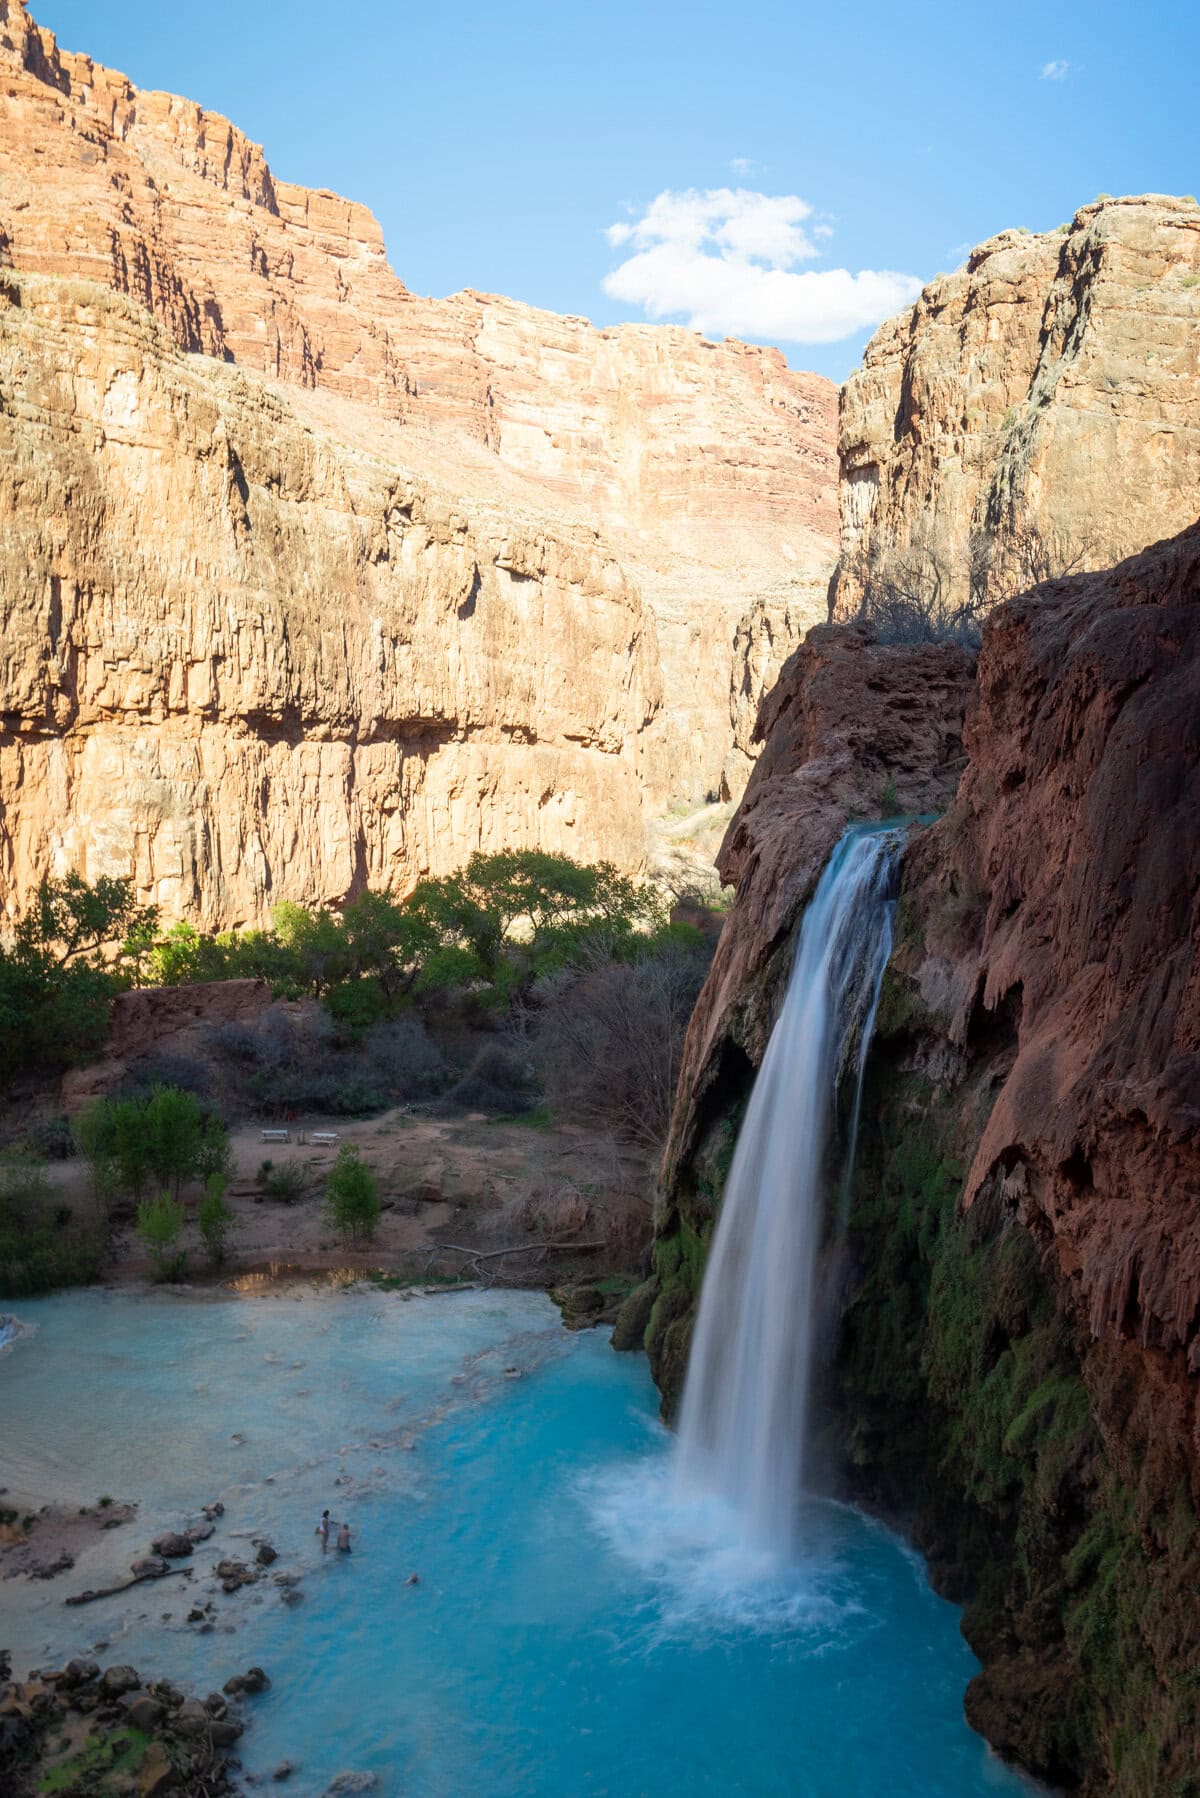
From Navajo Falls, it’s one more mile to the campground. First you’ll cross Havasu Creek on a bridge. Then as you approach the campground, the trail hugs the left side of Havasu Creek where it spills over Havasu Falls. This is a great vantage point of the waterfall and the pools below.
Here, I suggest taking a couple of photos but rather than stopping, continue another quarter mile to the entrance to Havasu Campground.
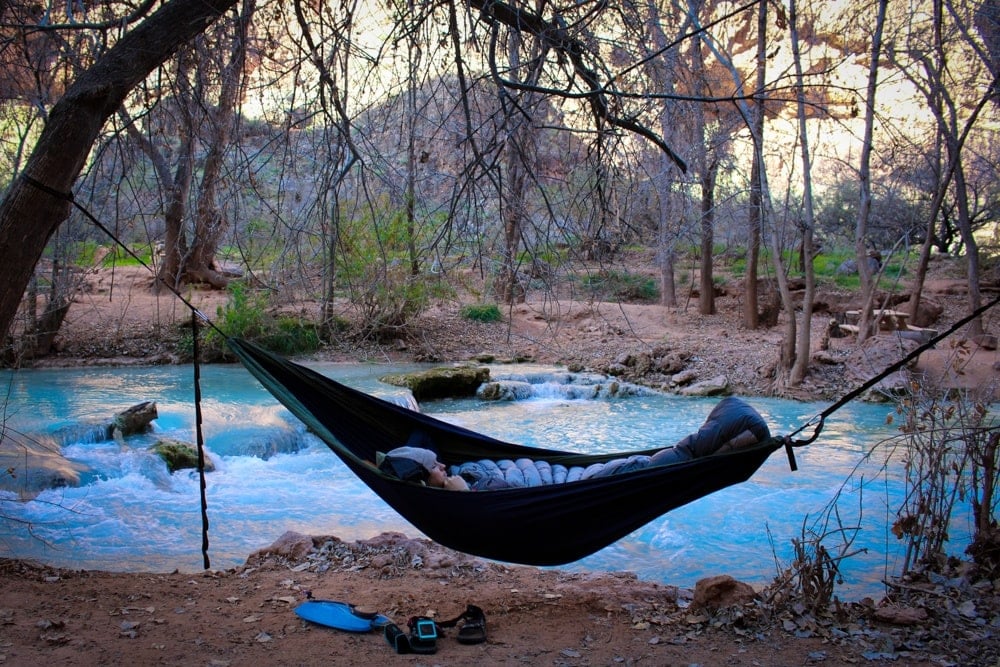
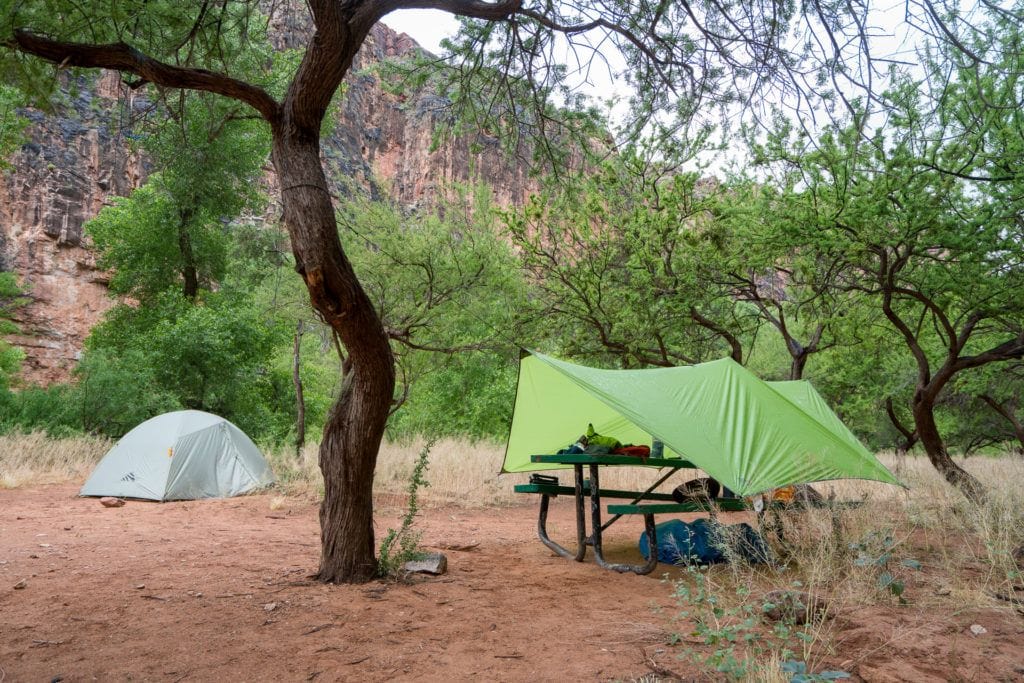
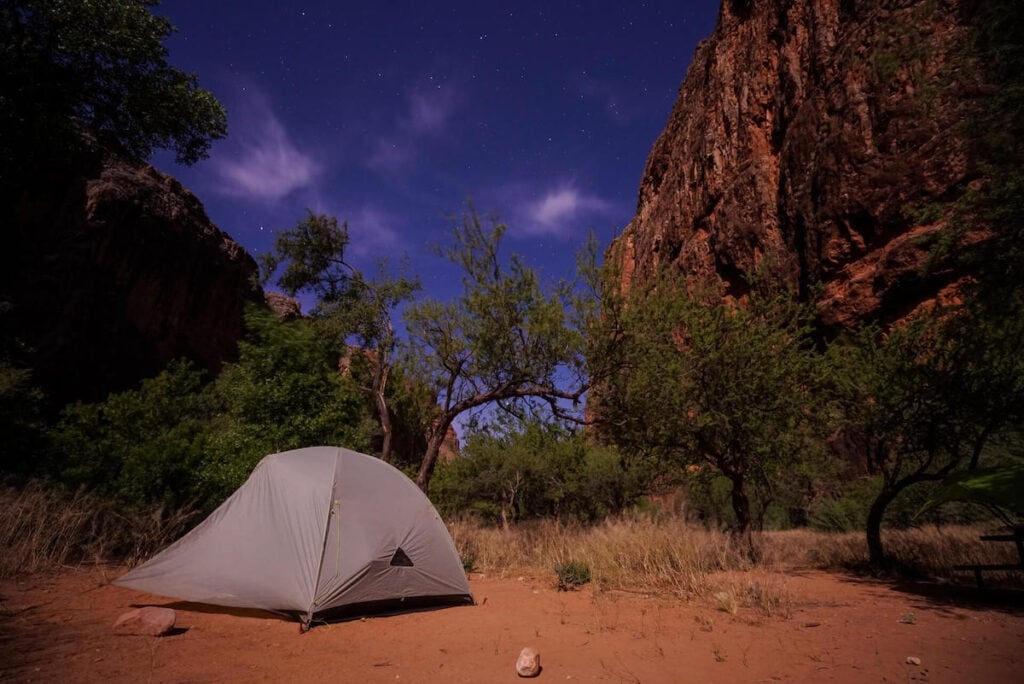
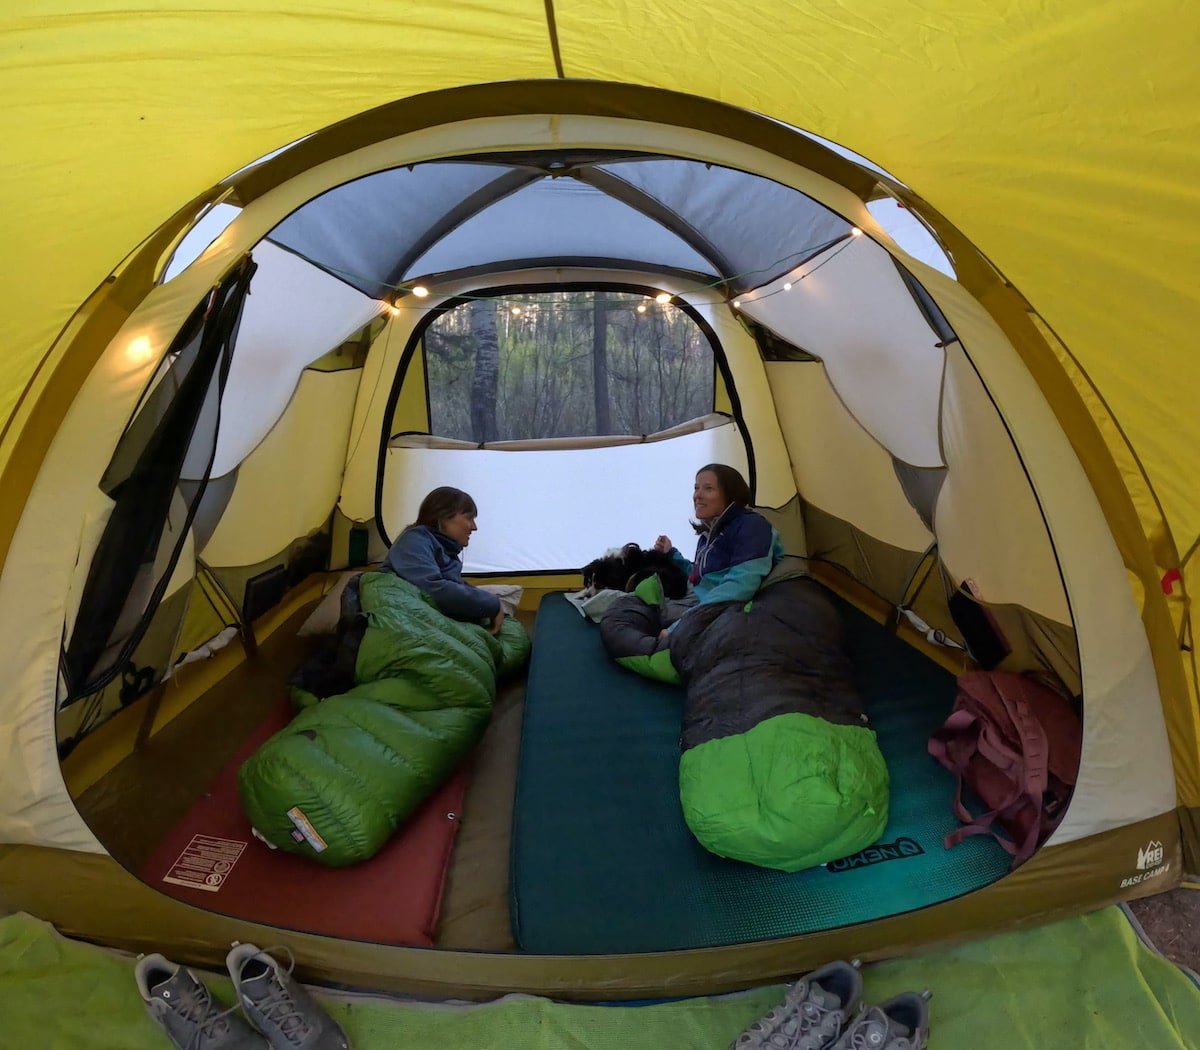
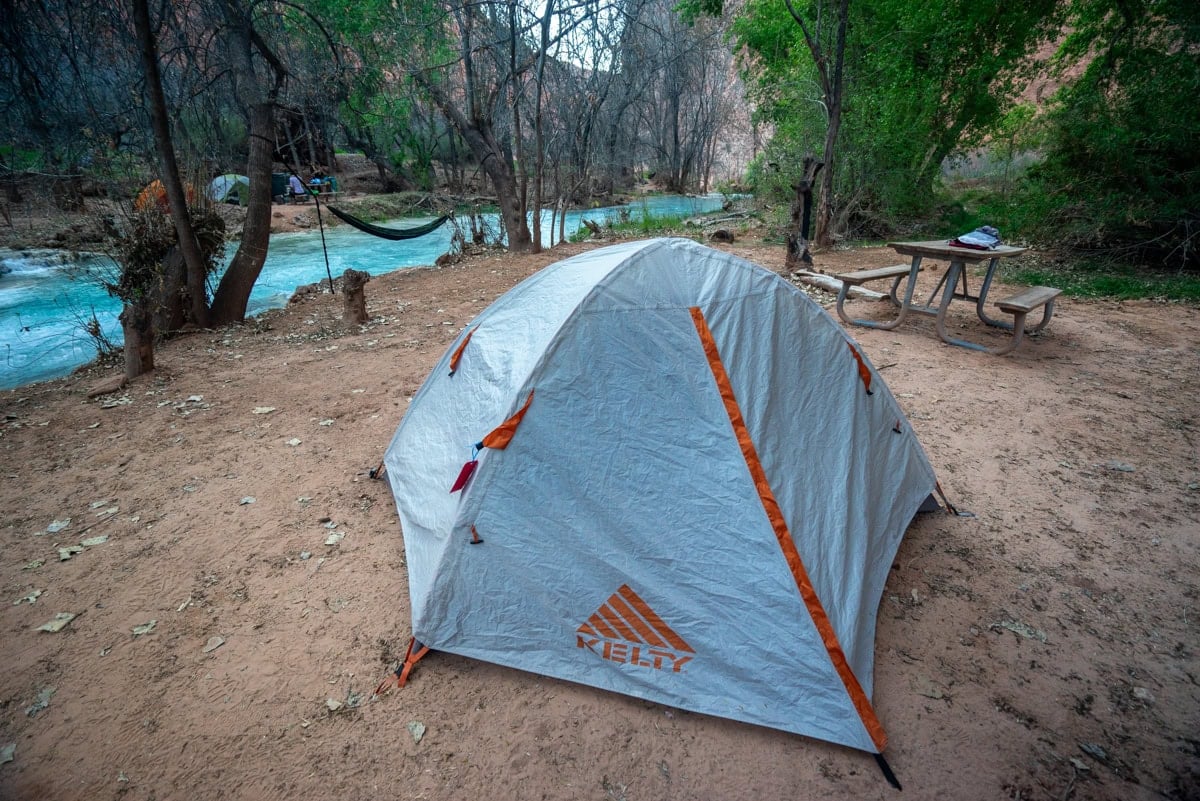
The campground is quite big and runs along more than half a mile of the trail between Havasu and Mooney Falls below. There are spots on both sides of the creek, so I when I was there, I really poked around before settling on a spot.
→ See my post on Havasu Falls camping tips for choosing a site and what to expect.
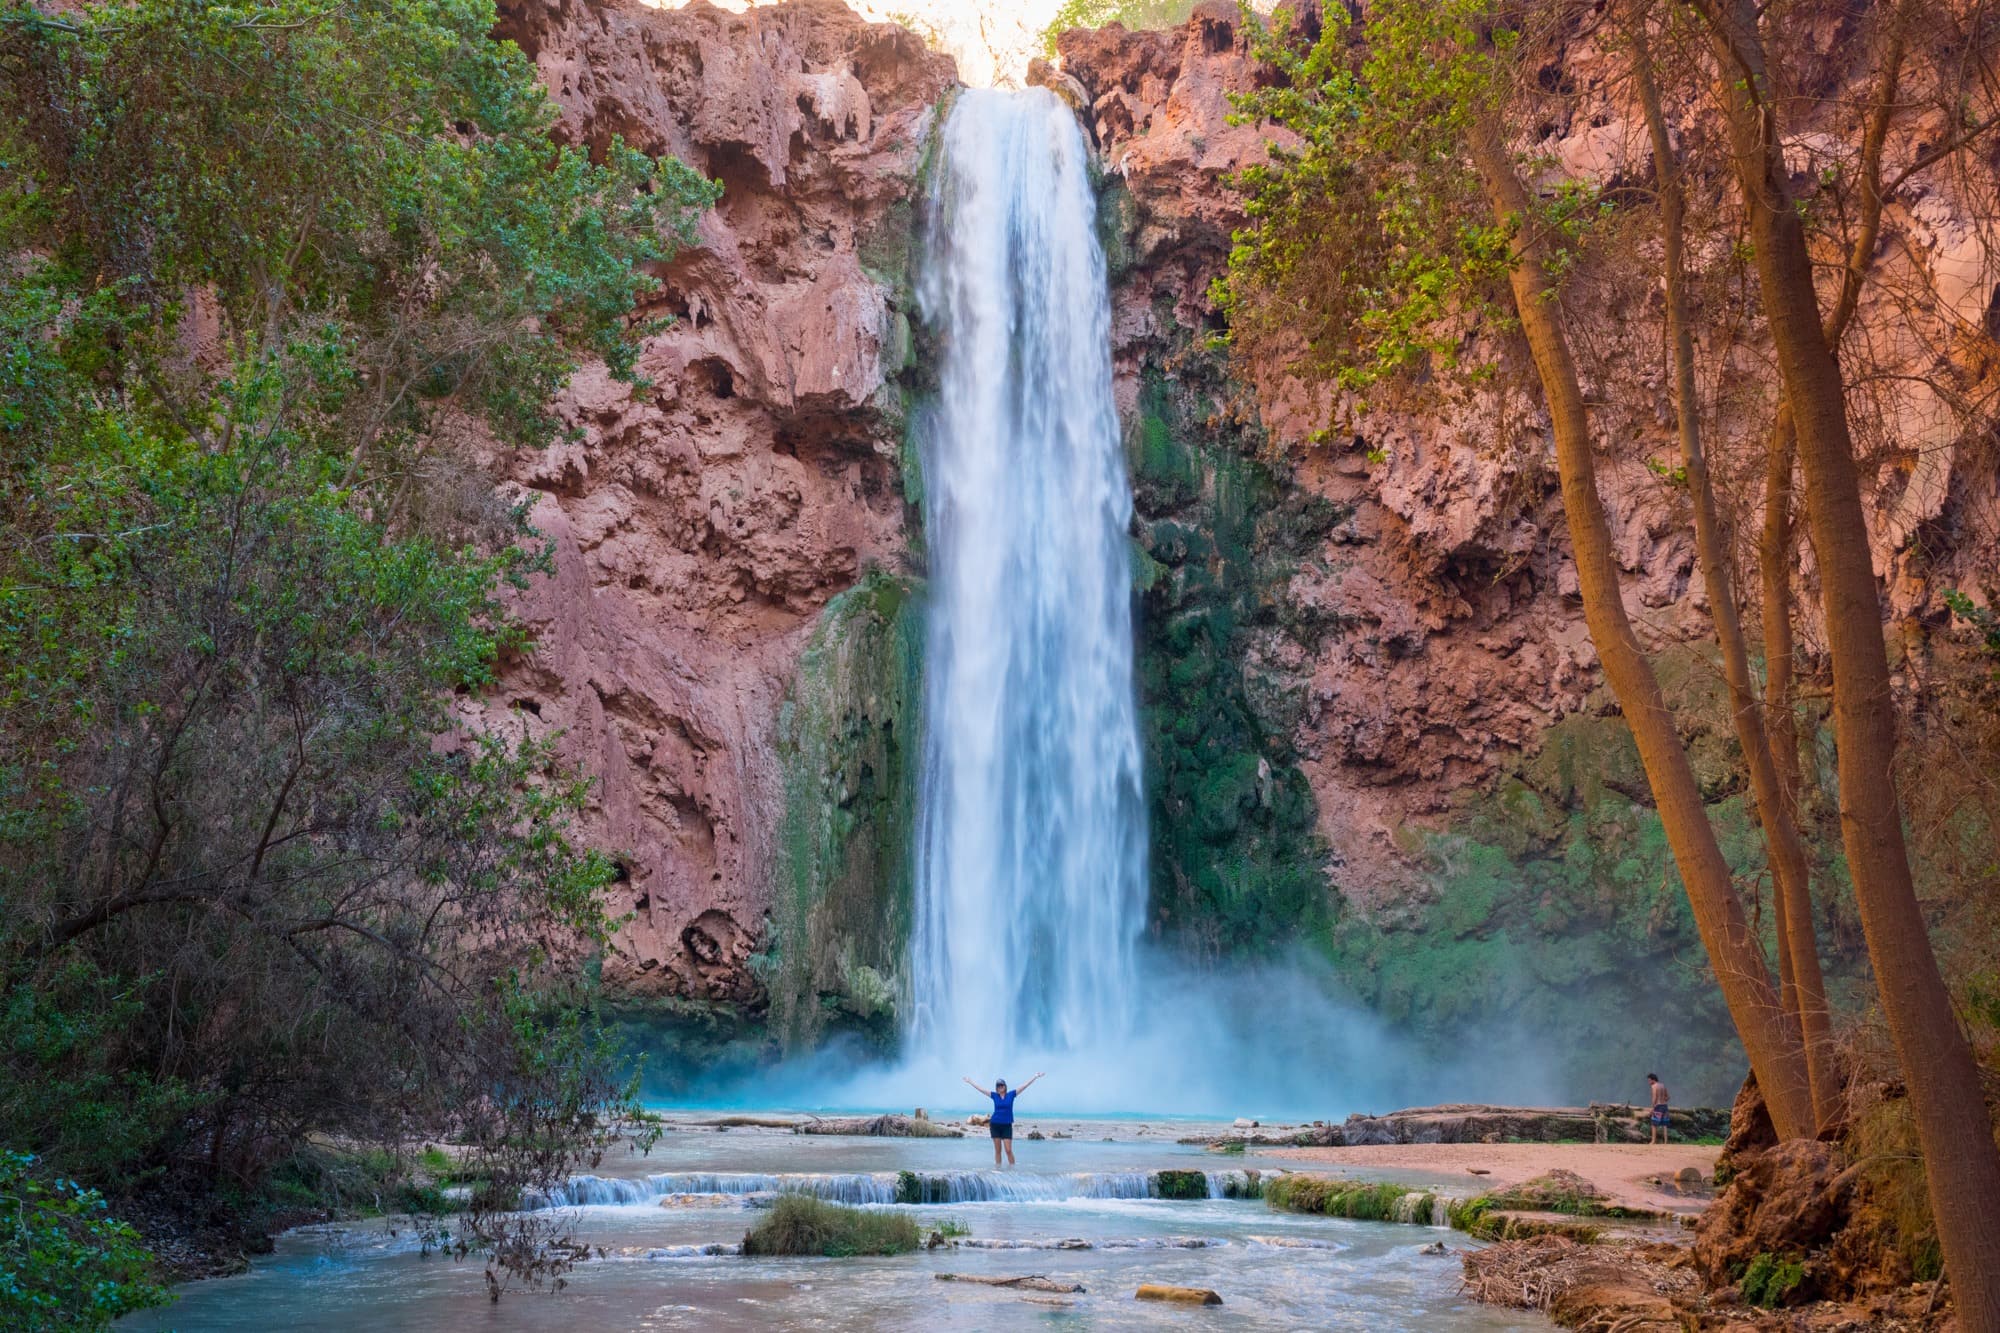
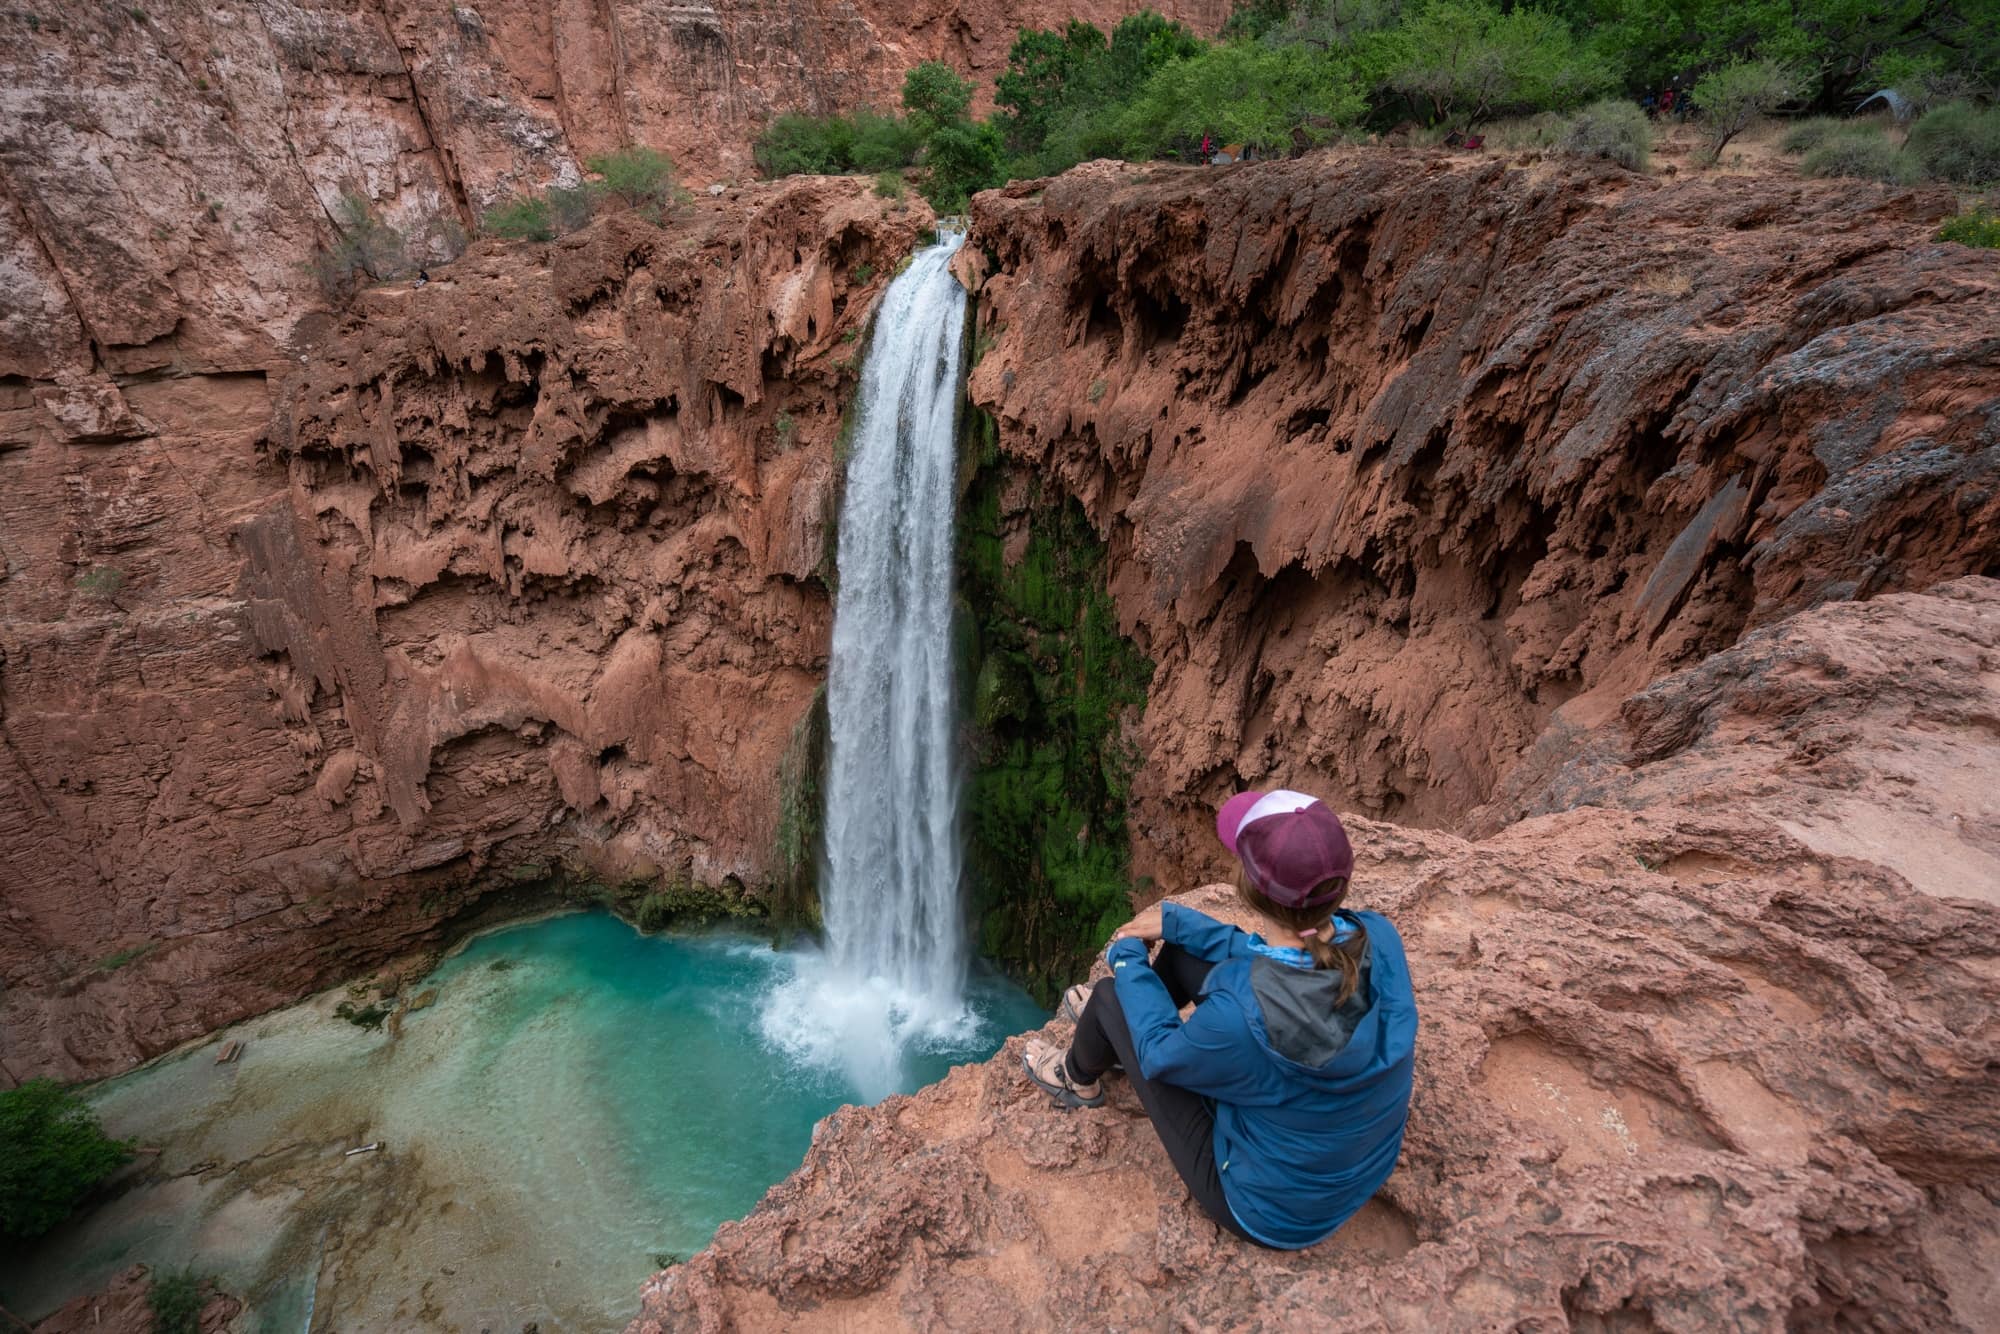
You’ll have plenty of time to explore the other Havasupai waterfalls over the next couple of days, but if you’re eager to see what you’re in for, the view point looking down on Mooney Falls is just a few minutes hike from the campsites.

Hiking back from Havasu Falls to Hualapai Hilltop
I highly recommend staying all 3 nights/4 days that your Havasu Falls permit allows since there is plenty to do and explore on days 2 and 3 (my Havasu Falls camping guide also has an itinerary)!
When the time comes to hike from Havasu Falls back to Hualapai Hilltop, there are two strategies, and it really depends on what time of year you are hiking.
Remember it’s a long 10-mile hike with 2,200 feet of elevation gain. It took my hiking buddies and I around 6.5 hours to hike out, which is a pace of 40 minutes per mile.
If your trip is in the summer, I suggest starting your hike no later than 6am. If you can manage to be packed up even earlier, that’s even better. As you noticed on the way down, there is very little shade on the trail, so depending on the time of year, the hike out from Havasu Falls can be deathly hot. That extreme dry heat can suck the life right out of you, and even in March on my first trip, the temps were in the mid-80s, and it was quite hot hiking out.
A 6am departure should put you back at your car around noon, avoiding the hottest part of the day on the steepest part of the trail (which also happens to be west facing).
If you aren’t an early riser, the second option is to have a relaxing morning, spend some more time enjoying the falls, and then start your hike later in the day. My trips were in March and May and it stifling hot, so this was the approach I took.
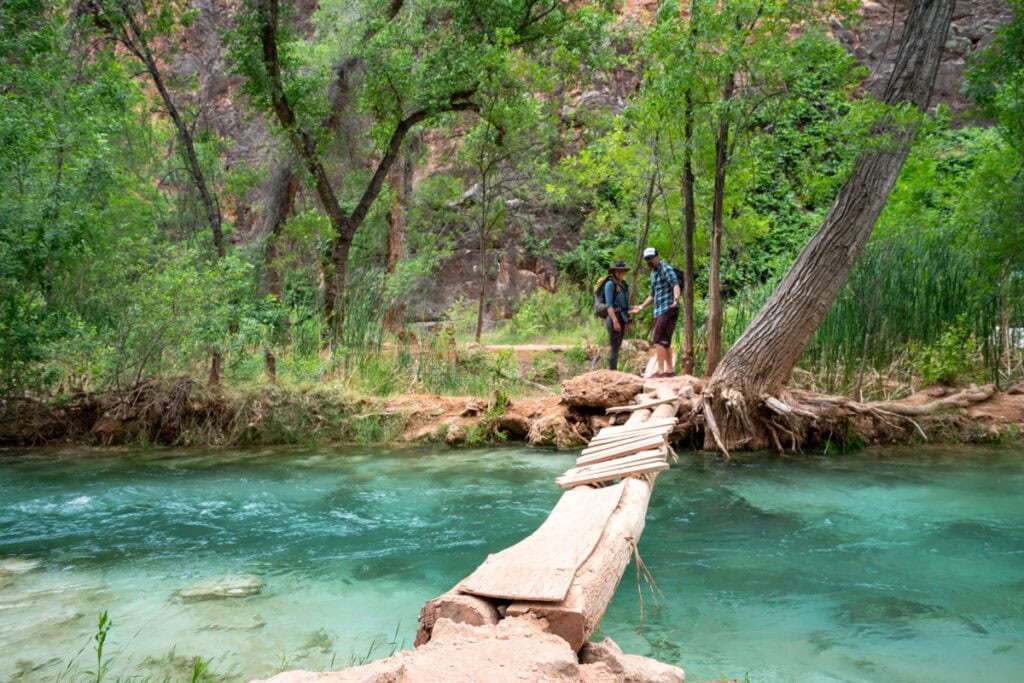
I took a refreshing morning swim in Havasu Creek before reaching Supai Village, and then I started my hike in the afternoon.
By the time I reached the steep ascent back to my car, the sun had gone down and the trail was in the shade. I got to enjoy the colorful sunset right as I finished the trail, and it was a great way to cap off the day. I’m not sure I’d suggest this in June-September, but for the cooler months, it was a great way to hike out.
Unlike previous years, the trail is now open 24 hours a day, so if your Havasu Falls hike is during the hot summer, than you can also hike out in the dark. Just make sure your headlamp is fully charged if you choose this route.
Regardless of what time you leave, make sure to save some food for your hike out as you’ll need fuel for the long day. Also, fill up all of your water so you have 4 liters for the hike out.
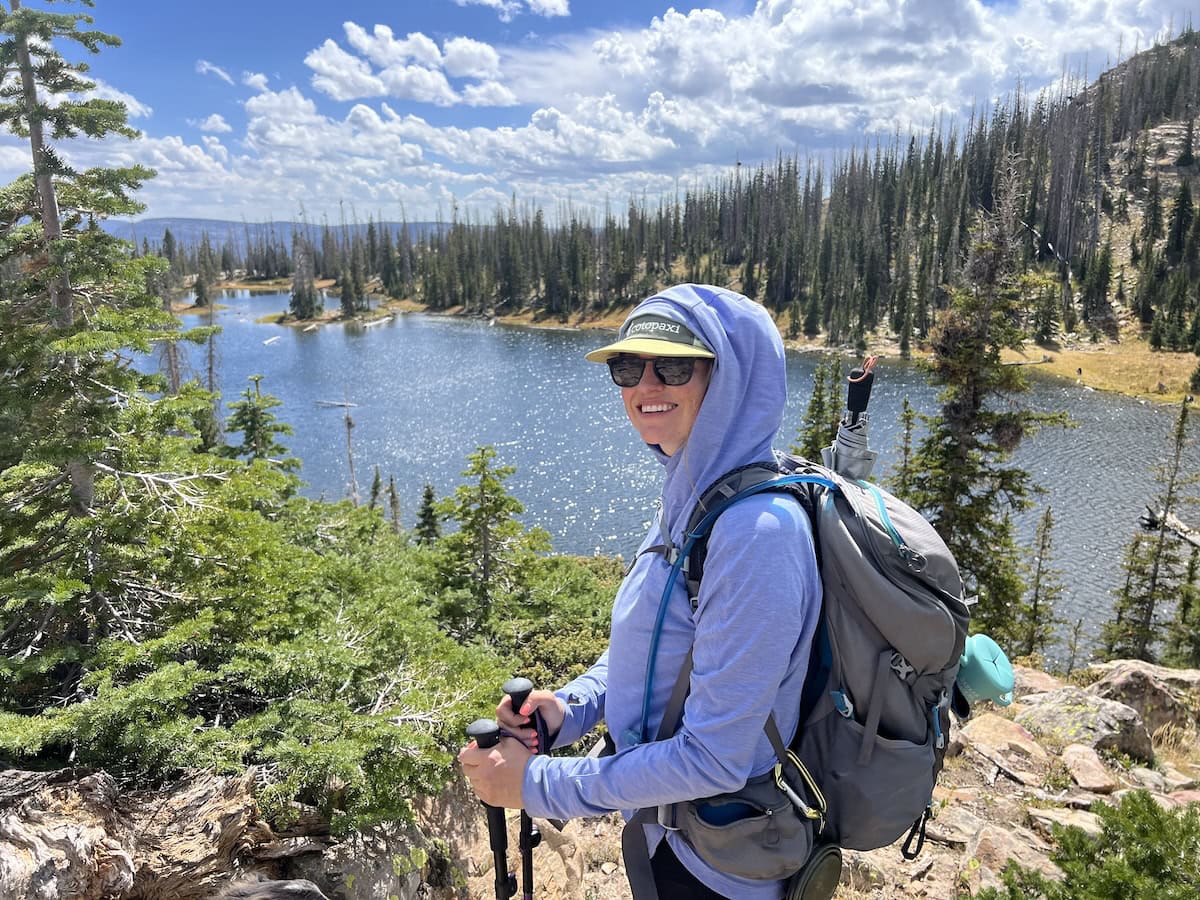
Gear for Hiking to Havasu Falls
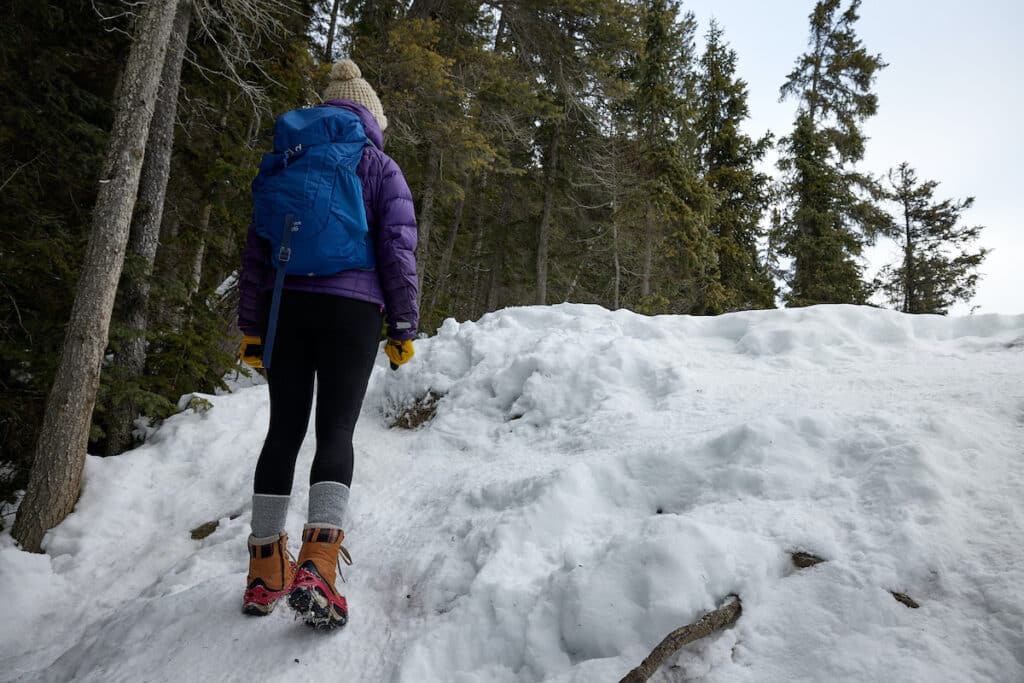
Here I’ll focus on what clothing and gear you need for the Havasu Falls hike. If you’re looking for info on what camping gear to bring, see my detailed Havasu Falls Packing List.
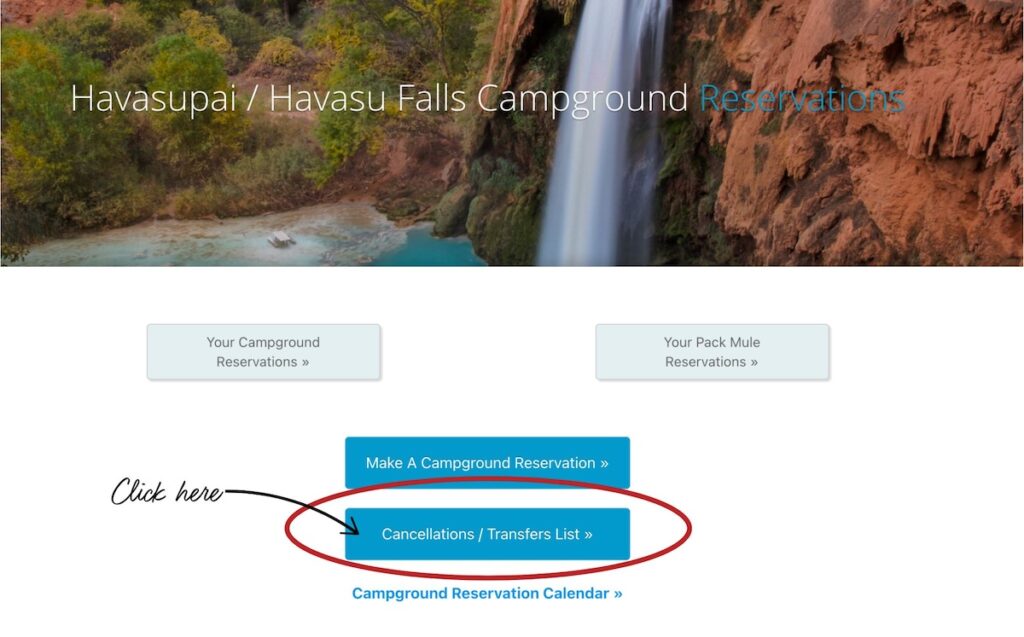
Havasu Falls Hiking Permits
Advanced permits and reservations are required for hiking to Havasu Falls.
Don’t plan on sneaking in—permits at Havasupai are strictly enforced. A guard is stationed about 5 miles from the trailhead to check permits, and every vehicle must display a copy of their reservation in the window.
I go over step-by-step instructions for how to get a Havasu Falls permit here. Permits go on sale and typically sell out for the year on February 1st, so in most cases, you’ll need to plan ahead.
Where to Stay the Night Before your Hike
There is no camping or sleeping in your car allowed at the trailhead parking area. There is a guard on the road to the trailhead who will check your permits, and they will not let you proceed to the Trailhead the day before your permit starts. So you’ll need to make other plans for the night before your hike.
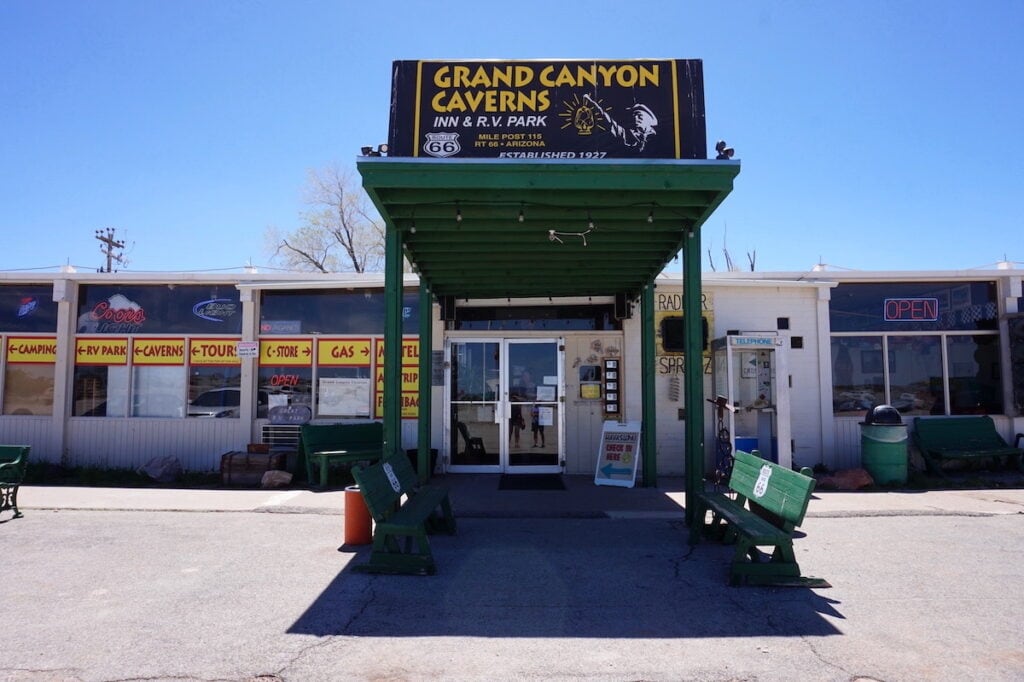
The most logical place to stay the night before is the Grand Canyon Caverns Inn which is between Seligman and Peach Springs. This is where you will where you check in for your Havasupai trip and pick up your permit. The have a small number of hotel rooms available, as well as a decent campground. There is a small restaurant on site, but if you have dietary restrictions, there won’t be much for you to eat.
Another good option is the The Aztec Motel and Creative Space in the town Seligman.
While there are a few paid campgrounds nearby, there isn’t any dispersed camping between Seligman and the trailhead due to much of the land being Tribal Land. So you should definitely plan ahead and make a reservation somewhere.
Frequently Asked Questions
Day hiking to Havasu Falls is not allowed. There are signs everywhere stating day hiking is prohibited. Not only is day hiking not allowed, the hike to Havasu Falls is 10 miles each way which is way too far to hike there and back in a day while still being able to enjoy the falls.
The only way to get to Havasu Falls without hiking is by flying with Airwest helicopters. You must have a Havasu Falls permit or lodging reservation to be eligible to fly. From March 15 to October 15, Airwest Helicopters flies on Sundays, Mondays, Thursdays, and Fridays, and the rest of the year it only flies Sundays and Fridays. It costs $100/person. There are no reservations, and no guarantees that you will get a spot, so you should be prepared to hike. Check-in for flights begins at 10am either at the Hilltop Trailhead for flying to Havasu Falls or at the Supai Village Landing Pad for flying back to the parking lot. However, hikers looking to fly out often line up as early as 5am in order to secure a spot. You can call Airwest at (623) 516-2790 for the latest info.
I would classify the hike to Havasu Falls as moderate, and the hike from Havasu Falls back to the trailhead as challenging due to length, elevation gain, and sun exposure. However, I still consider this to be a beginner-friendly backpacking trip. The trail is easy to follow, you only have to set up and take down your campsite one time, there are toilets at the campground and a grocery store in the village, and there are plenty of fellow backpackers in case you need a hand.
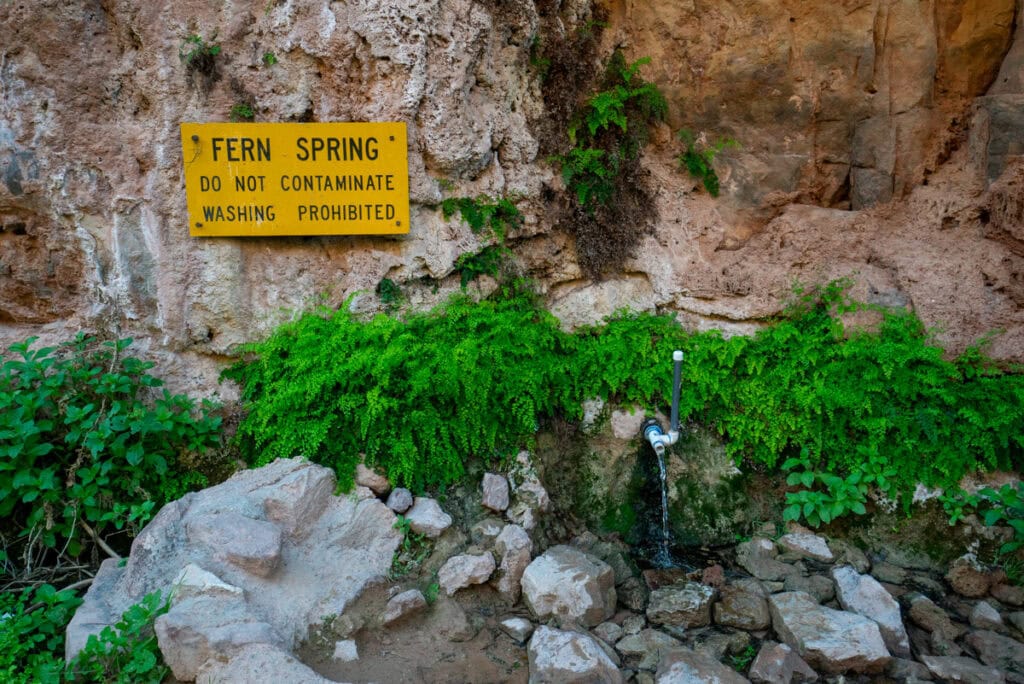
The Tribe recommends you carry a gallon (nearly 4 liters) per person hiking to and from Havasu Falls. I personally brought three liters, but the temperatures were mild. In the hot summer months, dehydration is a real risk, so 4 full liters would be smart. There is no water at the trailhead, so fill up before you drive to the Trailhead.
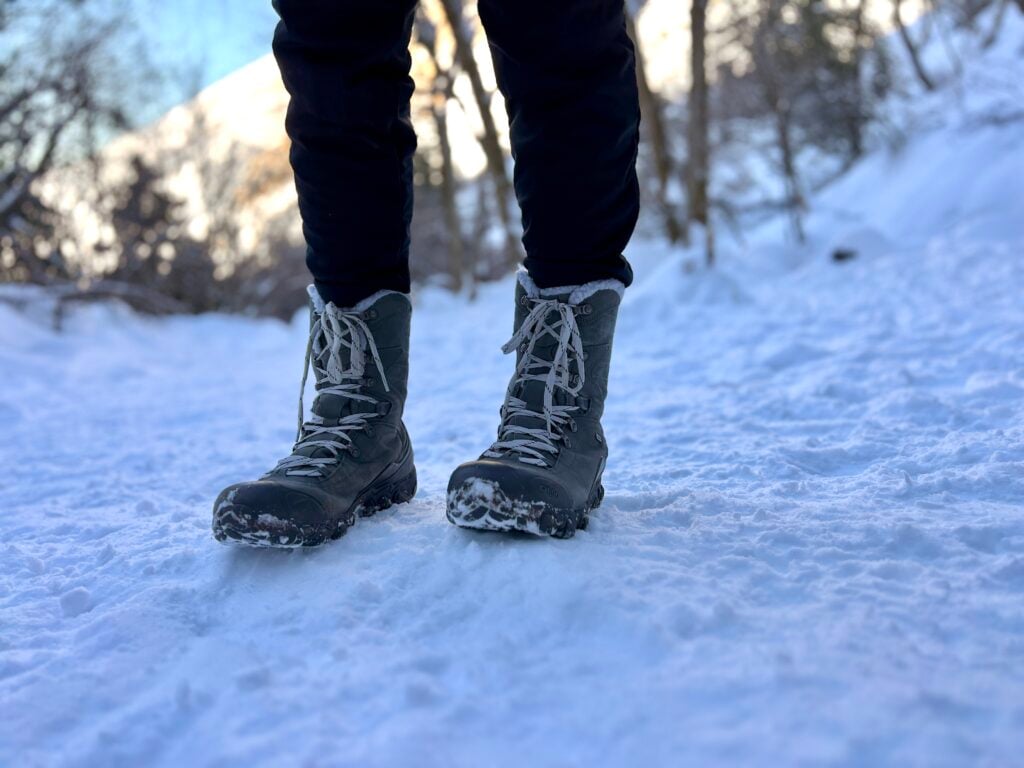
I think the best time to visit Havasu Falls is mid-March through mid-May or mid-September to mid-October. During these months, the daytime temperatures are more comfortable for hiking. However, during these months, it may be too cold to swim. Even though summer is prime for swimming, I’d personally avoid summer due to the extreme heat which makes the hike less pleasant. Summer is also monsoon season with dangerous flash floods being most likely from mid-June to late September. The trail and campground are closed in December and January.
When you reserve your permit, you will be given the option to hire a pack mule to carry your camping gear to the Havasu Falls campground. A pack mule is $400 round trip and can carry 4 bags (max weight per bag is 32 pounds). While I didn’t see this personally, you should be aware that there have been a lot of reports of pack mules being malnourished and overworked. If you’d like to learn more, check out SAVE, a volunteer-based organization trying to end the abuse and improve the lives of these pack animals.
More Hiking Tips
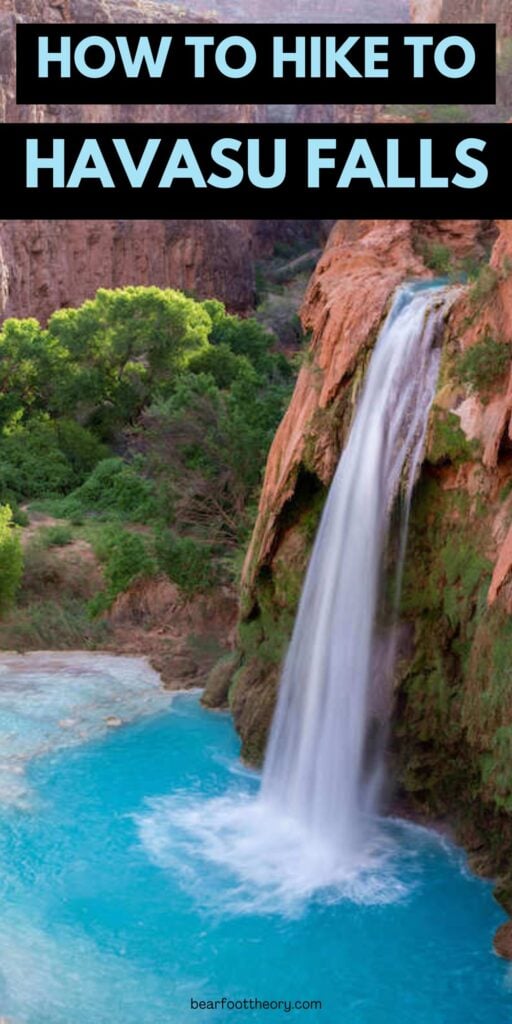
Save this post to Pinterest


What questions do you still have hiking to Havasu Falls? Leave a comment below!
The post Havasu Falls Hike: Your Complete Trail Guide (with map!) appeared first on Bearfoot Theory.